
Pre-Requisites
Aldelo Express for iPad or Android is Installed on at least 1 iPad that is designated as a POS Print Server
- To Setup POS Print Server Go To The Aldelo Express and at the top of the screen choose "Alert Center " then "Platform Orders" and "Print Server"
- When setting up an Item, select the "Show Extended Settings" dropdown menu and scroll down to "Ordering Options." Then make sure the toggle for "Available To Store POS Only" is set to "YES"
- For Aldelo POS for Windows Merchants, its easy to migrate using the Aldelo Express Migration Tool (See the Video) (Download the Tool)
- This will save you time in editing your menu online in the DoorDash portal
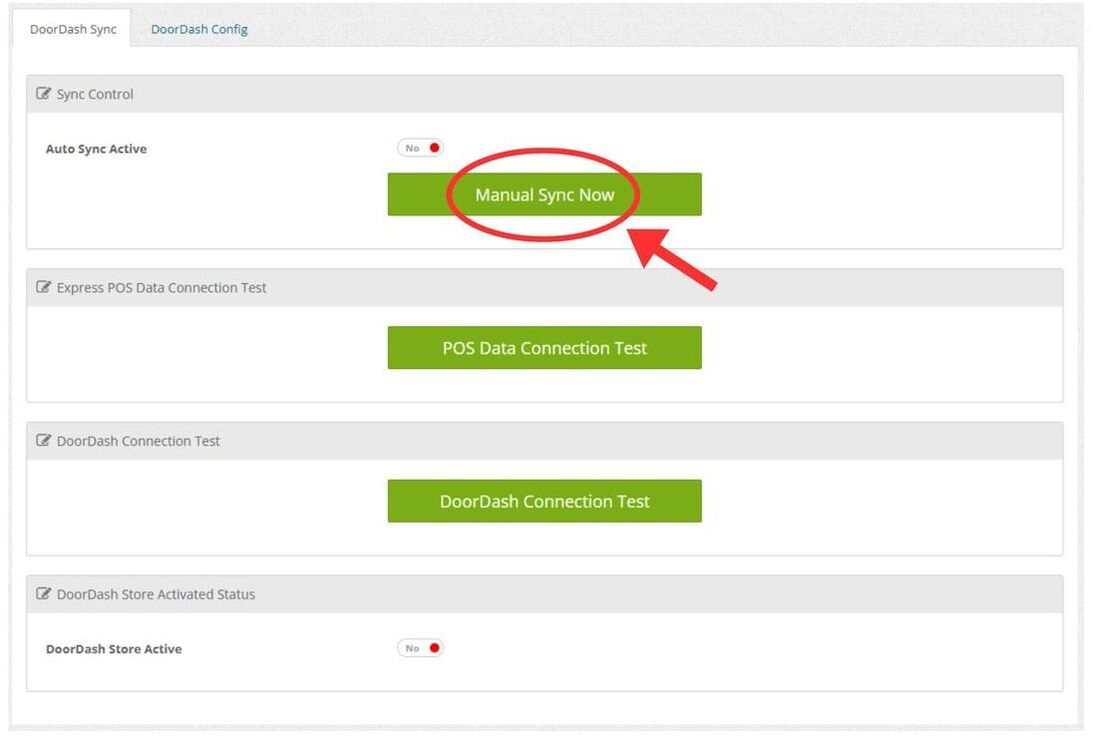
Step 1
|
|
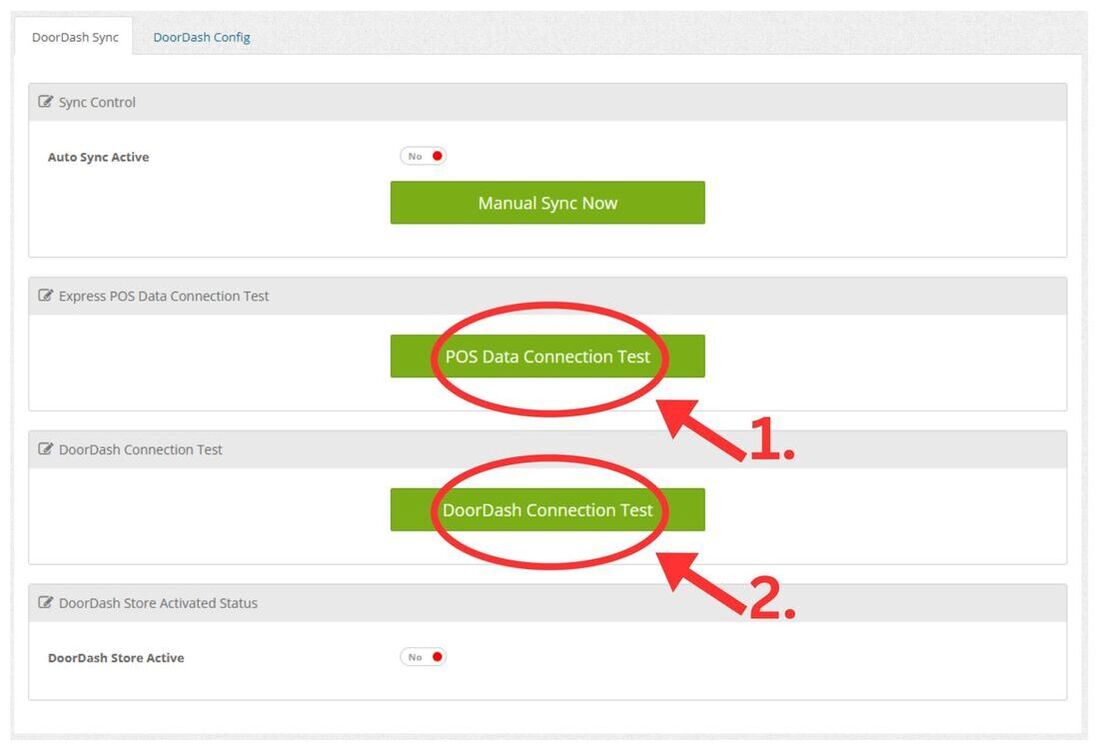
Step 2
|
|
Step 3
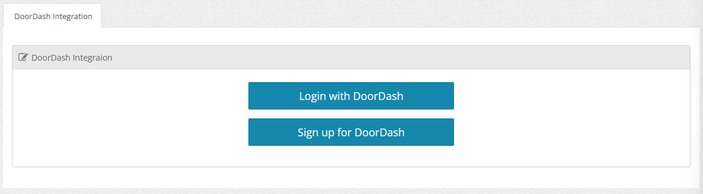
Log In or Sign Up to DoorDash
If you already have a DoorDash account, select "Login."
Or, create a DoorDash account by selecting "Sign Up" and following the instructions to create a DoorDash account.
Or, create a DoorDash account by selecting "Sign Up" and following the instructions to create a DoorDash account.
- After creating a new DoorDash account, you will be redirected back to the screen showing "Login" and "Sign Up"
- Now that you have a DoorDash account, select "Login" and complete your DoorDash login
Step 4
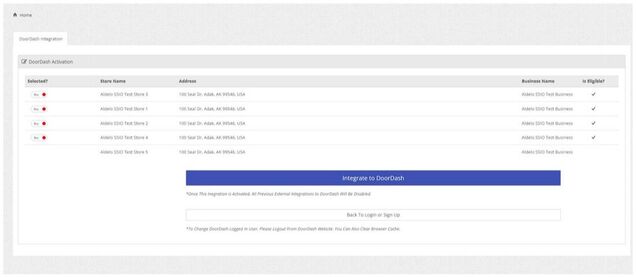
Connect Your POS
- Select which store you want to integrate to DoorDash by chaning the toggle to "YES"
- Then, click the blue "Integrate to DoorDash" button.
- A "Please Wait" will appear on the screen.
- Then, wait up to 48 hours until "Request Accepted" appears on your DoorDash Onboarding Status
- During these next 48 hours, Aldelo and DoorDash will work to complete the integration process.
Step 5
|
|
Step 6
|
|
Step 7 (Optional)
|
|
Step 8 (Optional)
|
|
Step 9
How to Enable Print Server on an iPad POS device
How to Enable Print Server on an iPad POS device
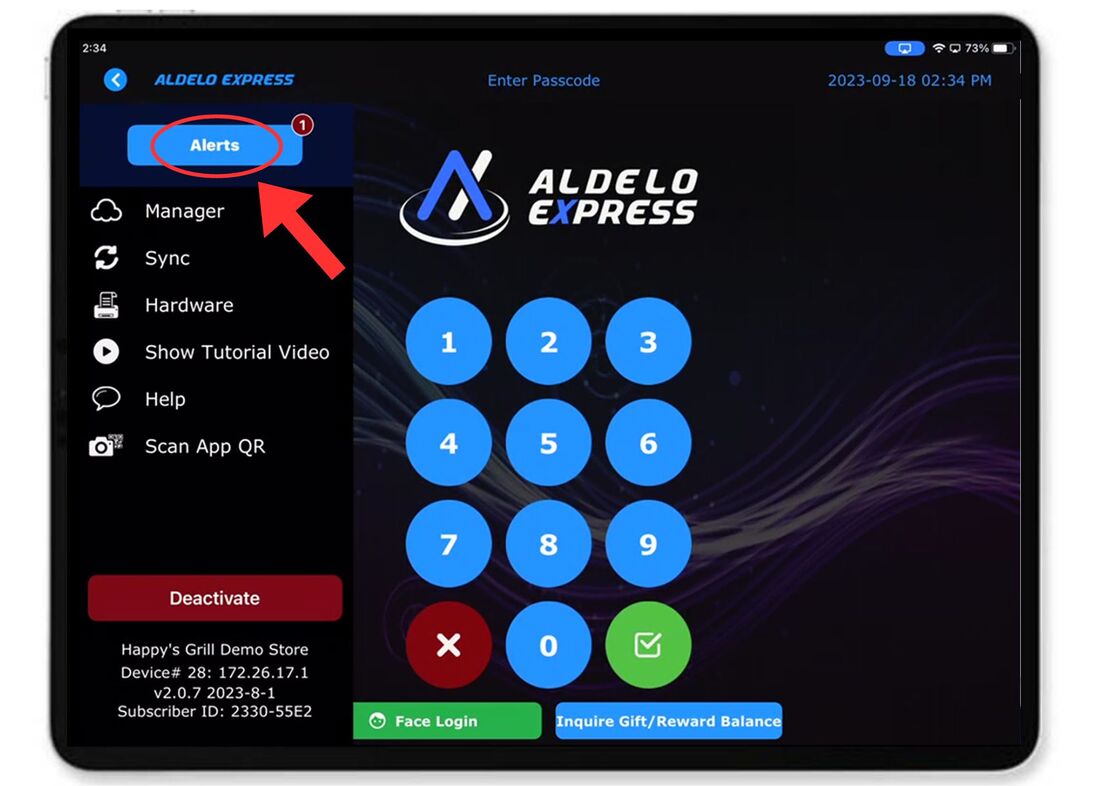
Select "Alerts" from the iPad POS sidebar.
|
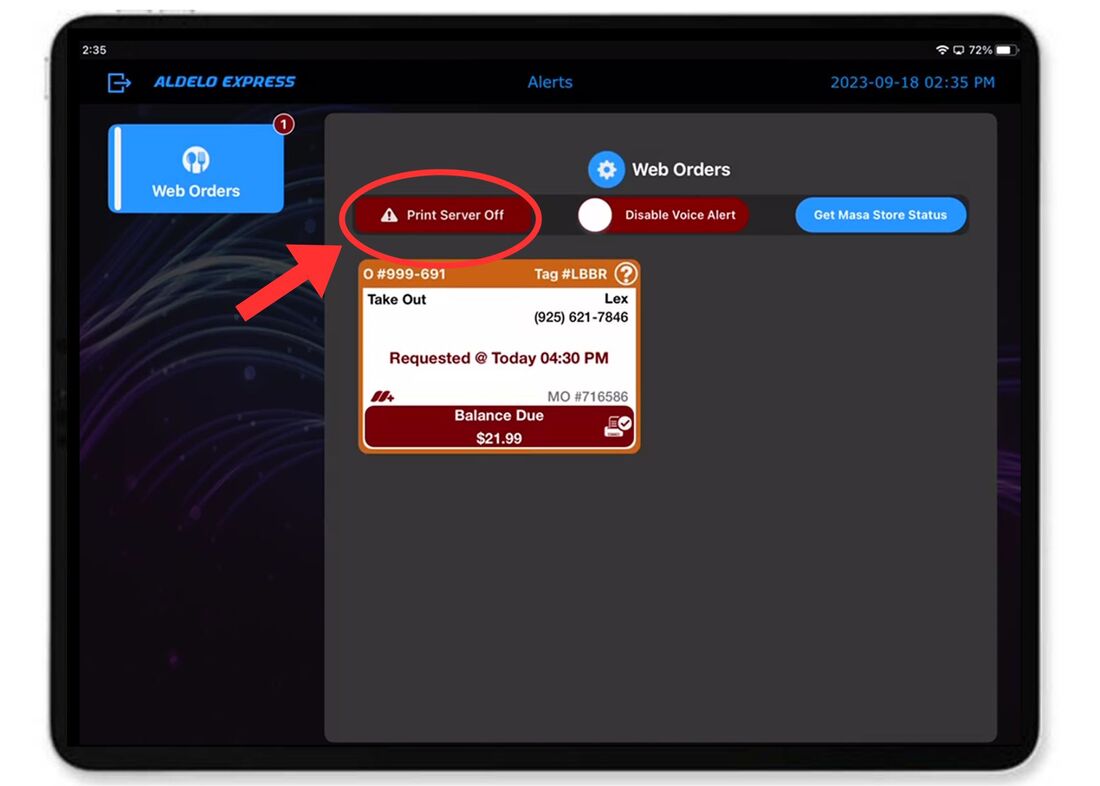
Select the button that says "Printer Server Off"
|
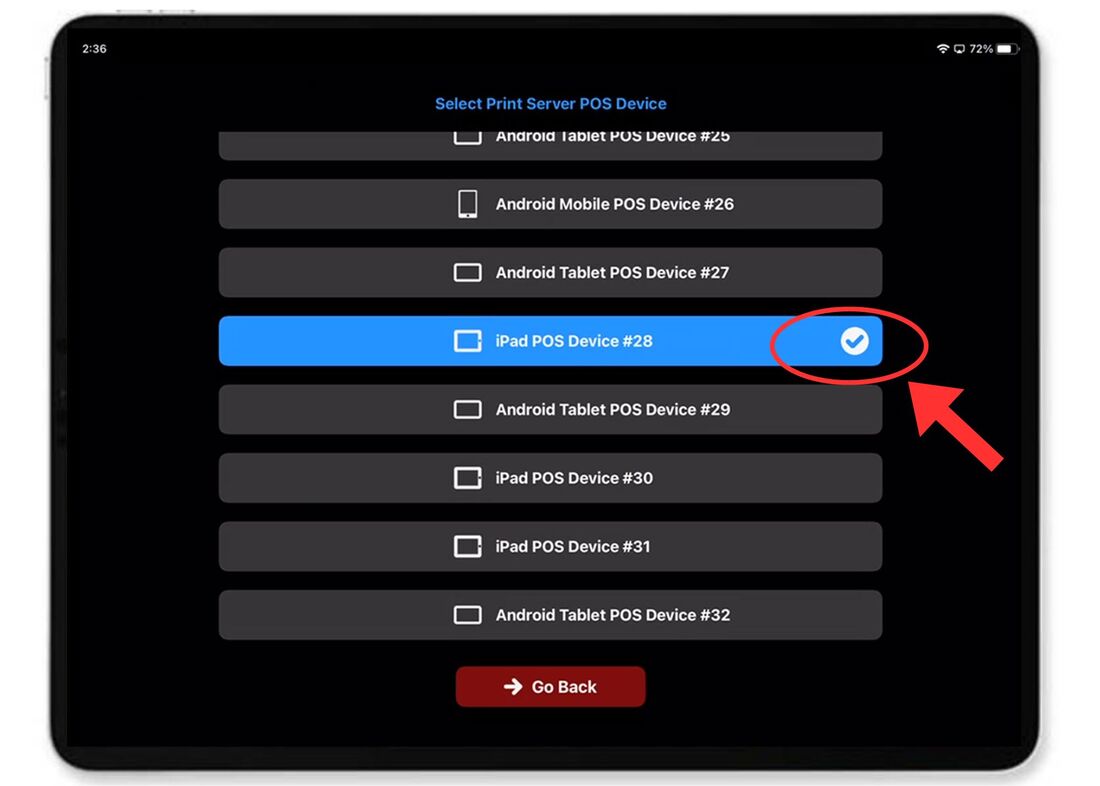
Choose which iPad POS device you want to designate as Print Server
|
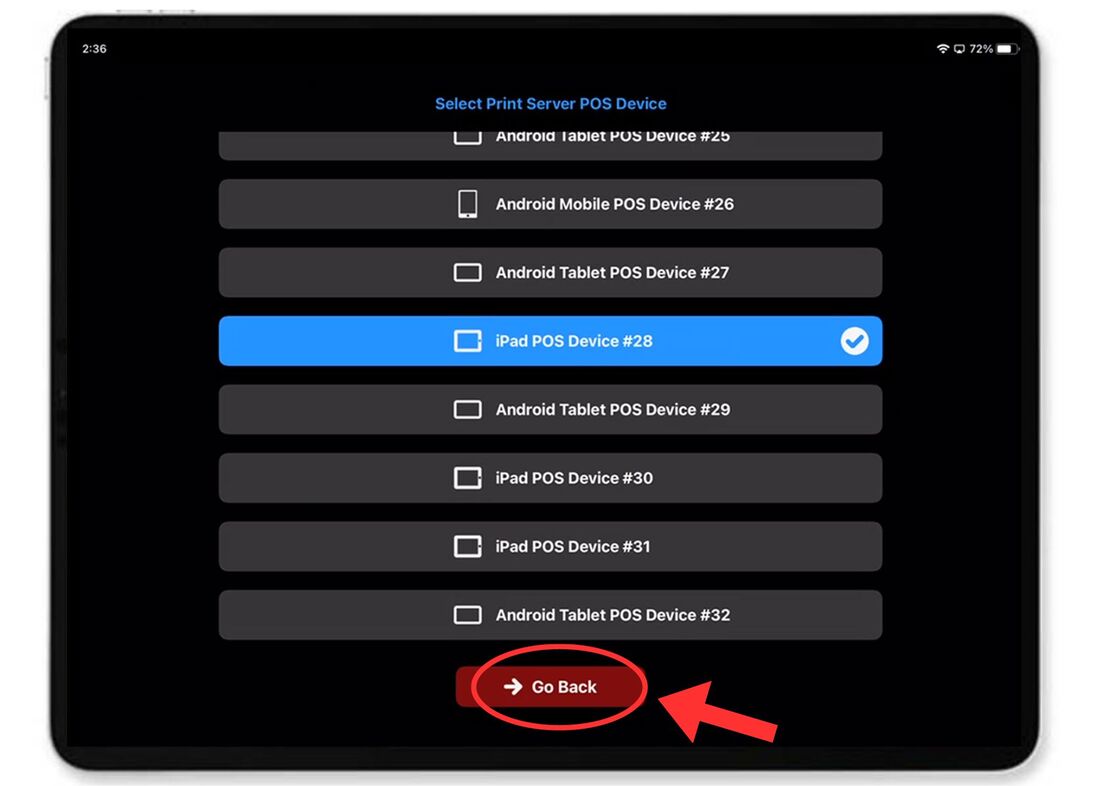
Once the device is selected
(highlighted "blue" with a "white" checkmark), select the "Go Back" button |
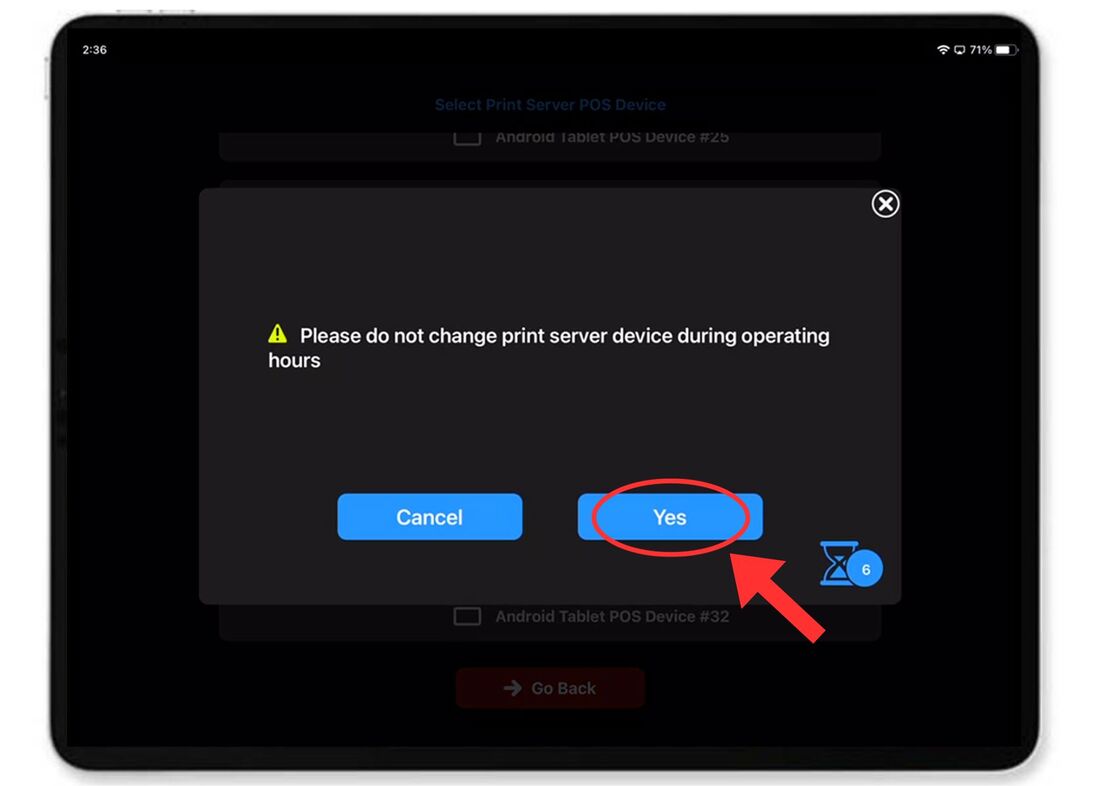
Select "Yes" to the pop up notification
|
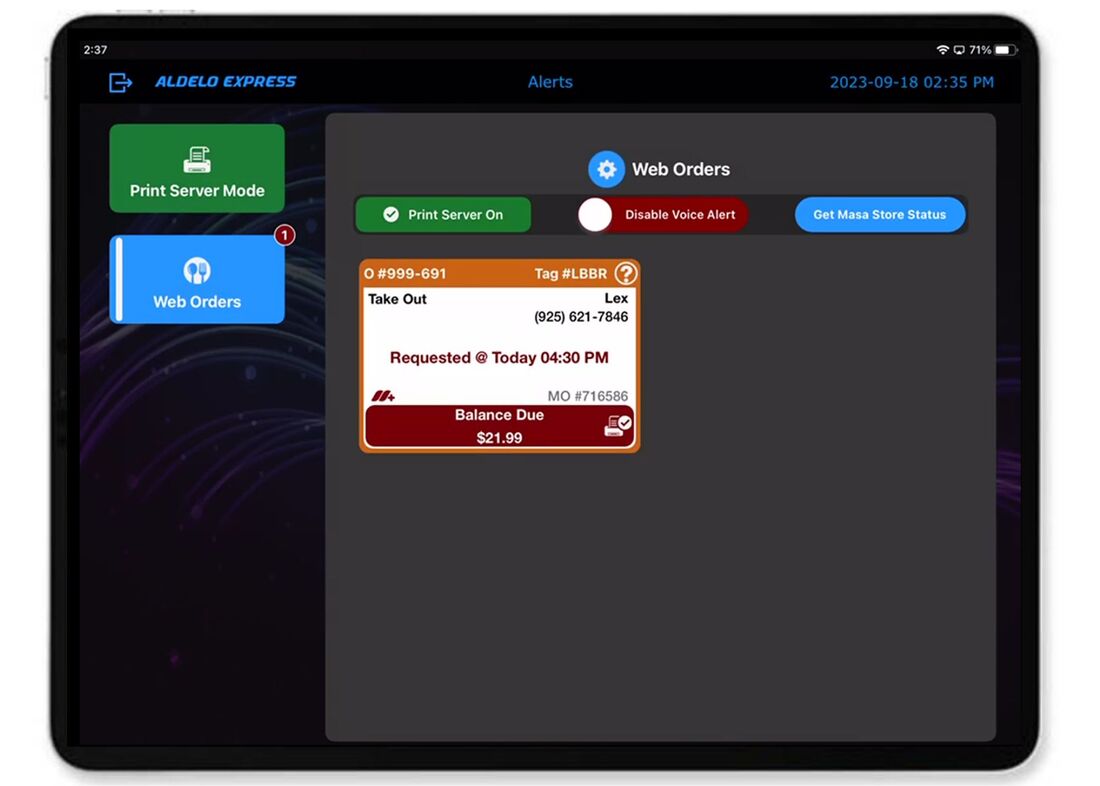
The iPad will then display "Print Server On"
|
Best Practices
Review your POS Menu's Groups, Items and Modifiers to set visibility options
- Be sure to set the Visibility of Groups, Items and Modifiers you do not wish to sell online to "Store POS Only"
- (See the below section for instructions on how to Enable Print Server on a designated iPad POS device)
- The POS Print Server device is responsible to confirm DoorDash orders. If the POS Print Server is offline, no DoorDash orders can be confirmed.
- Enable IOS Guided Access Mode with Auto Lock set to Never (Click Here to see how to set this up)
- Do Not Turn off the iPad screen, even when the store closes
- Ensure the iPad Print Server device always has internet connectivity