
Aldelo Express Cloud User Manual
|
>> 01: GETTING STARTED
>> 02: HOME MENU >> 03: ANALYTICS MENU >> 04: MARKETING MENU >> 05: PRODUCTS MENU >> 06: STAFF MENU >> 07: SETTINGS MENU >> 08: MARKETPLACE MENU >> 09: ALDELO PAY MENU |

|
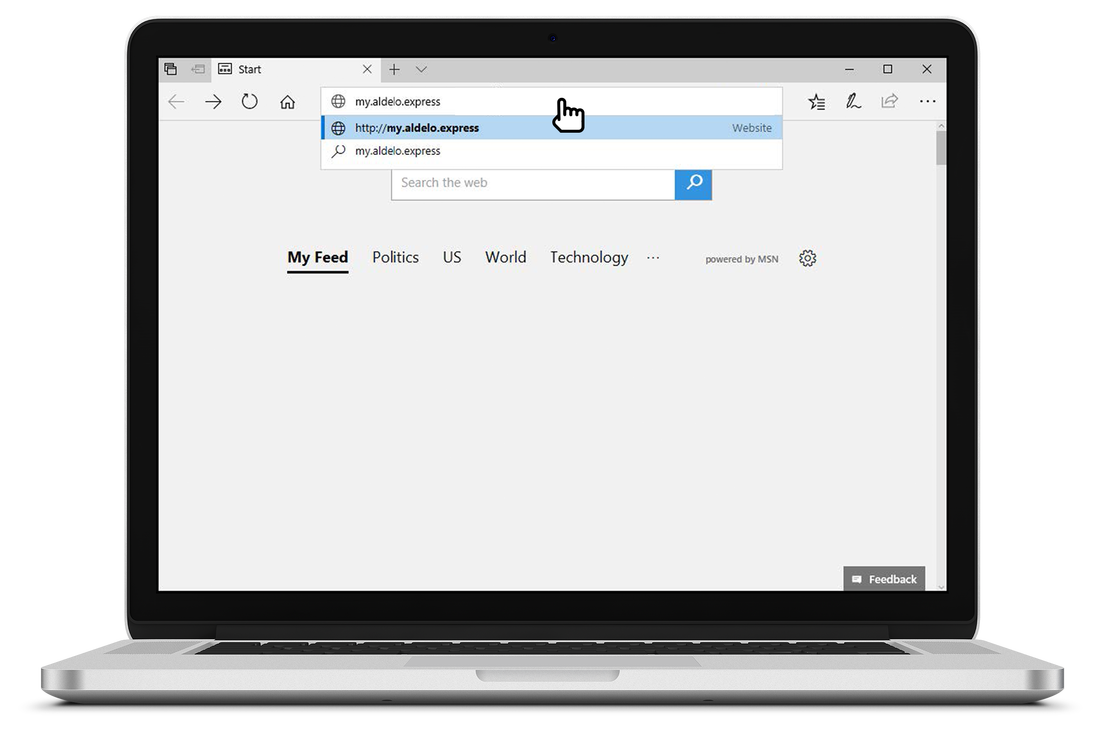
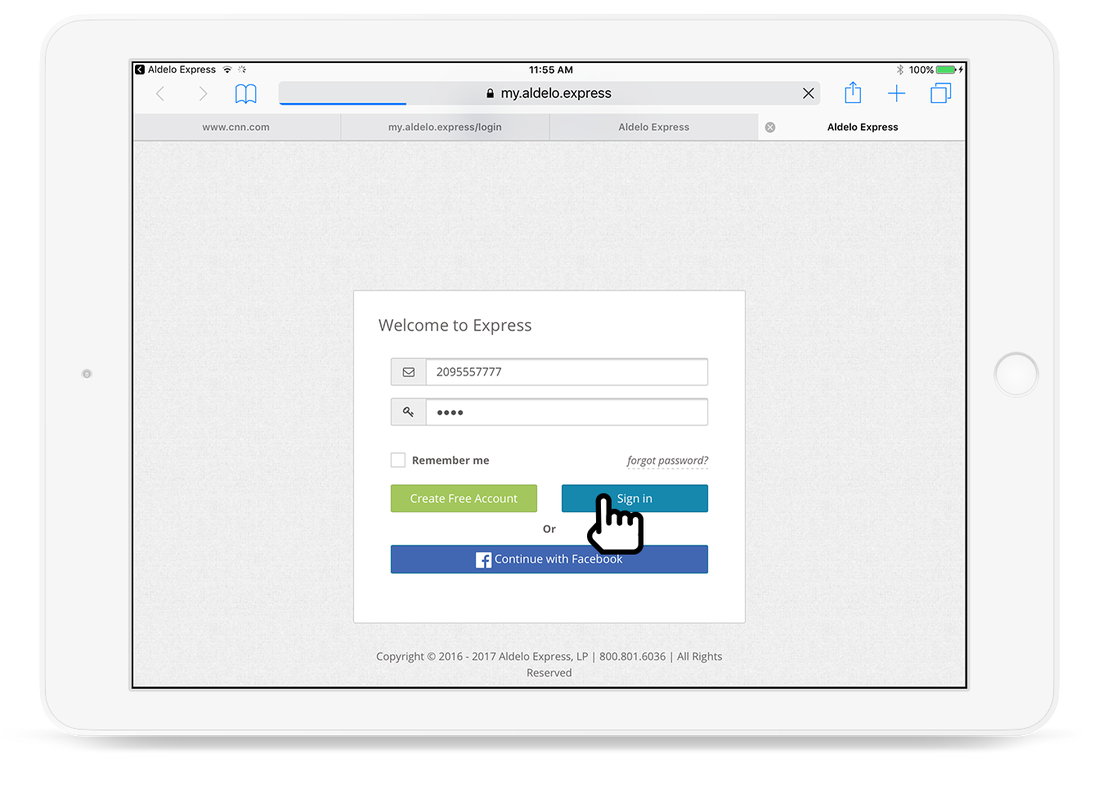
1. Visit my.aldelo.express.
|
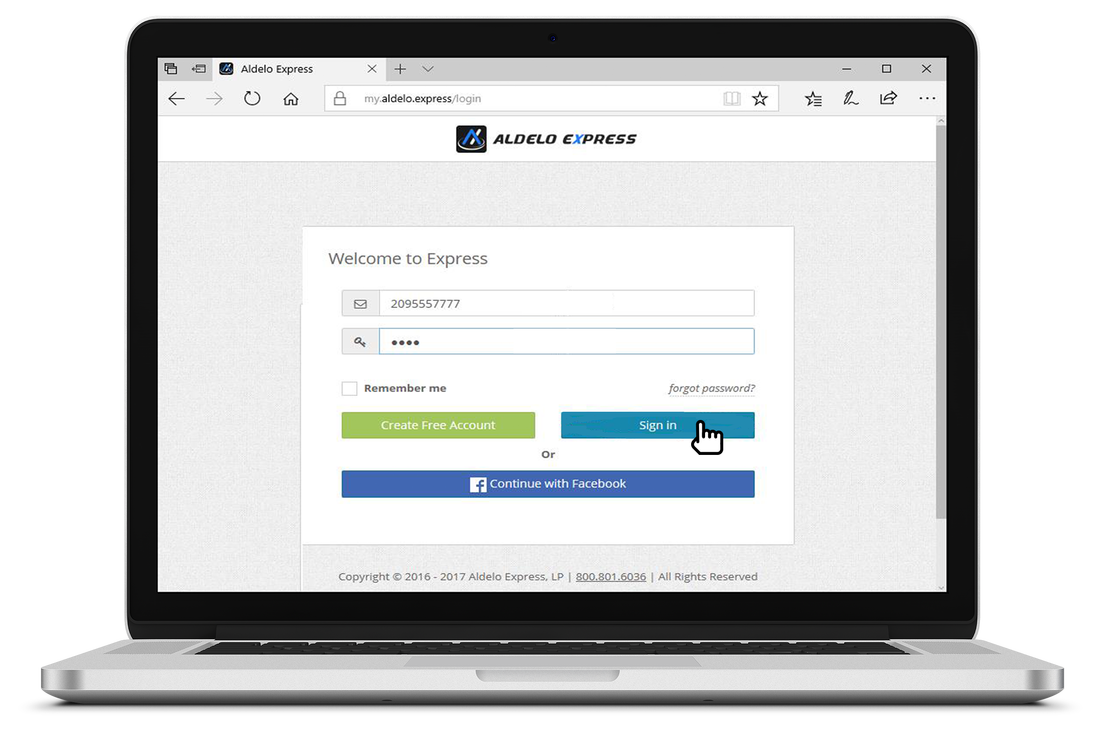
2. Enter your Express account login.
|
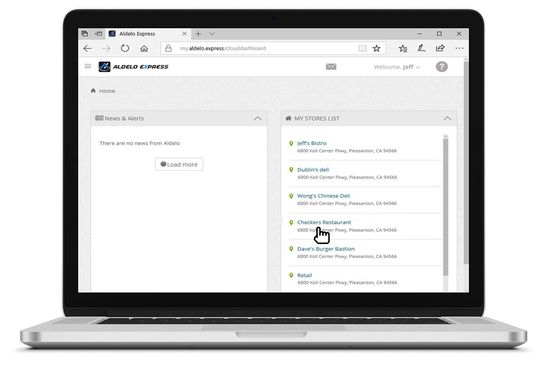
3. Select the Store you wish to manage.
|
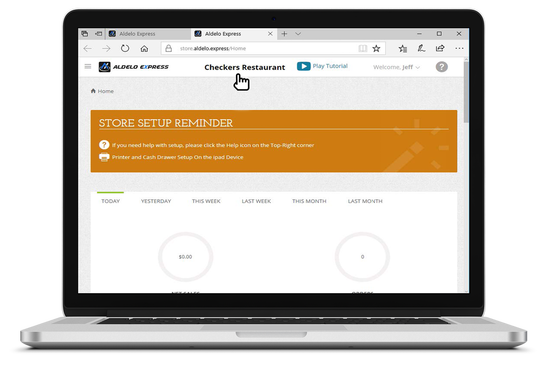
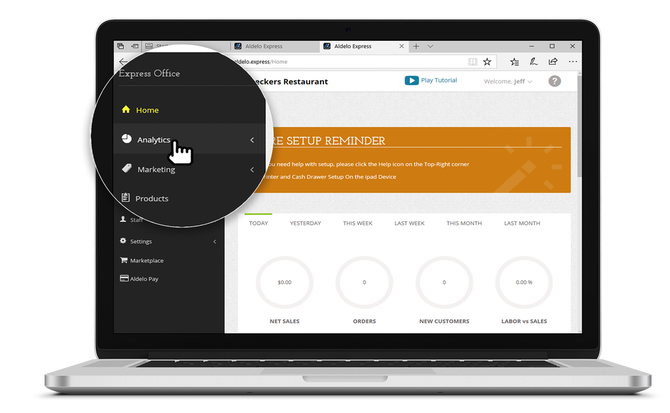
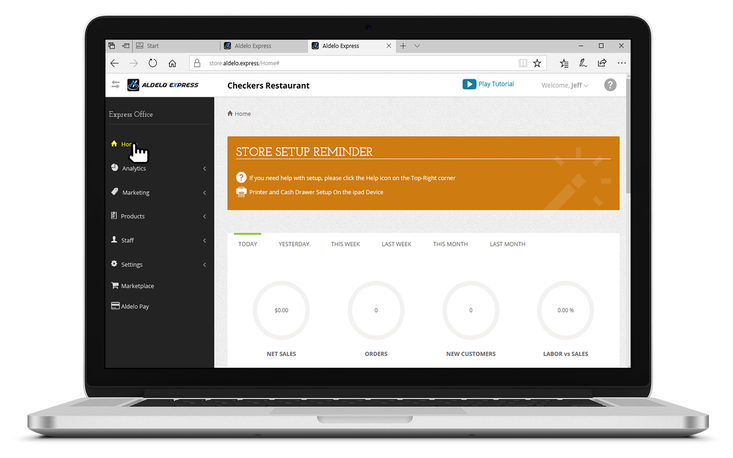
4. Now the entire back office and reports are at your fingertips.
|
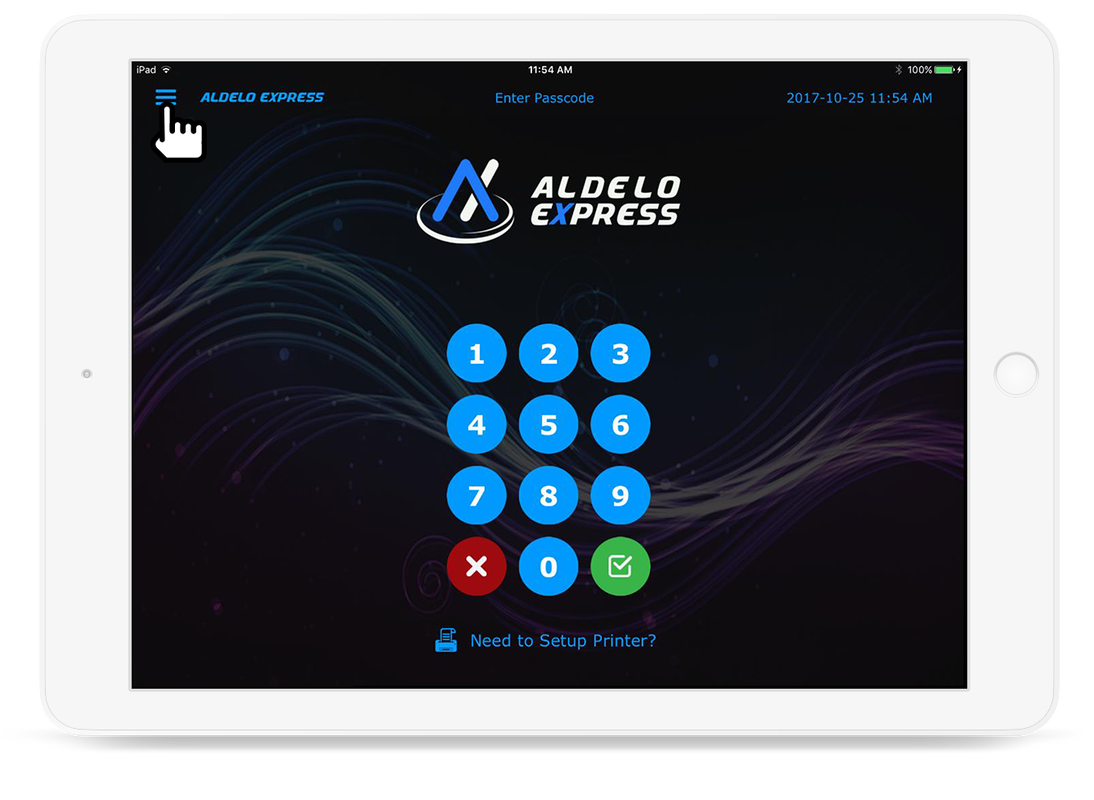
1. Click the Menu icon at the top left of the screen to show the menu.
|
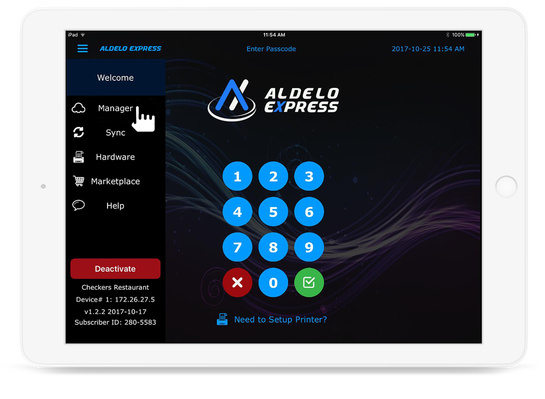
2. Click the Manager option opens Express Cloud on your web browser
|

3. Enter your Express account login.
|
4. Select the Store you wish to manage.
|
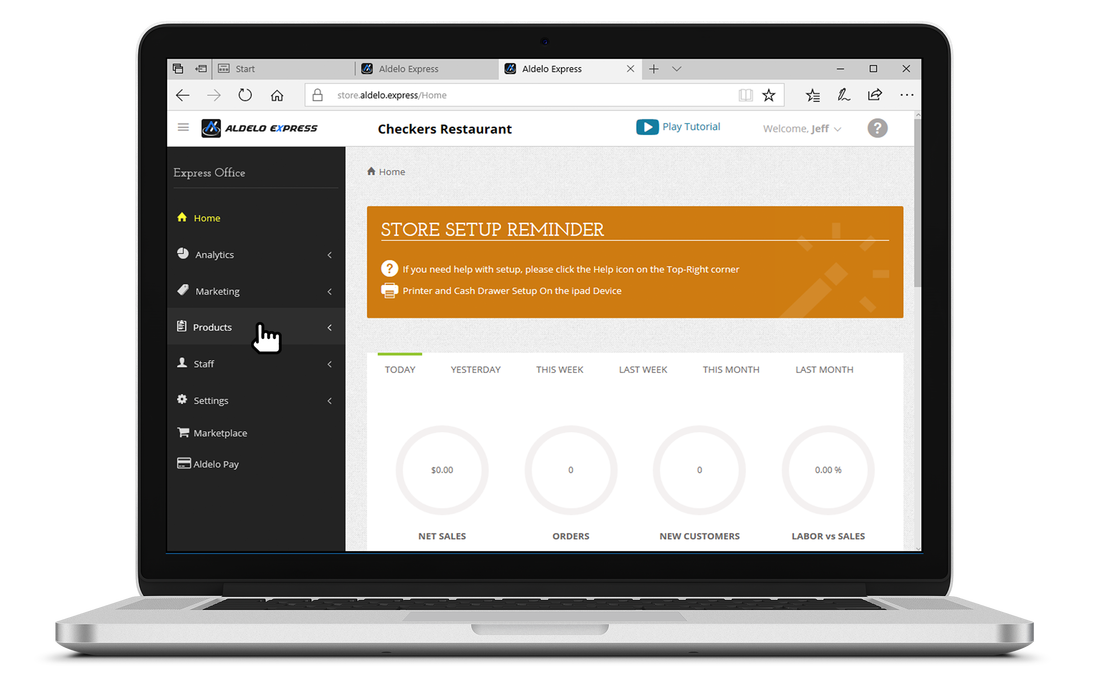
1. Select Product panel on the left side of the screen.
|
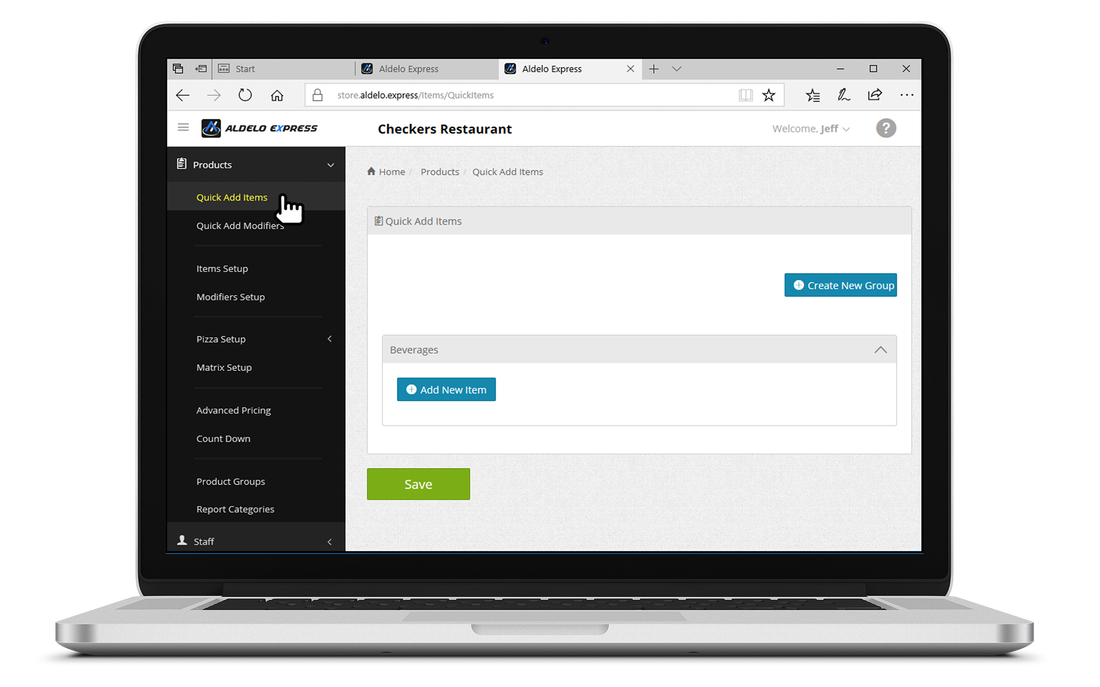
1. Select Product panel on the left side of the screen.
|
3. If necessary create a new menu group (i.e. Appetizers, Entrees).
|
4. Expand the menu group you wish to add the new item to.
|
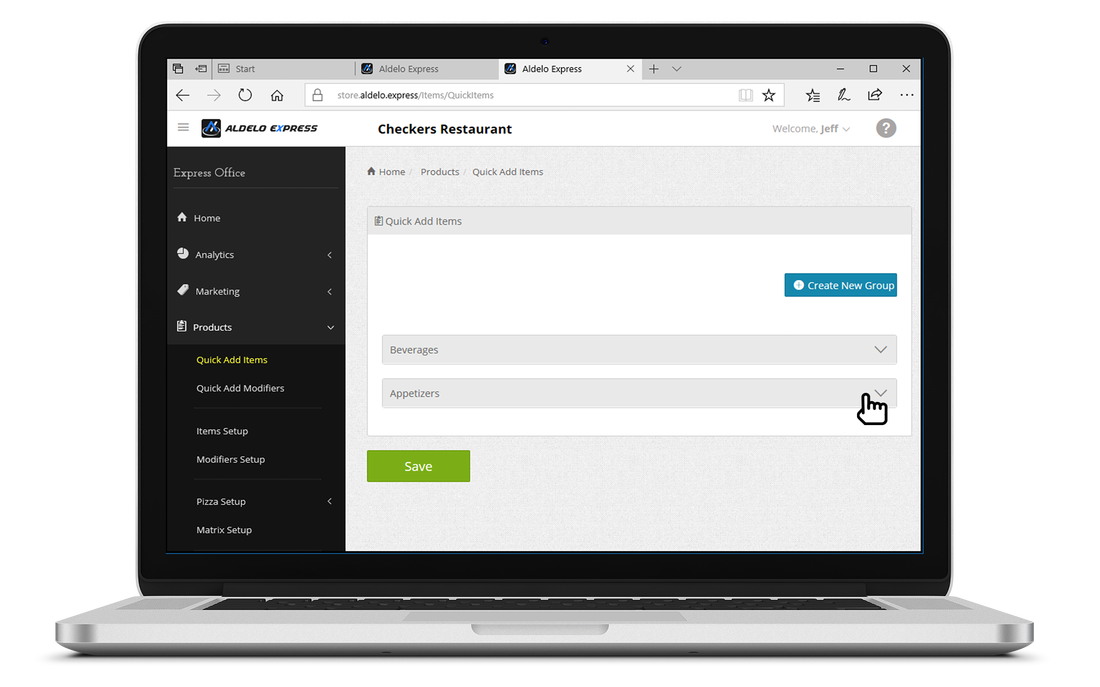
5. Click the Plus button to add new item entry.
|
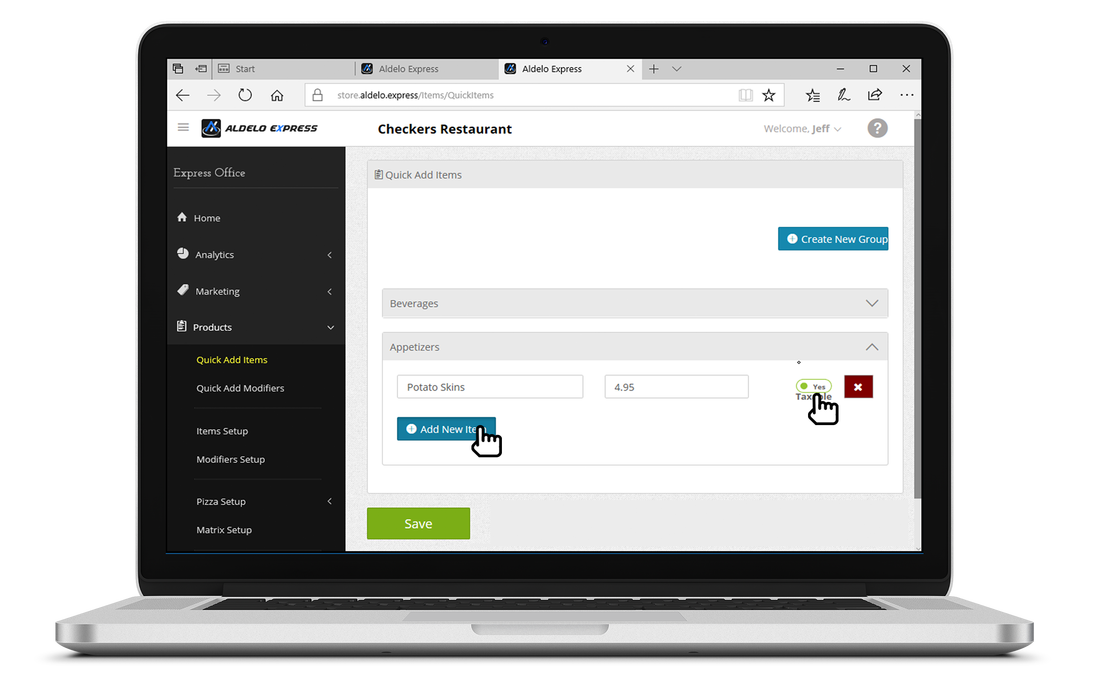
6. Add the new item and price and then click Save once finished.
|

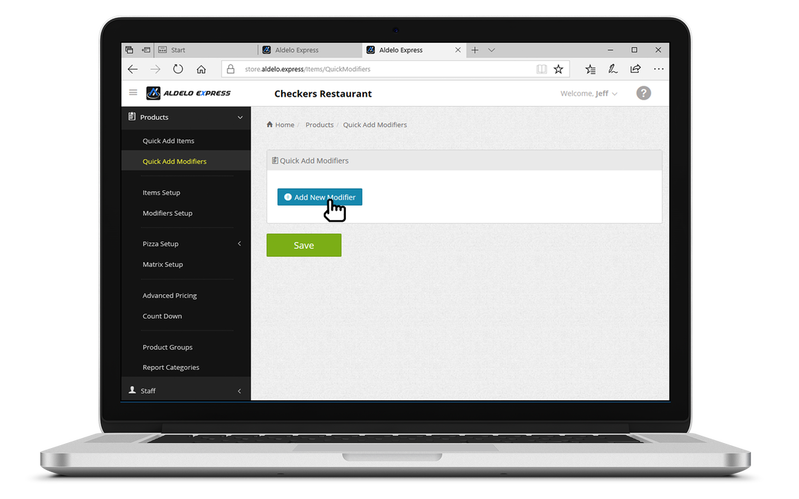
2. Click Add New Modifier.
|
3. Click the Plus button to add new modifier, the price can be 0, when finished click Save.
|
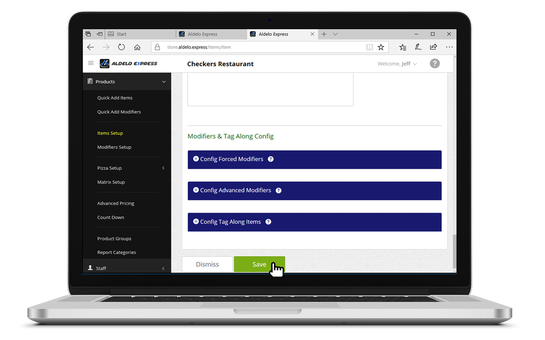
|
|
|
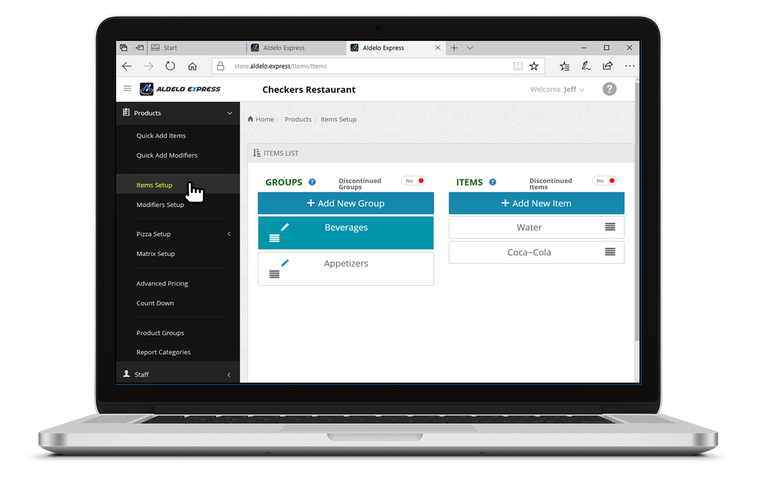
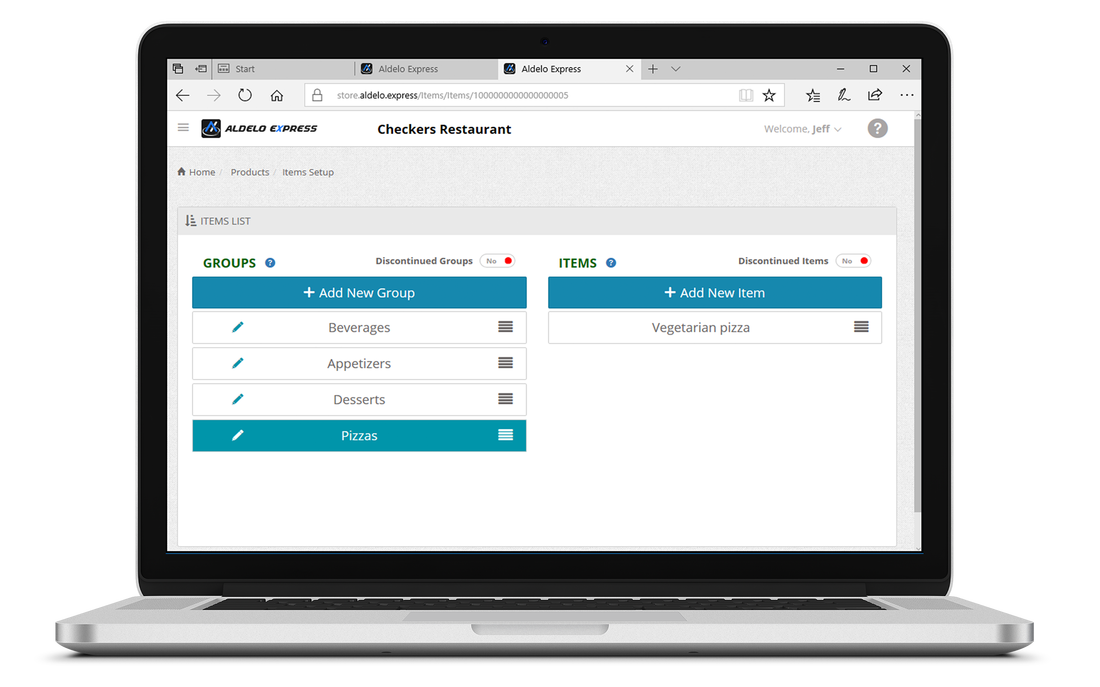
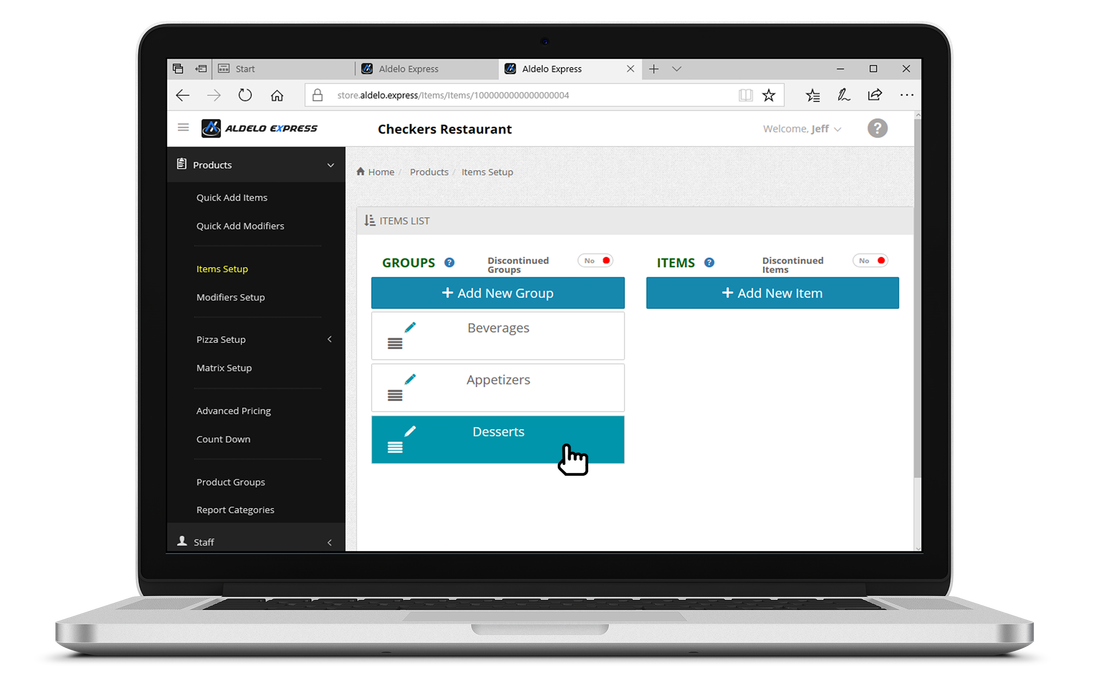
The menu groups (i.e. Appetizers,Entrees) will be shown in the left column. Items that are in the currently selected menu group will be in the right column. |
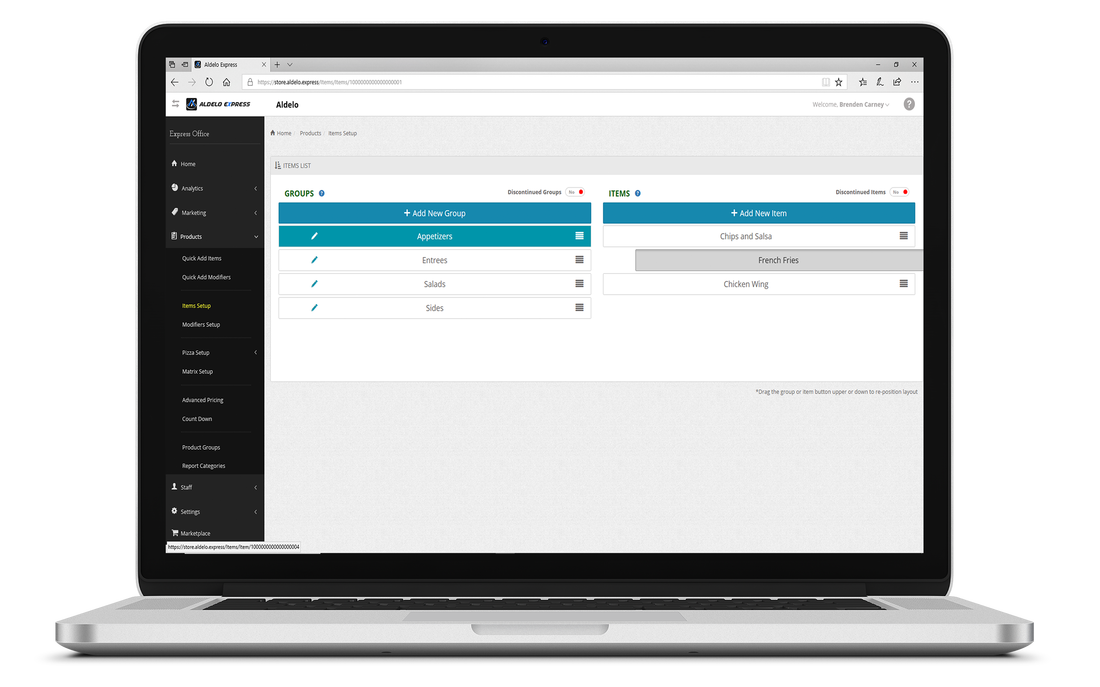
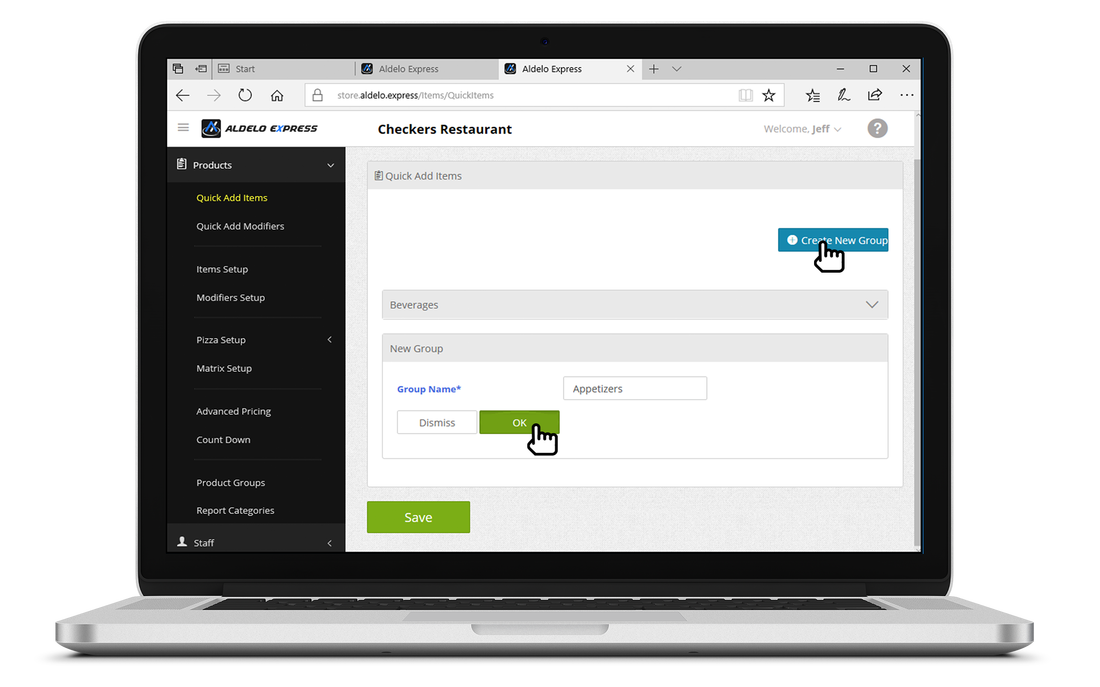
2. If creating a new menu group click Add New Group.
|
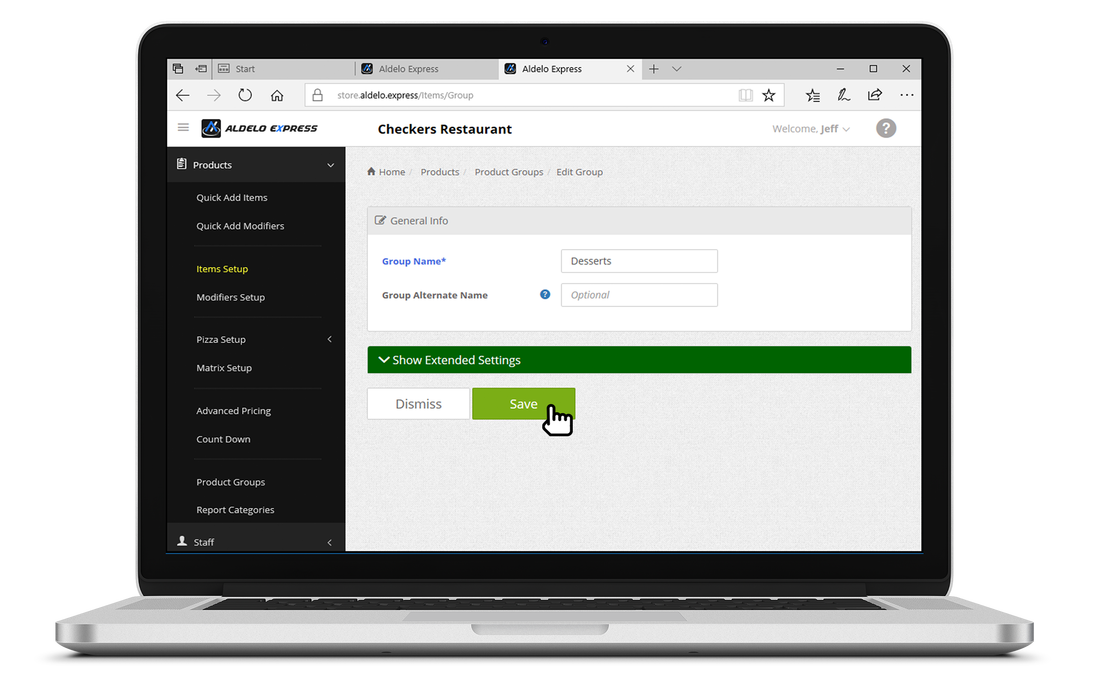
3. Enter the new menu group name and then click save.
|
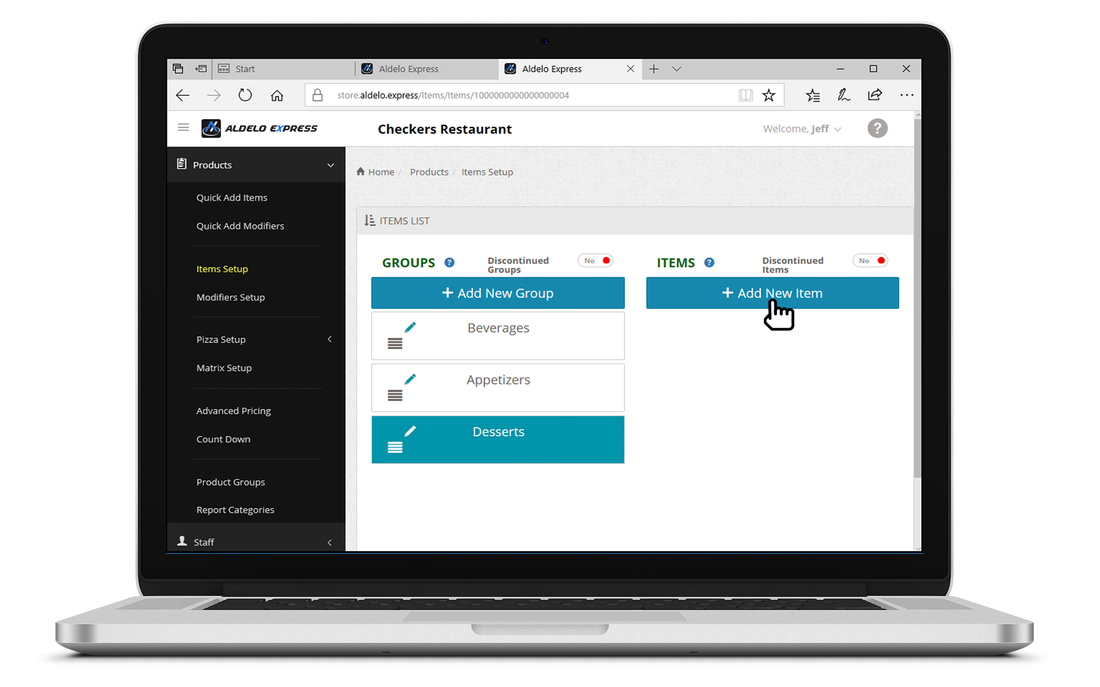
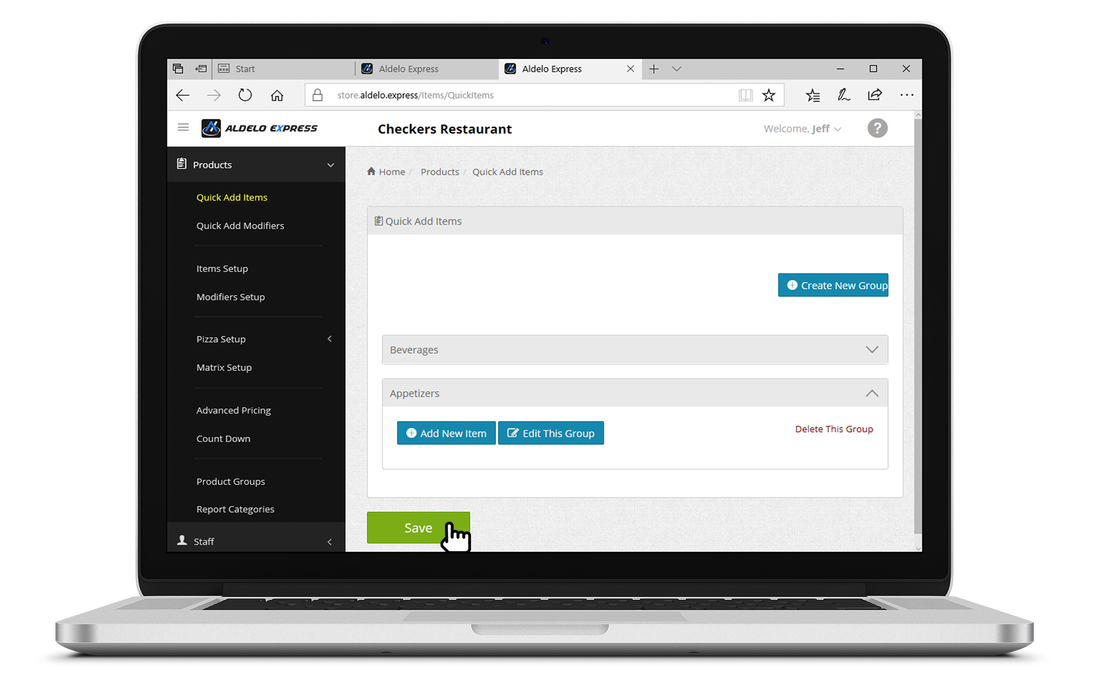
4. Click on the menu group you wish to add a new item to. Then click Add New Item.
|
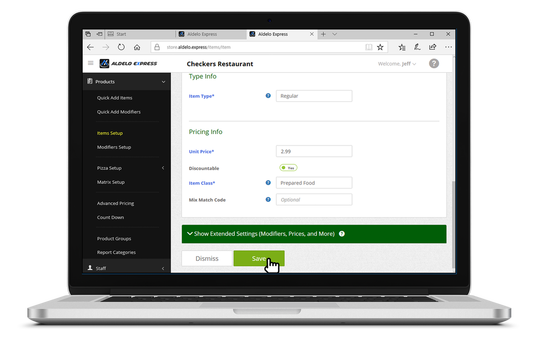
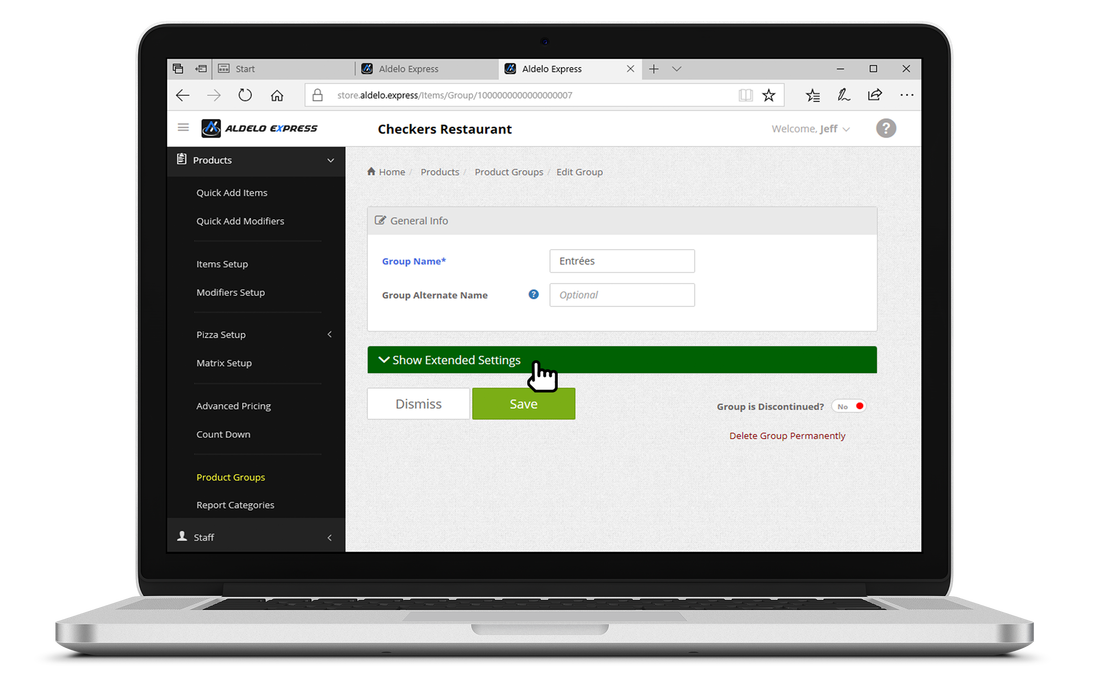
5. Enter the required info indicated with the * and in blue text color.
|
6. Once you are done creating the item click save.
|
7. To reposition group or item, click and drag to the desired position.
|
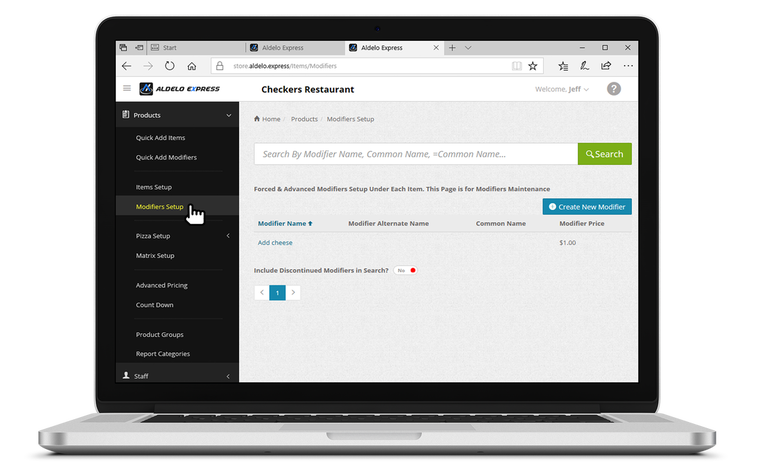

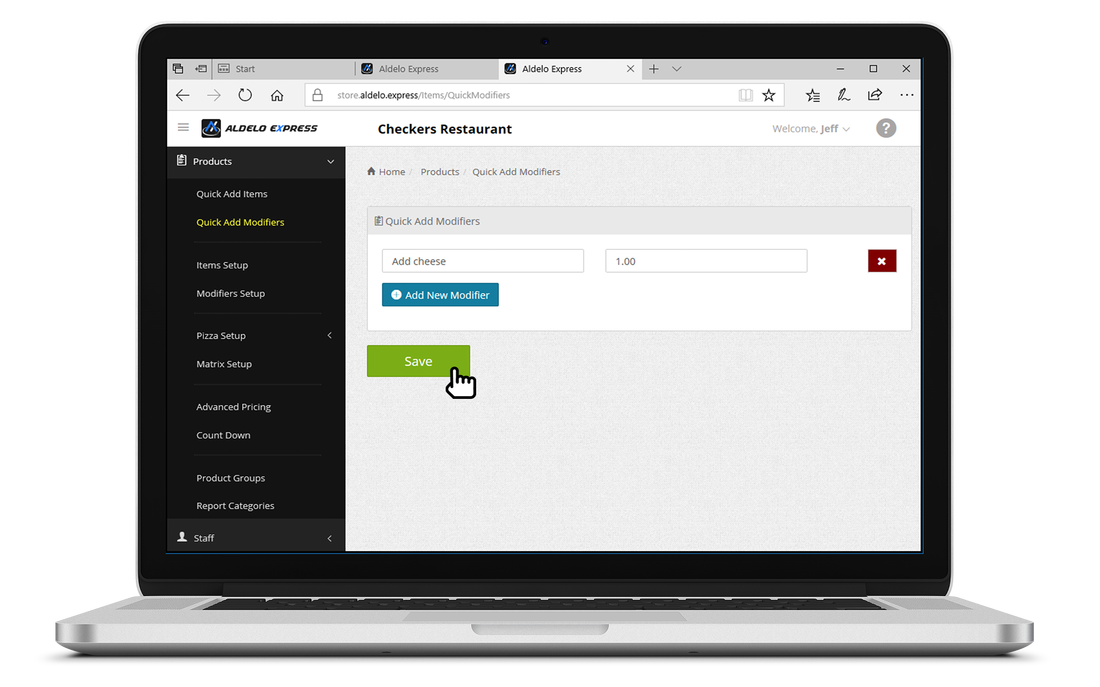
2. Select Create New Modifier.
|
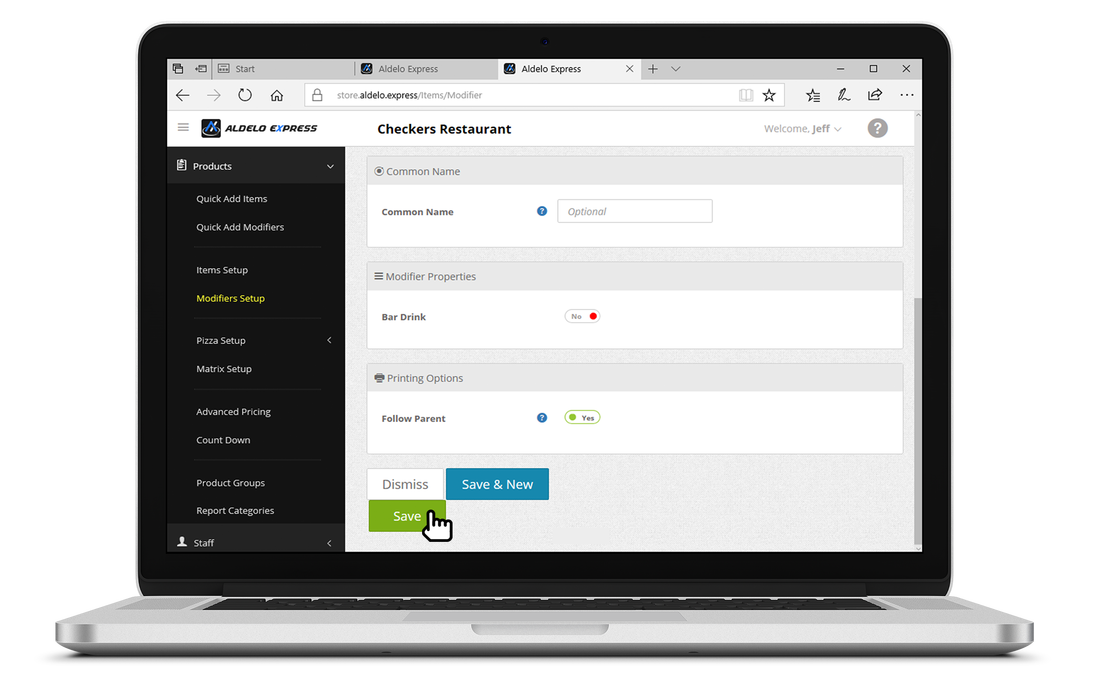
3. Click Save once finished with creating new modifier.
|


2. Enter the different pizza sizes offered. (i.e.Small, Medium, Large, X-Large).
|
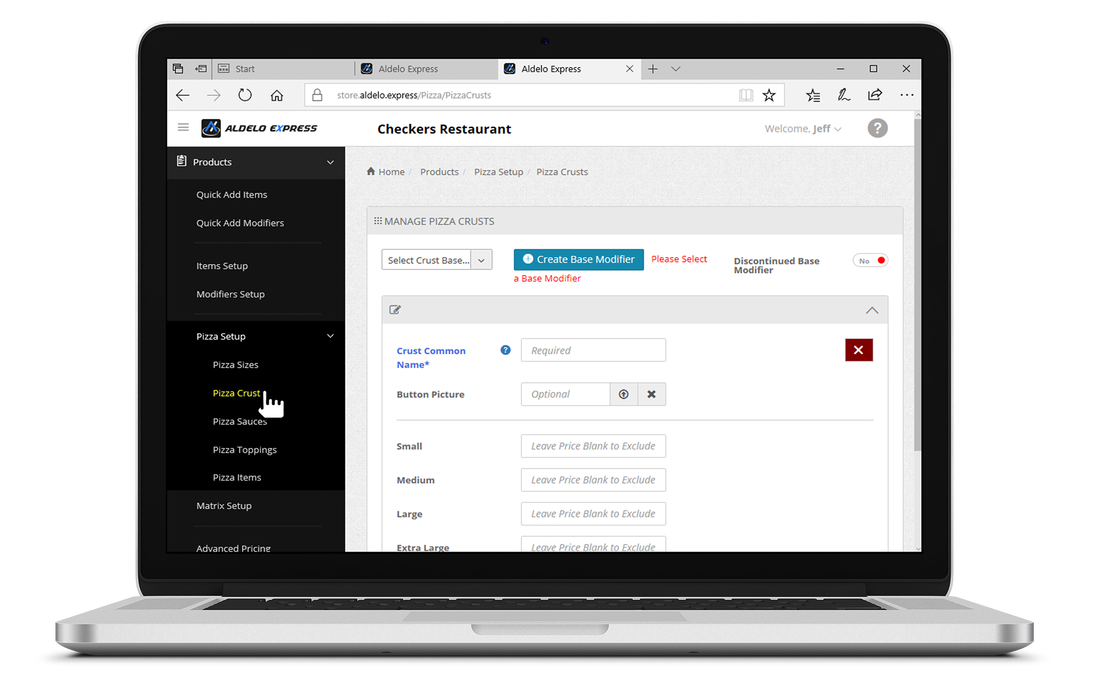
3. Next select Pizza Crusts.
|
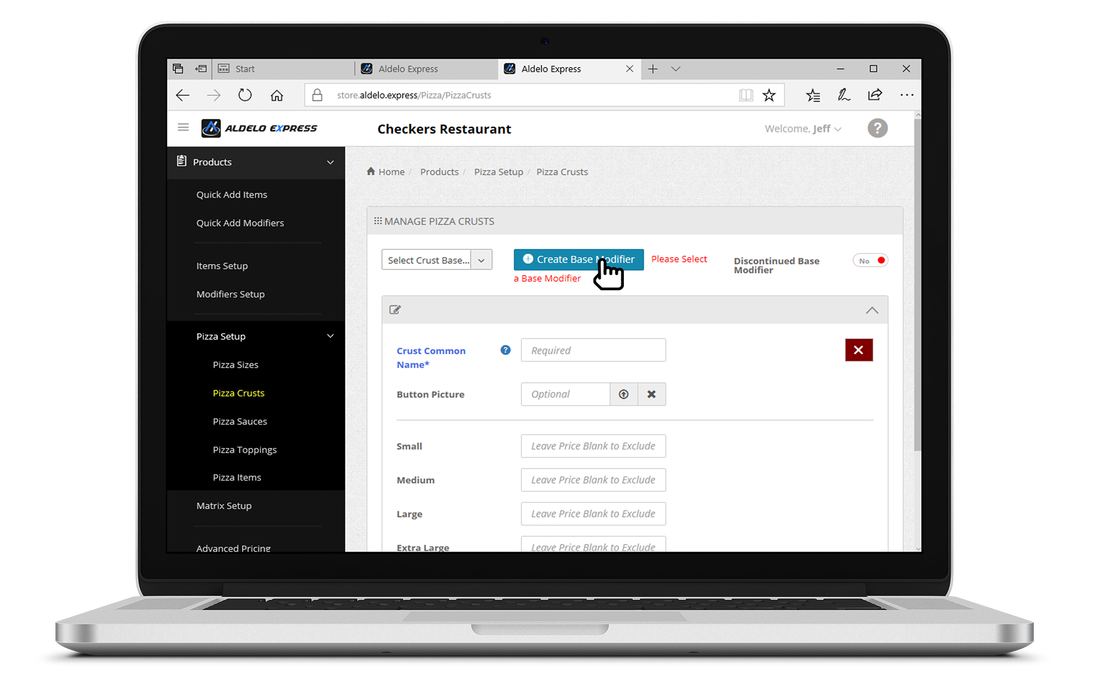
4. Select Create Base Modifier.
|
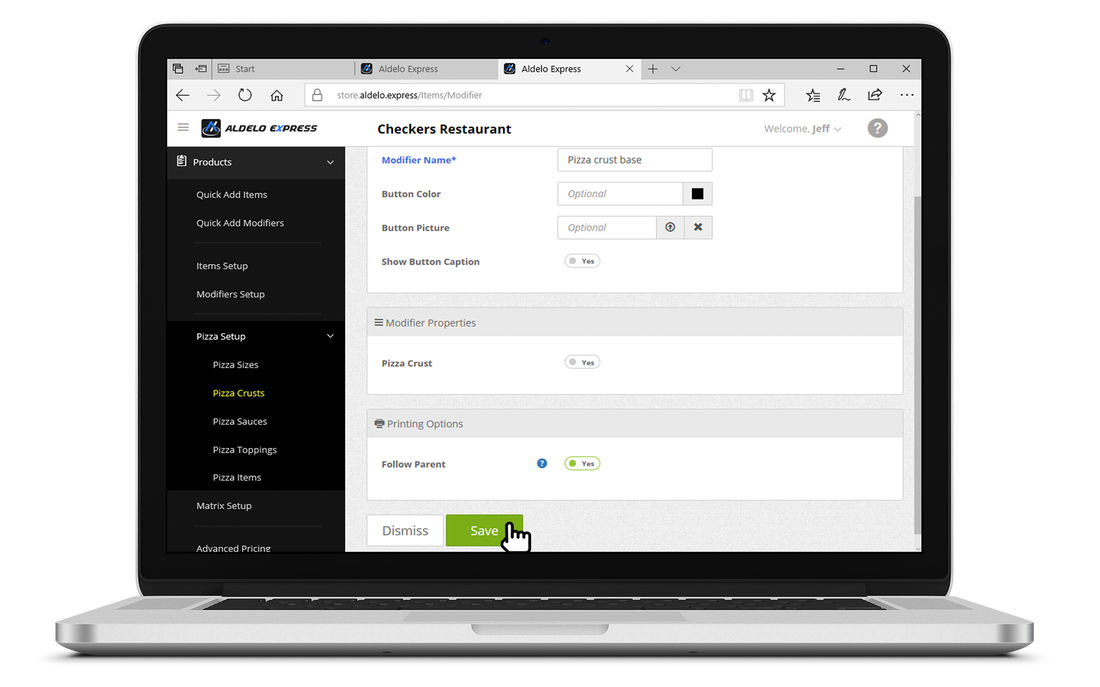
5. Create a modifier called "Base Crust".
|
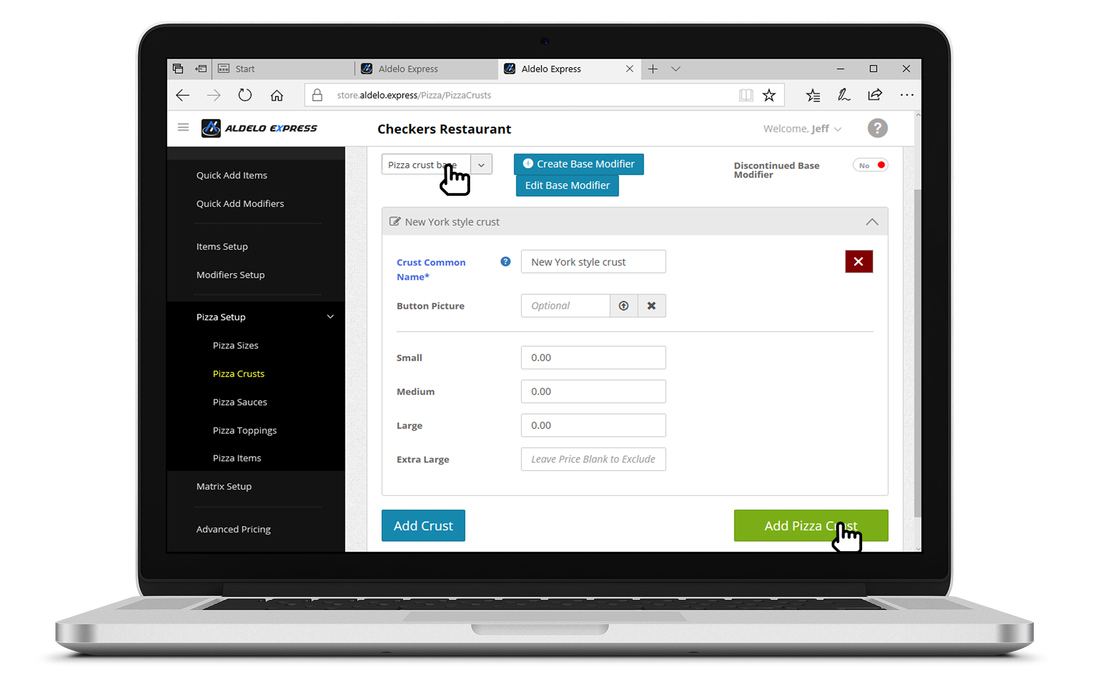
6. Select "Base Crust" from the drop down menu and create the name for the crust (i.e. Thin, Stuffed). Also enter a price for the crust if necessary and click Add Pizza Crust.
|
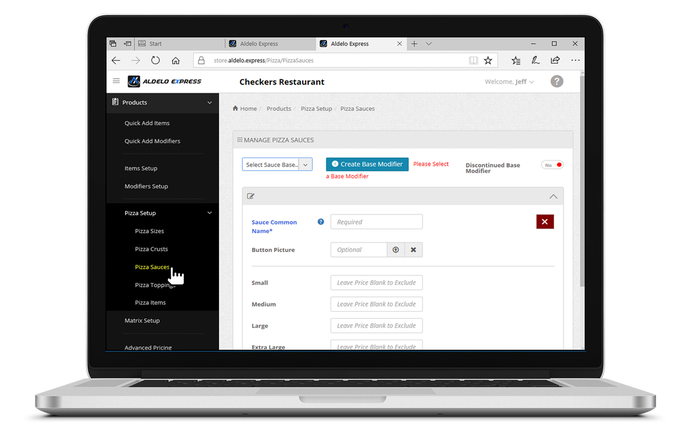
7. Next select Pizza Sauces.
|
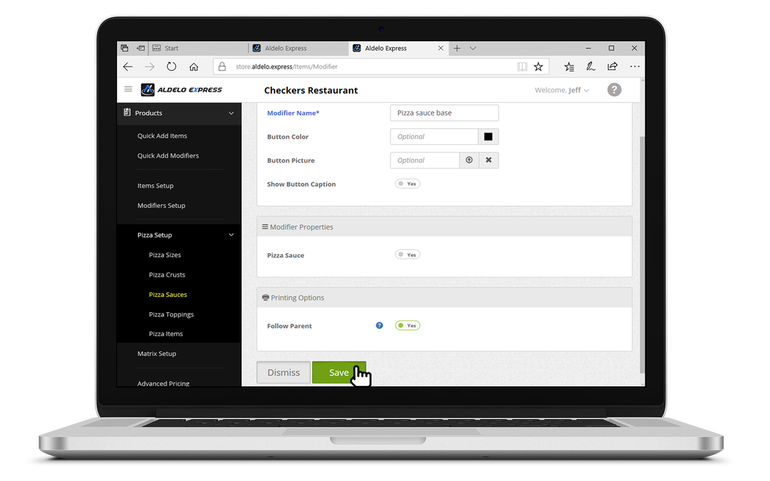
8. Click Create Base Modifier and create a modifier called "Base Sauce".
|
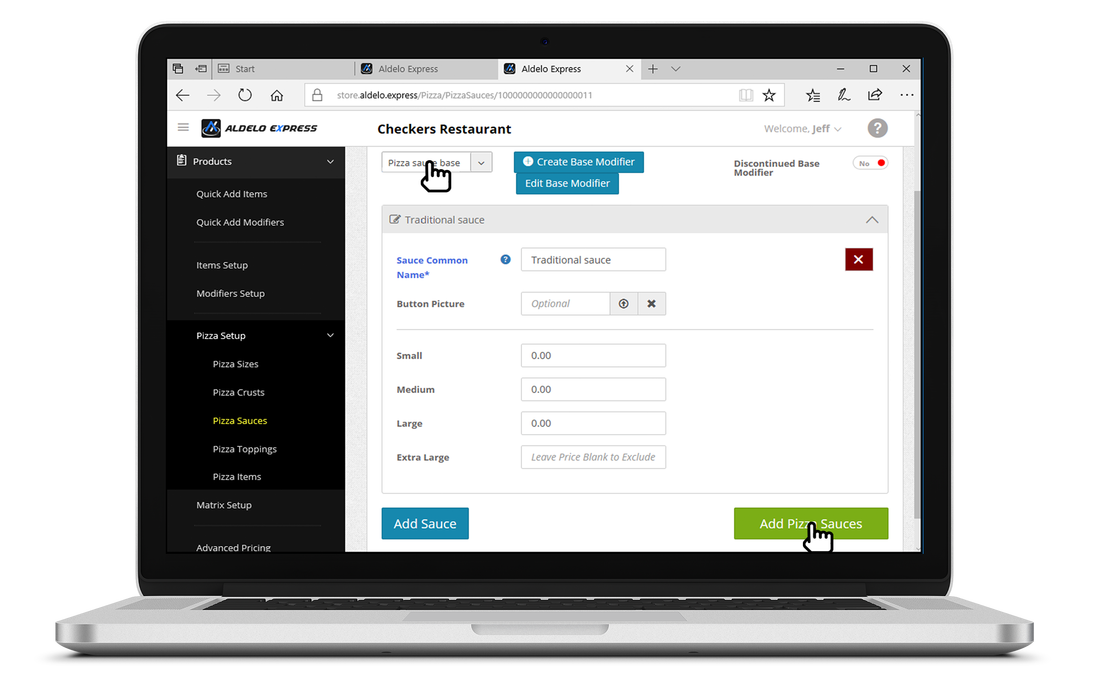
9. Select "Base Sauce" from the drop down menu and enter the sauce name(i.e. Tomato, White, BBQ). Once done click Add Pizza Sauces.
|

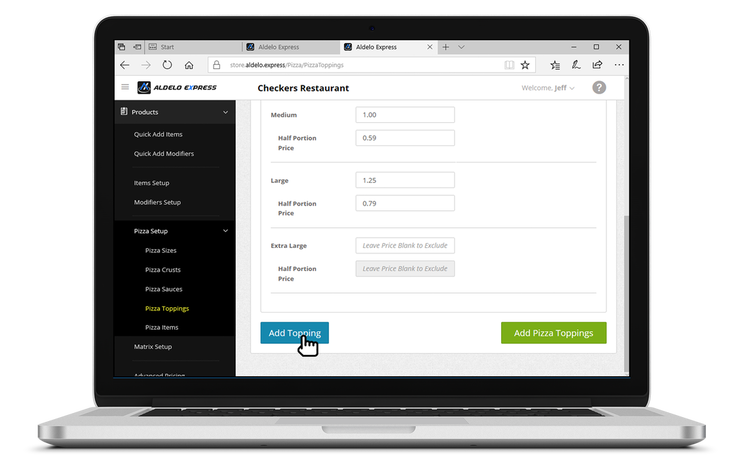
10. Next select Pizza Toppings. Select Create Base Modifier and create a modifier called "Base Topping".
|

11. Select "Pizza Topping Base"from the drop down list and enter the topping name and and price for each size.
|

13. Select Create Base Item and create an Item called "Base Pizza".
|
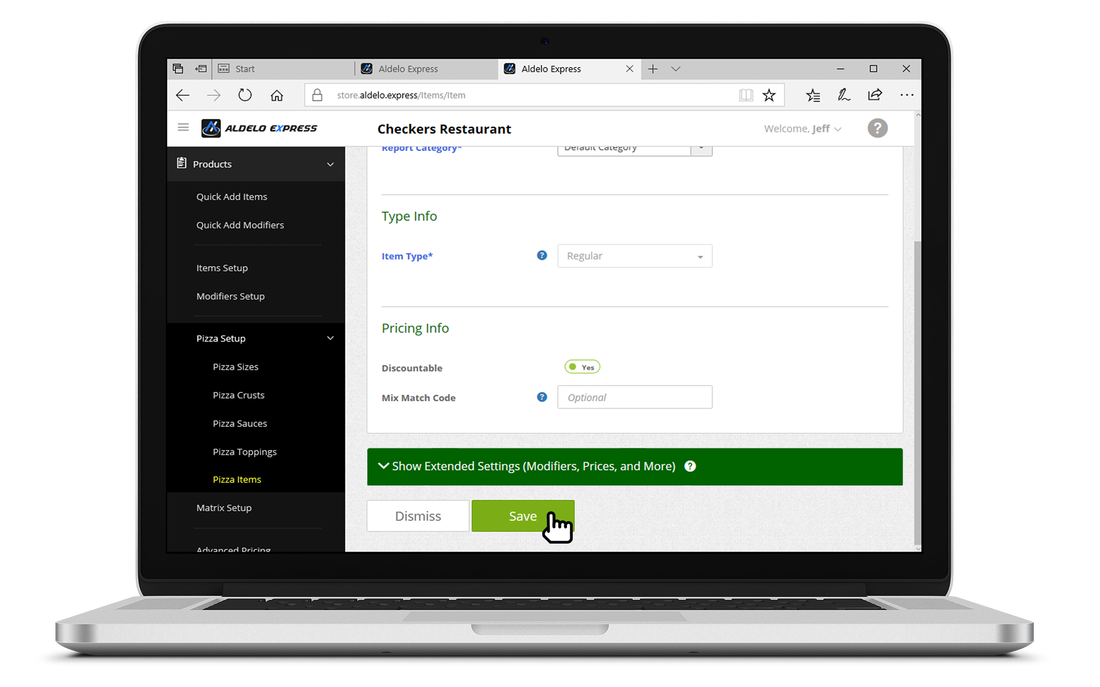
14. Click Extended Settings (Modifiers, Prices, and More).
|

15. When create "Base Pizza" if pizzas print to a different Kitchen Printer click on Show Extended Settings and Select the correct printer under Printing Options.
|
16. Select "Base Pizza" from the drop down list and enter the pizza name(i.e. Pepperoni, Hawaiian, Vegetarian). Enter the price for each size. If a size is not offered for the pizza leave the price blank.
|
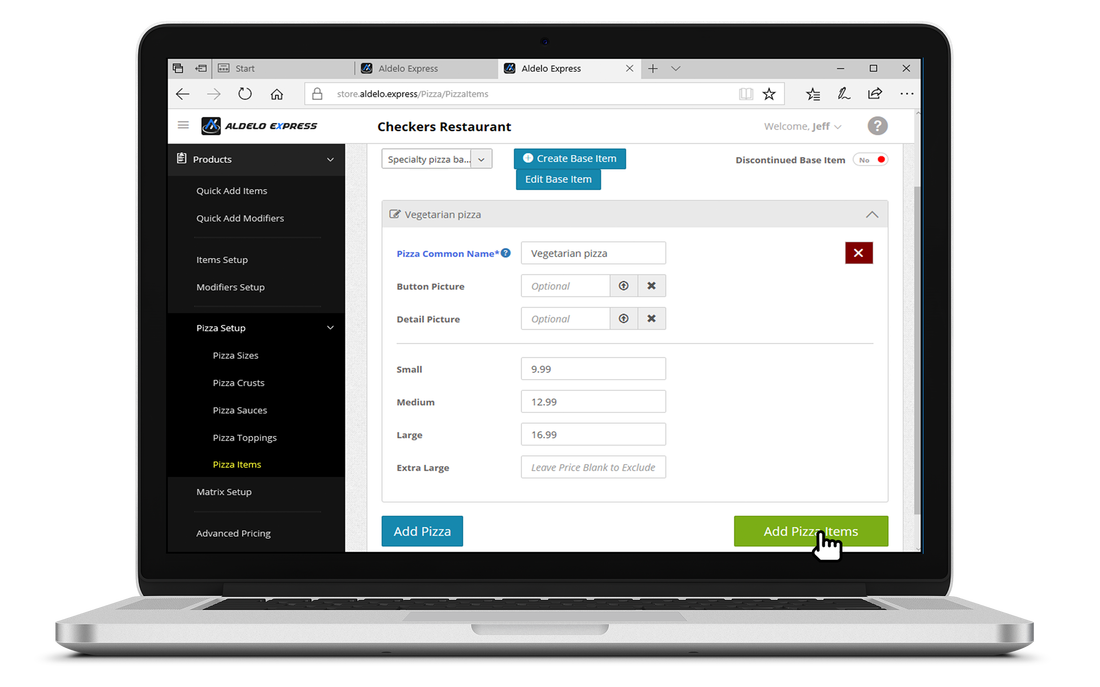
17. Enter the price for pizza item. To exclude a size from the list, leave its field blank.
|
18. Once pizza build is finished, the created pizza top level item will be shown in menu.
|
|
|
|
Using the matrix is helpful in creating multiple items quickly. For example different T-shirt sizes and colors or different number of chicken wings and flavors.
|
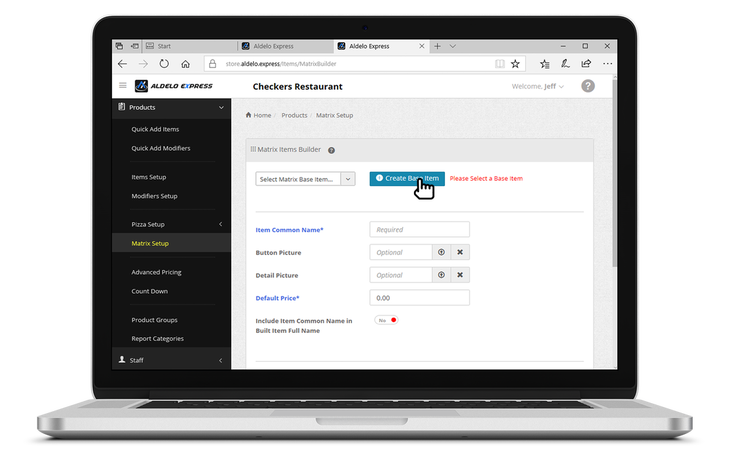
1. Select Matrix Setup and click Create Base Item.
|
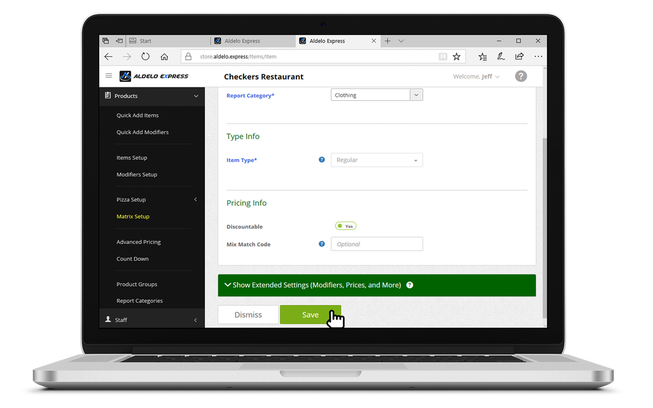
2. When creating the Base Item, the product group is where all created items be associated with.
|
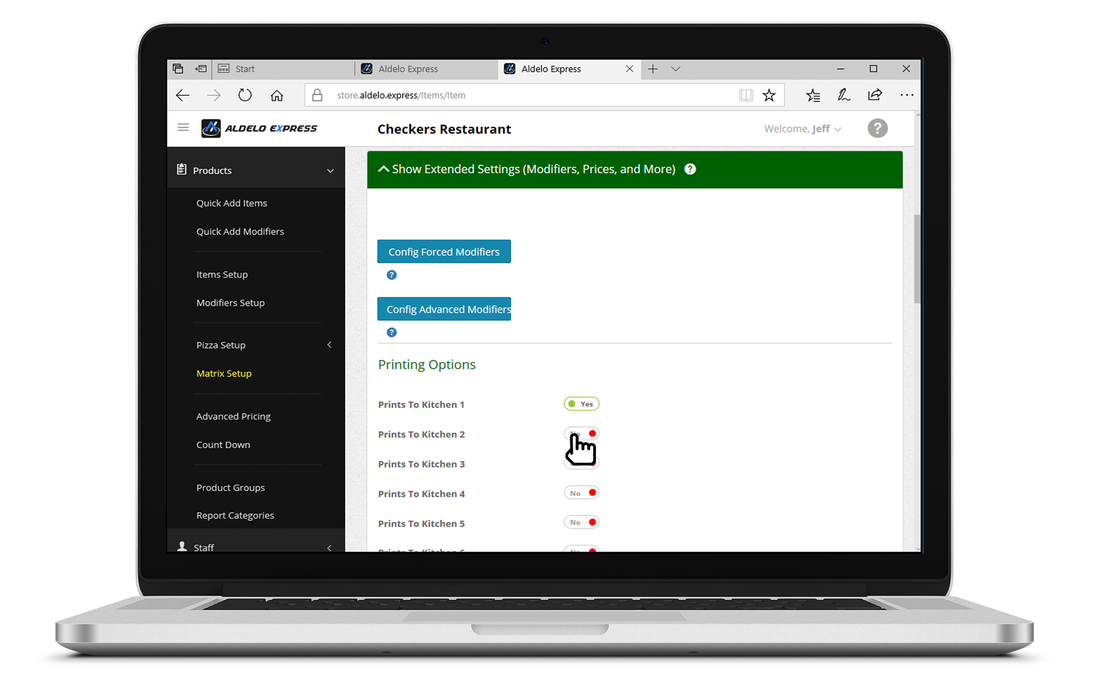
3. Edit extended setting as necessary, such as printing options.
|
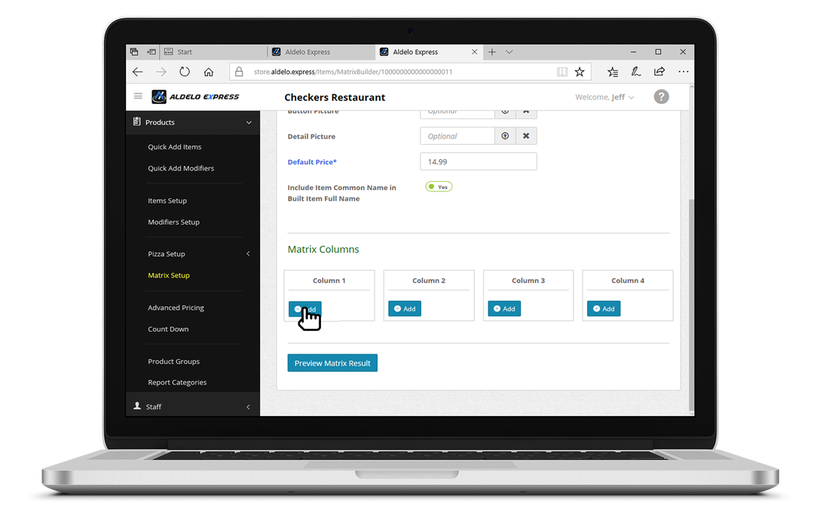
4. Add and edit matrix columns, such as size, color, etc.
|
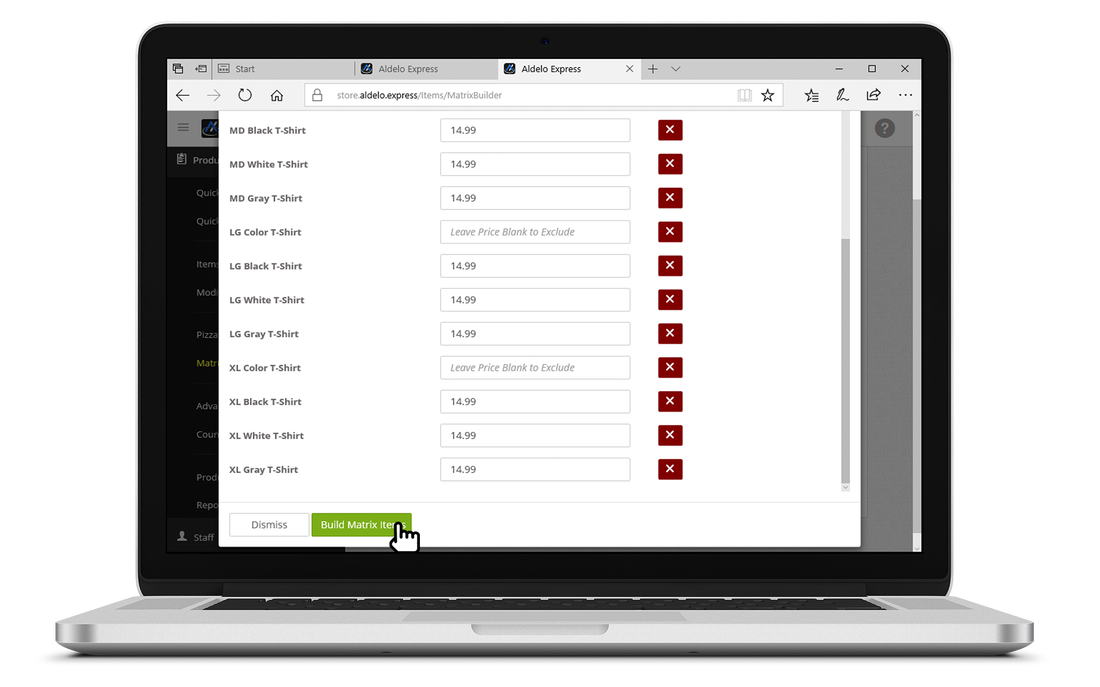
5. Delete irrelevant items generated in the matrix.
|
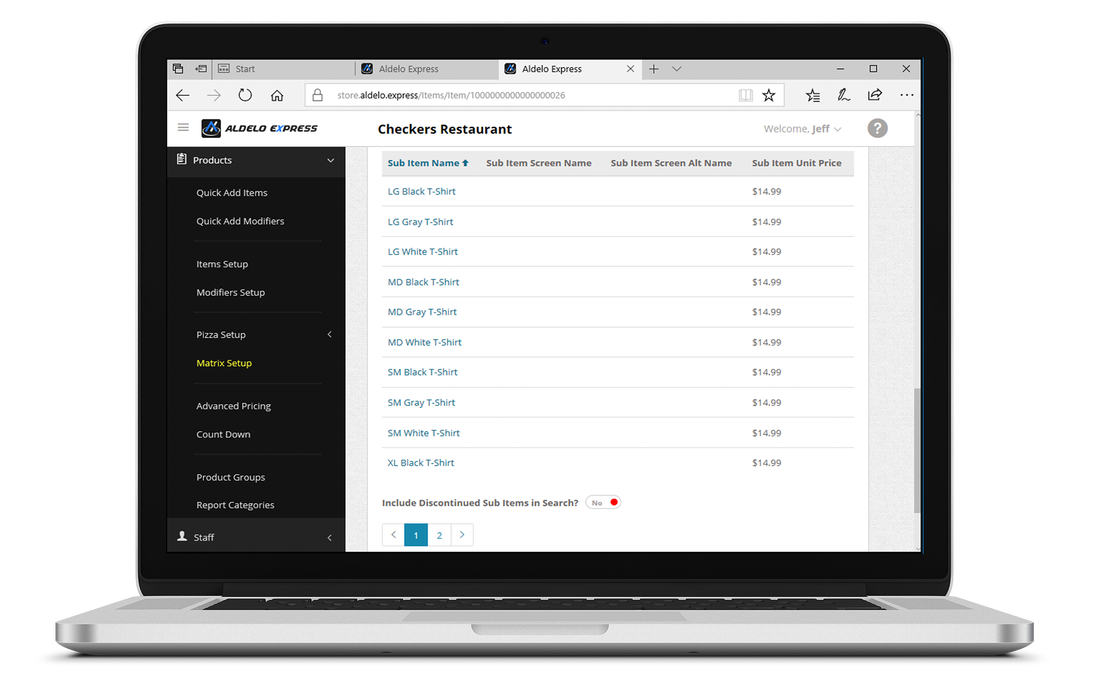
6. View the matrix items once built is succeeded.
|
|
|
|
Advanced Pricing is useful for changing an item price automatically such as Happy Hour Pricing.
|
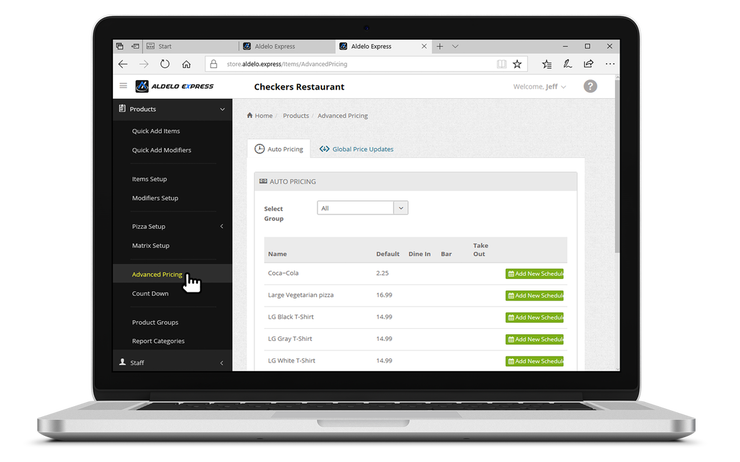
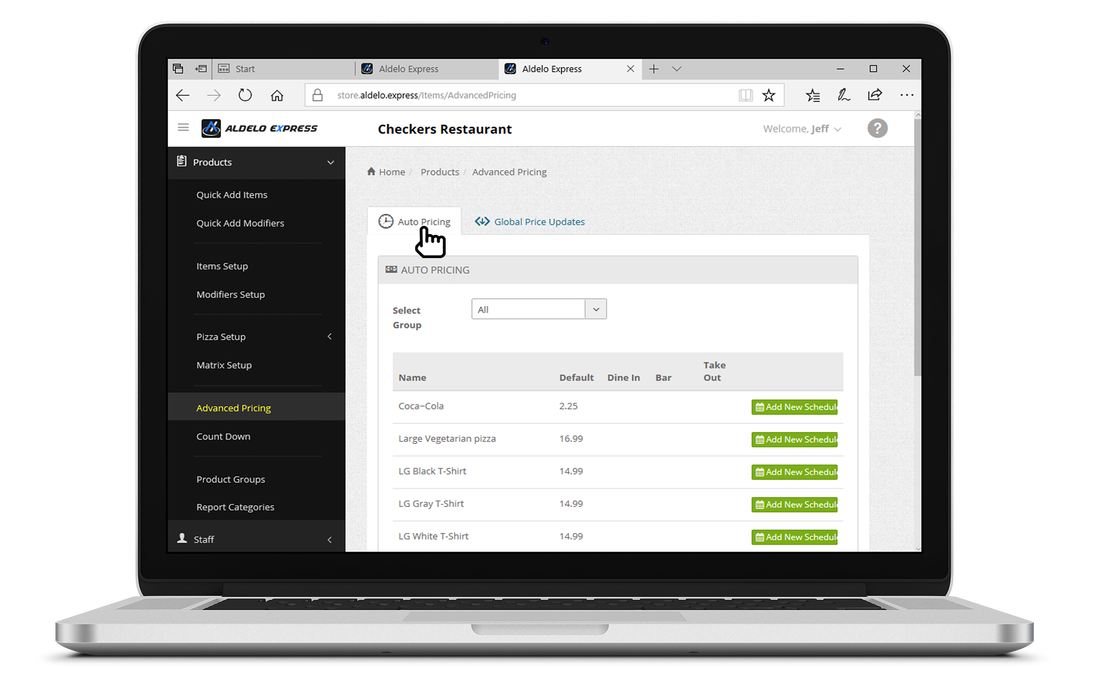
2. Select auto pricing setup.
|
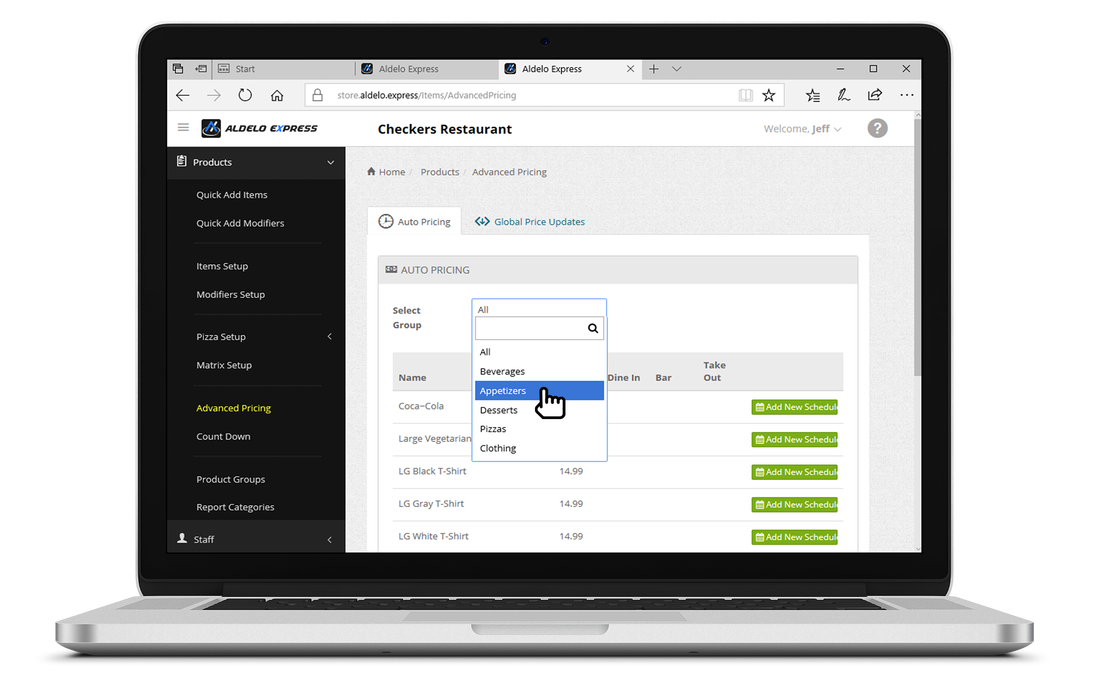
3. Select a group to set up the auto pricing.
|
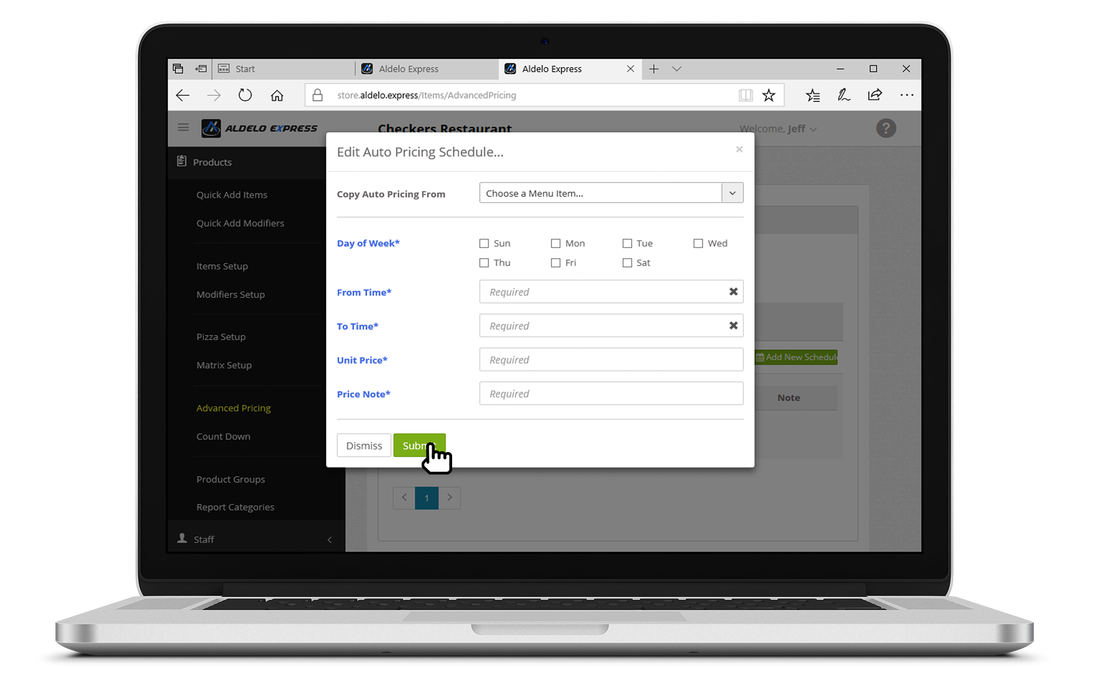
4. Click on Add New Schedule and select the days of the week and times of day you would like the auto pricing to take effect.
|
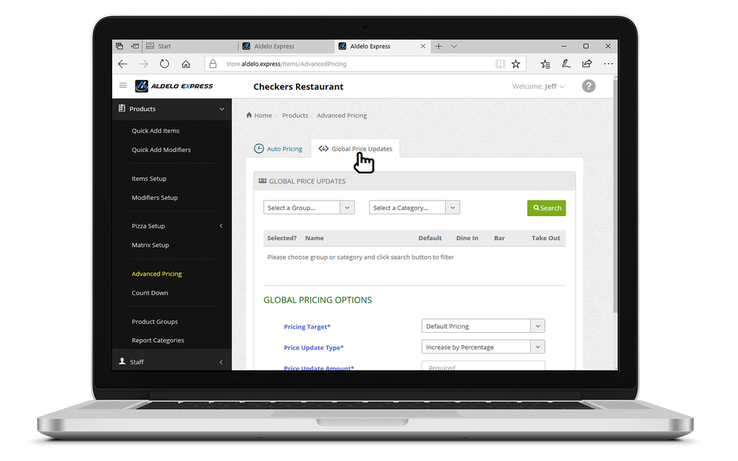
5. If you want to globally update prices rather than auto pricing, select global price updates.
|
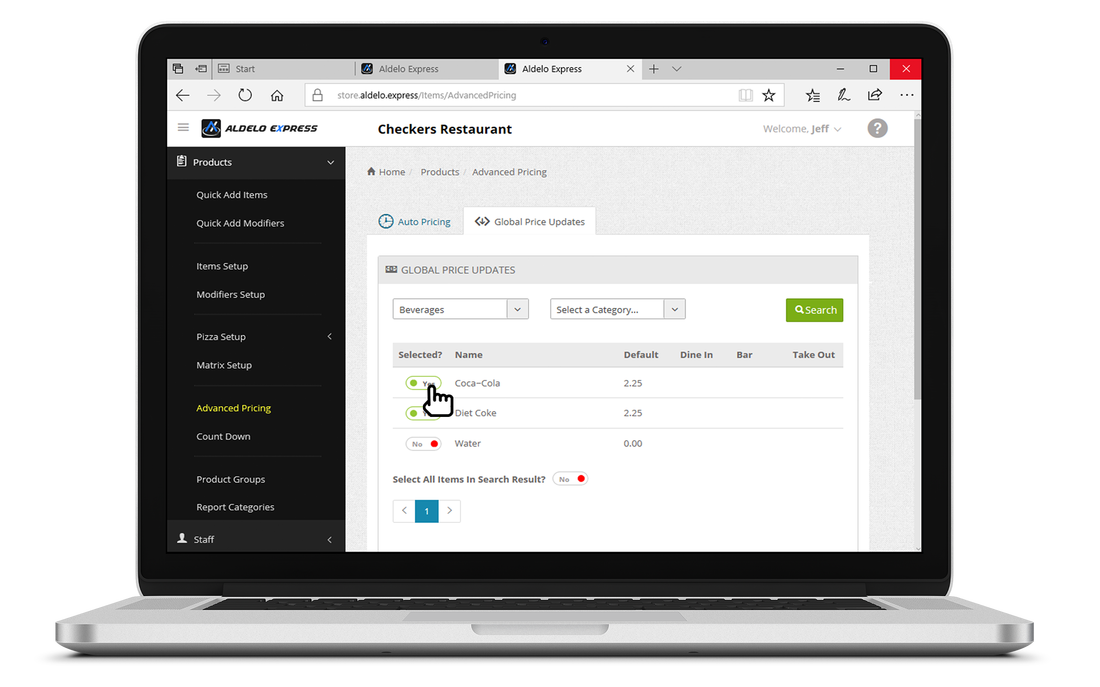
6. Then select the items you wish to participate in the global price updates.
|
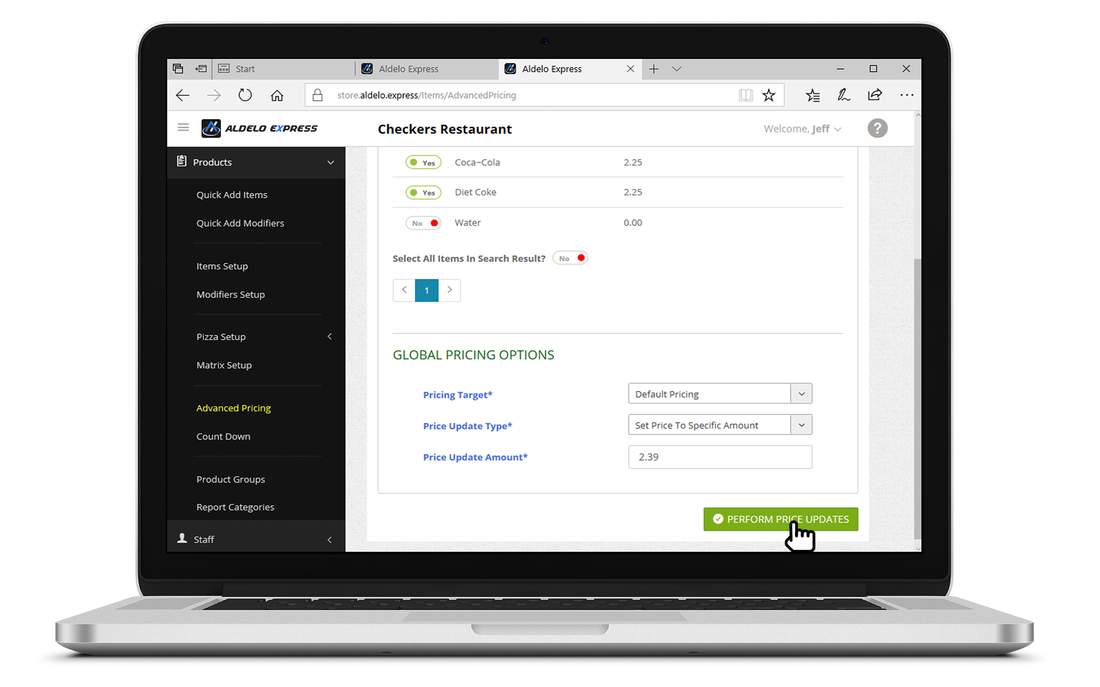
7. Select how you would like to change the pricing either by percentage or amount and enter the amount you would like to change it by.
|
|
Count Down is useful in helping the servers know how much of an item is in stock.
|
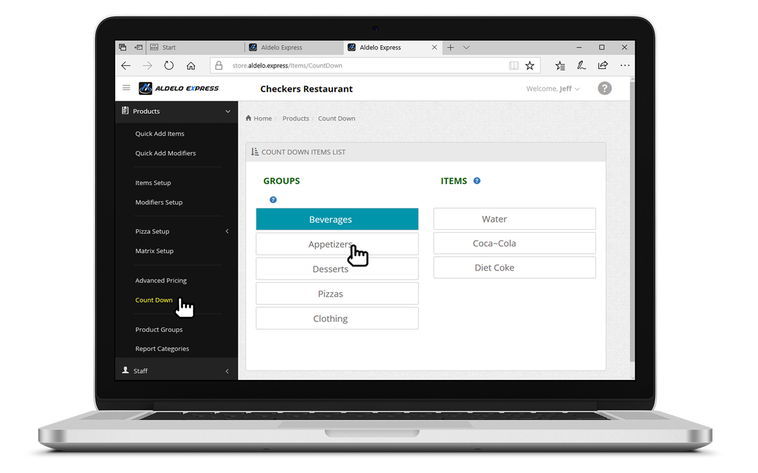
1. Select the menu group of the items you would like to setup count down.
|
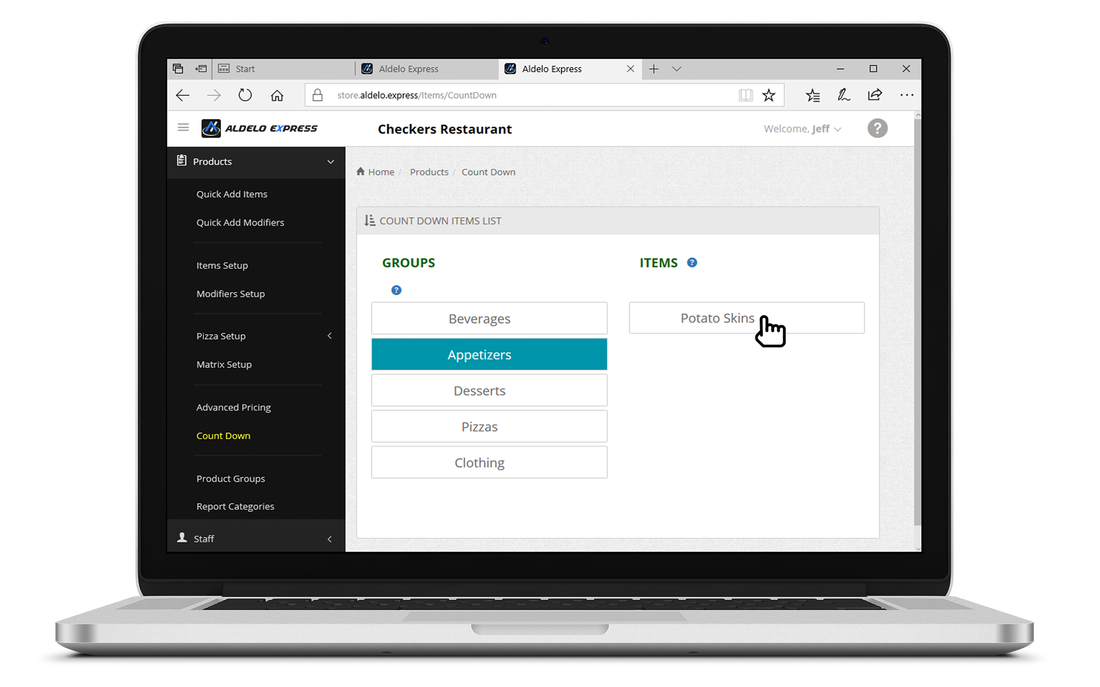
2. Click on the item and enter the amount that is currently available.
|
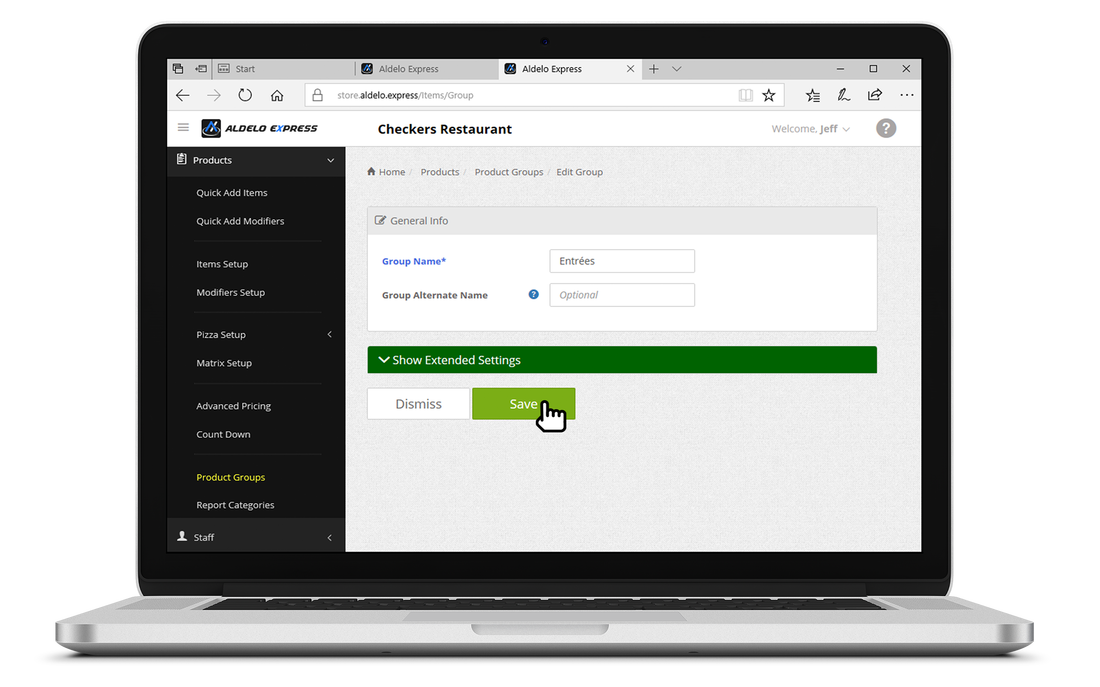
2. Create a new product group and save.
|
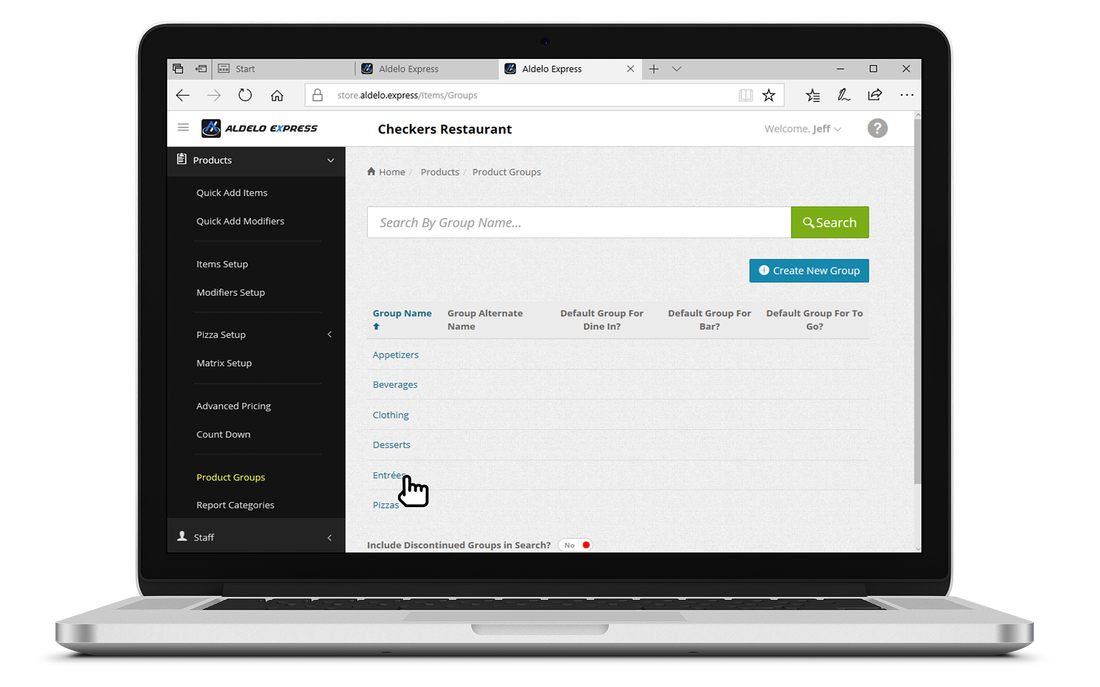
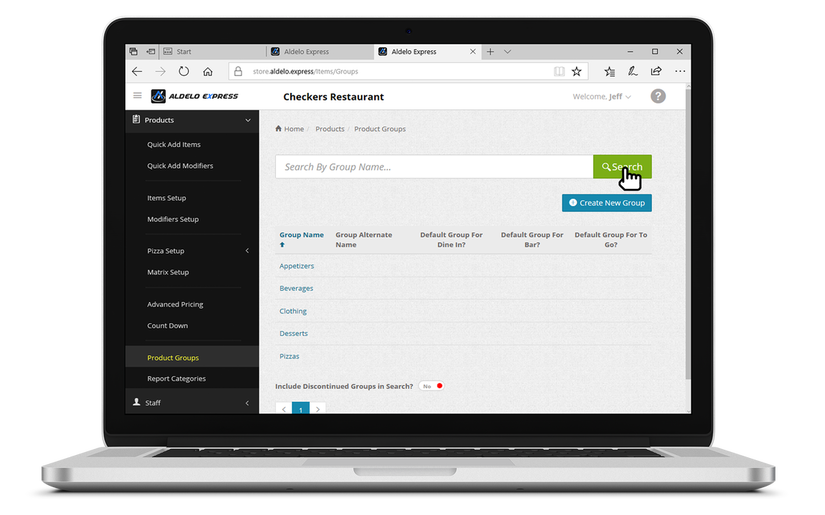
3. To edit a product group, select from the product group list.
|
4. You can also create or edit product groups from the Product panel.
|
5. The extended settings allow for certain groups to only be available for certain order types.
|

6. In the extended settings panel of product group, you can also setup availability schedules.
|
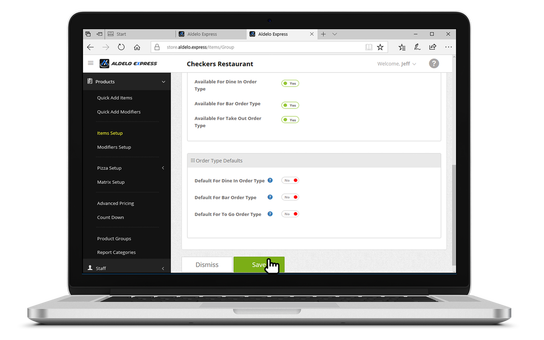
7. In the extended settings panel of product group, you can also setup order type and other defaults.
|

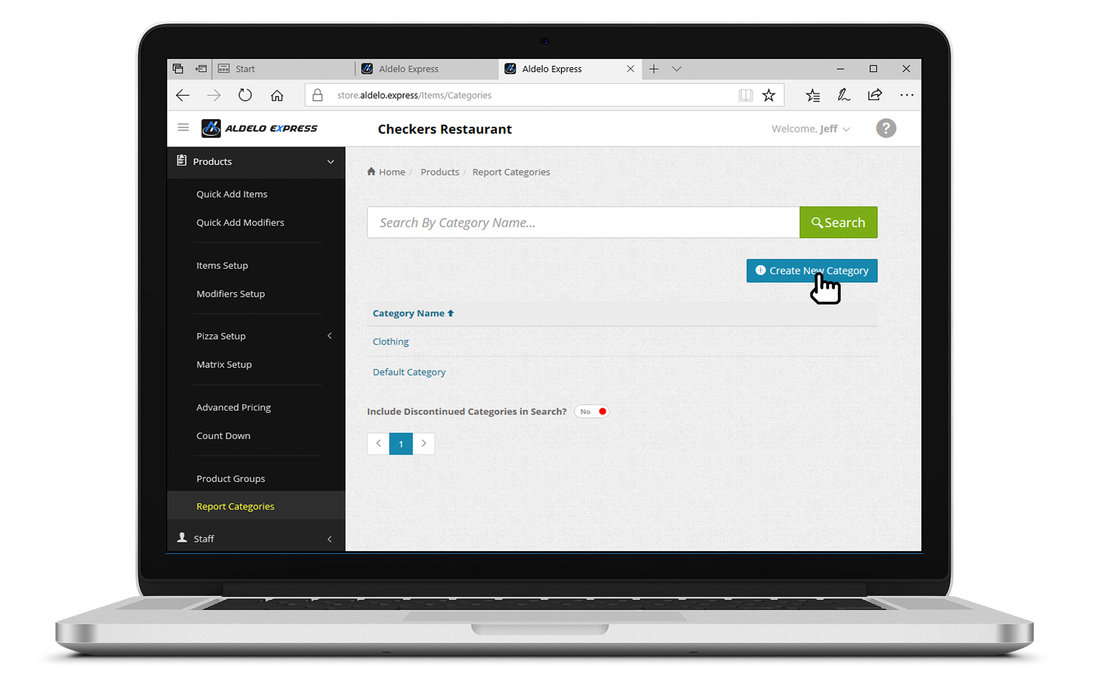
2. Click on Create New Category to add a new report category.
|

3. To edit a report category, simply click on an existing report category from list.
|

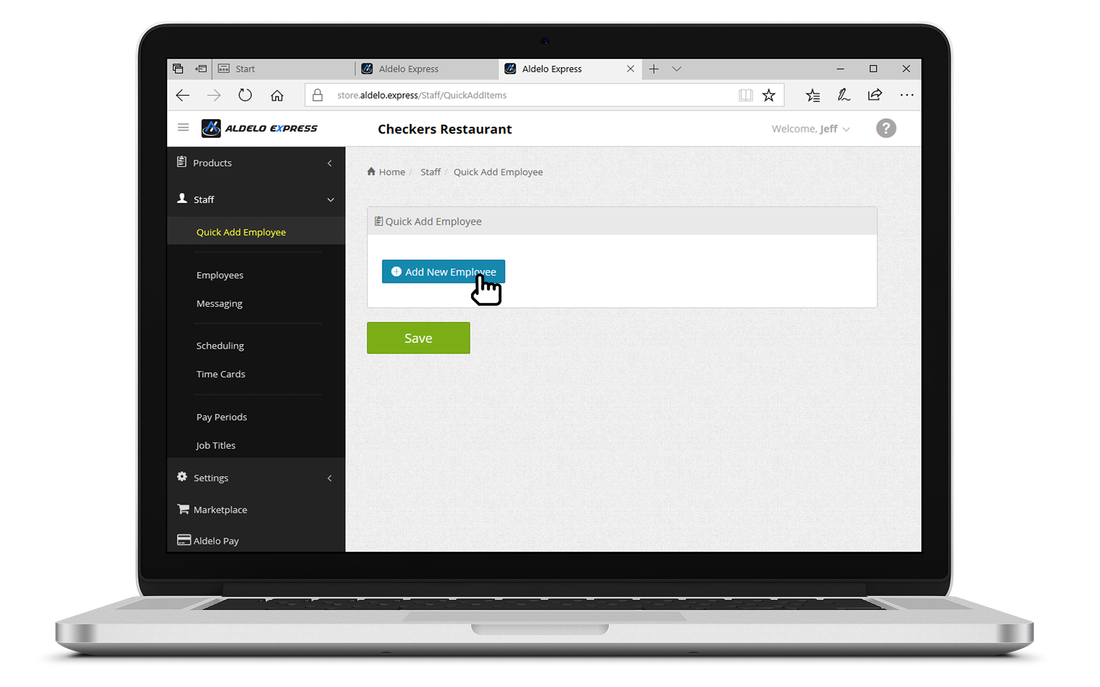
2. Click Add New Employee.
|
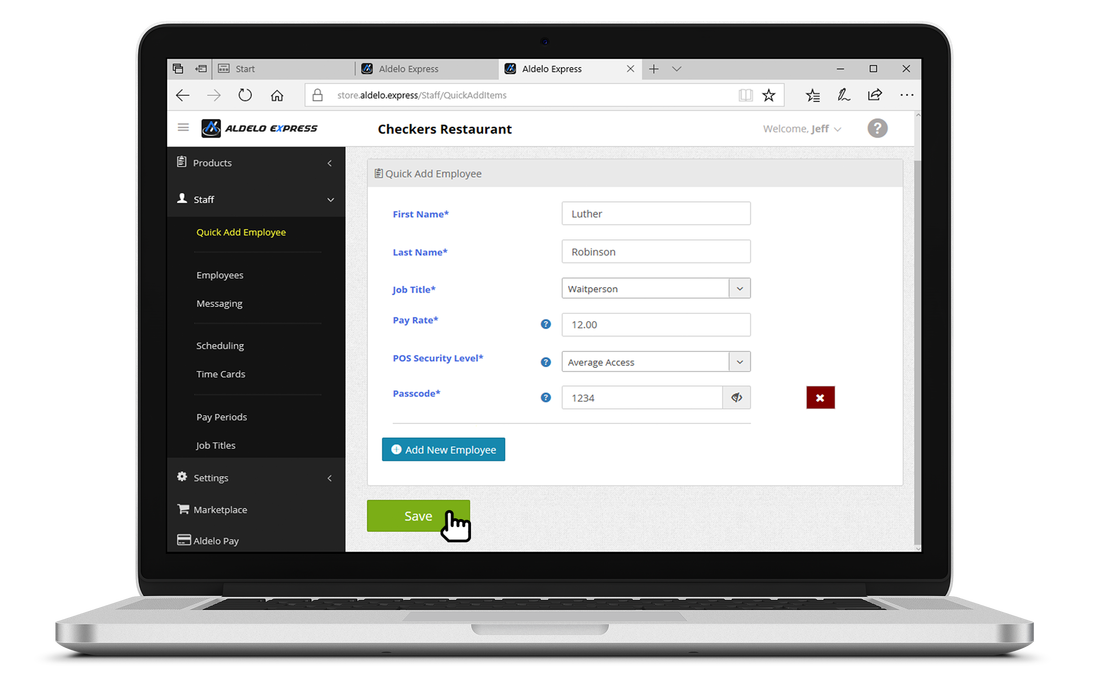
3. Fill out the necessary Info for the employee. If adding multiple employees click Add New Employee. Once done click Save.
|
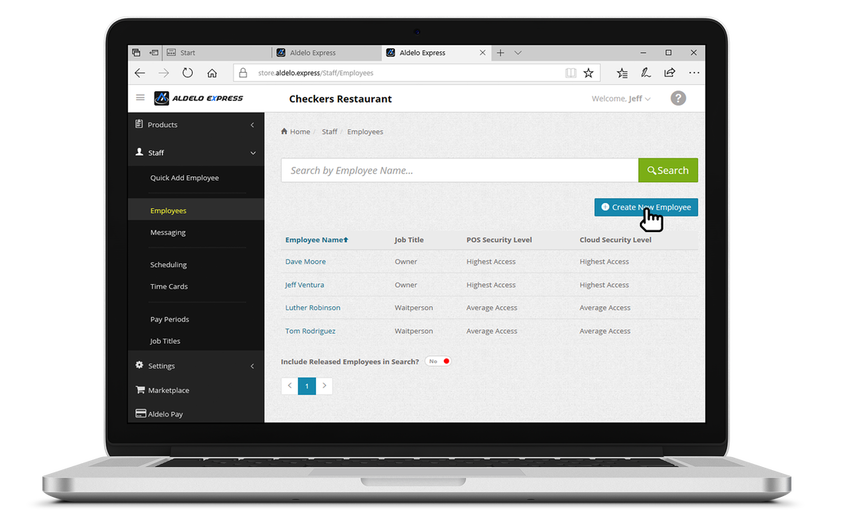
1. Click Add New Employee to create a new employee. You can also click an existing employee to edit.
|

2. For extended employee setup options, click the extended settings option.
|

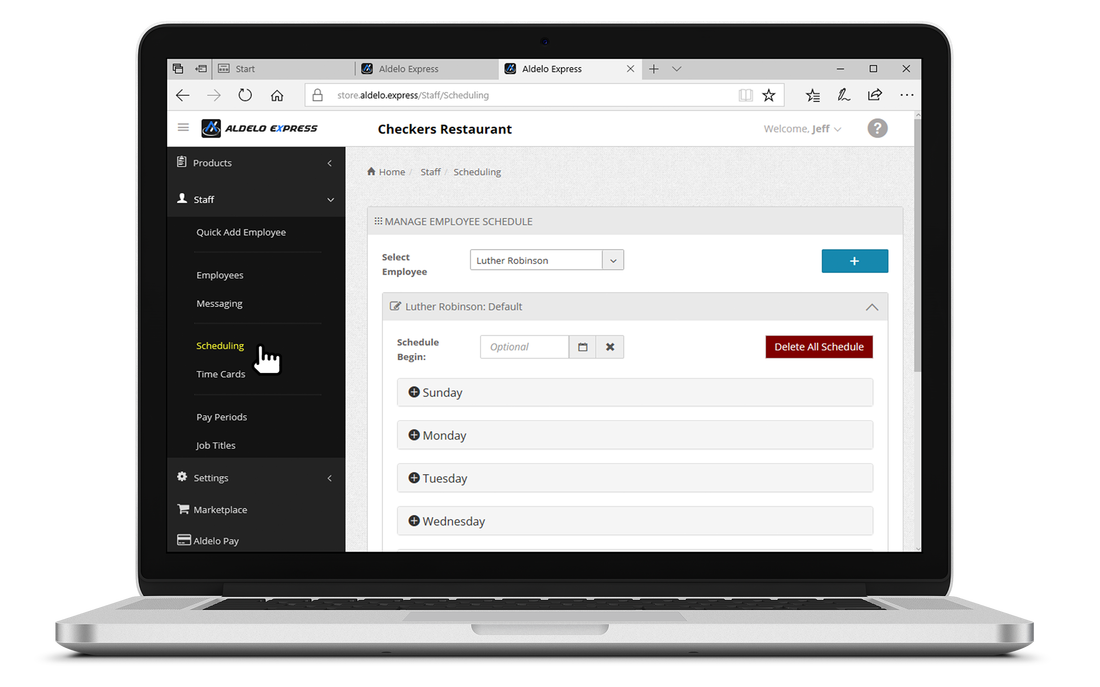
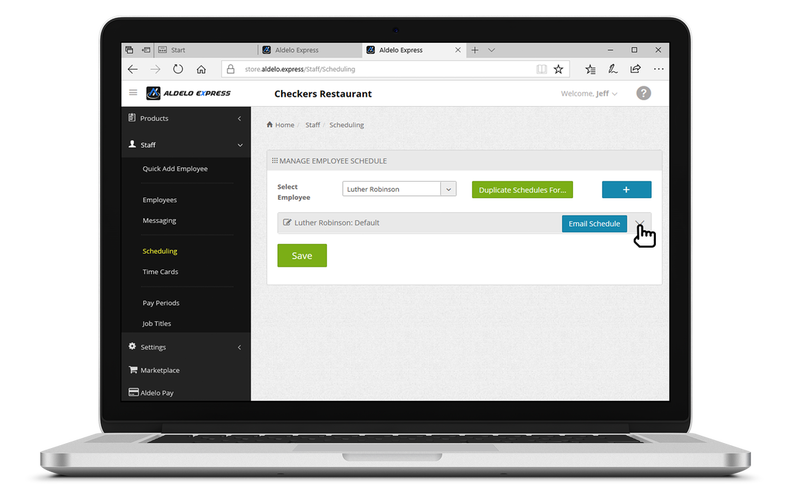
1. Click on Scheduling and select an employee from the drop-down menu.
|
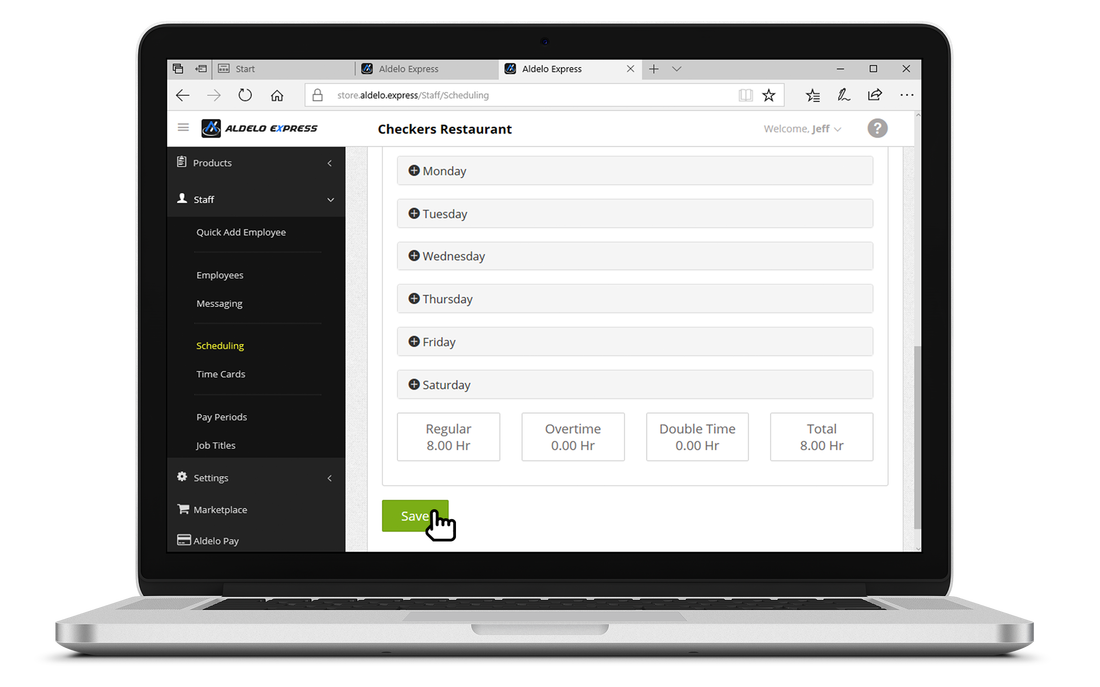
2. Enter in the schedule information for each day.
|
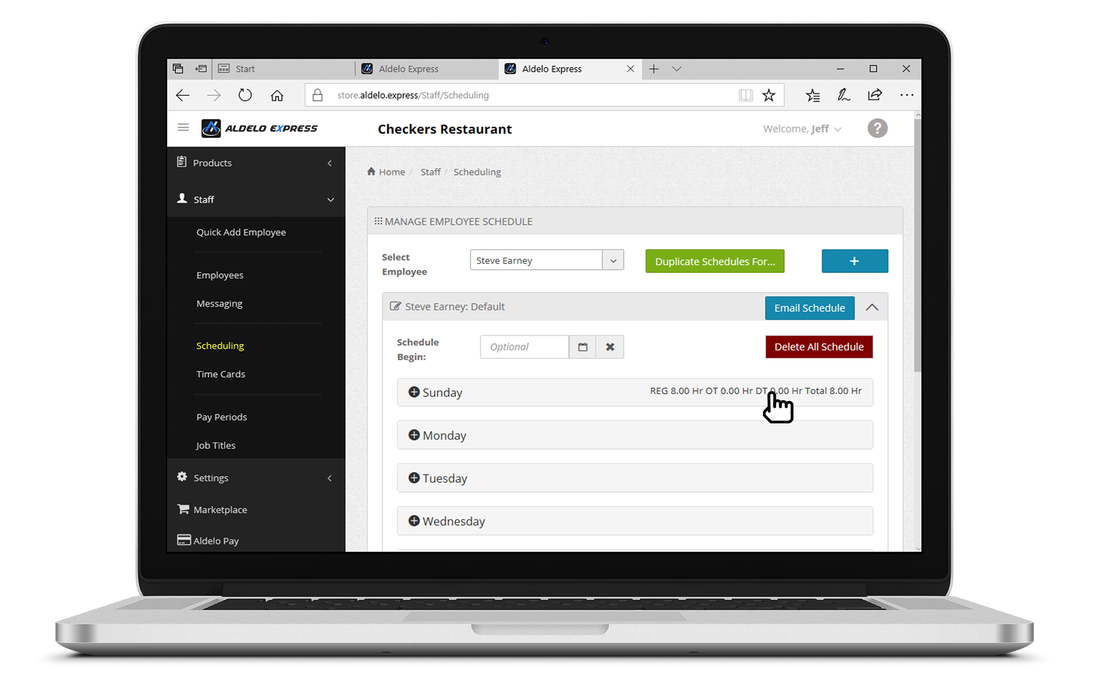
4. To edit schedule, click the day associated with the schedule.
|
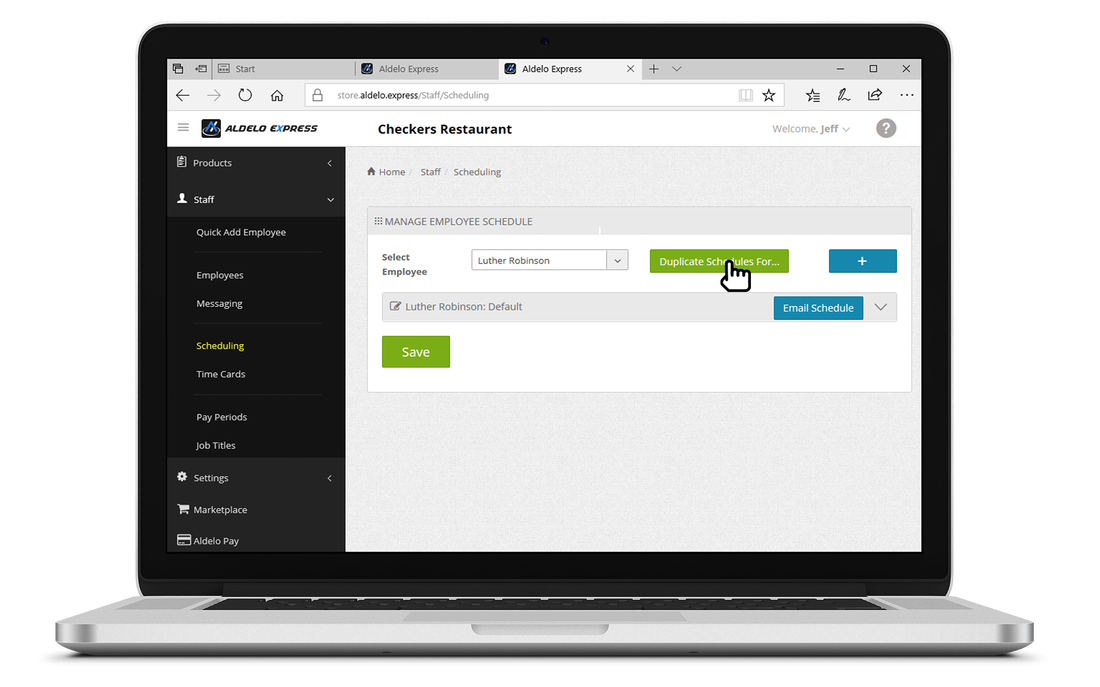
5. To duplicate a schedule, select the employee that you like to duplicate schedule on.
|
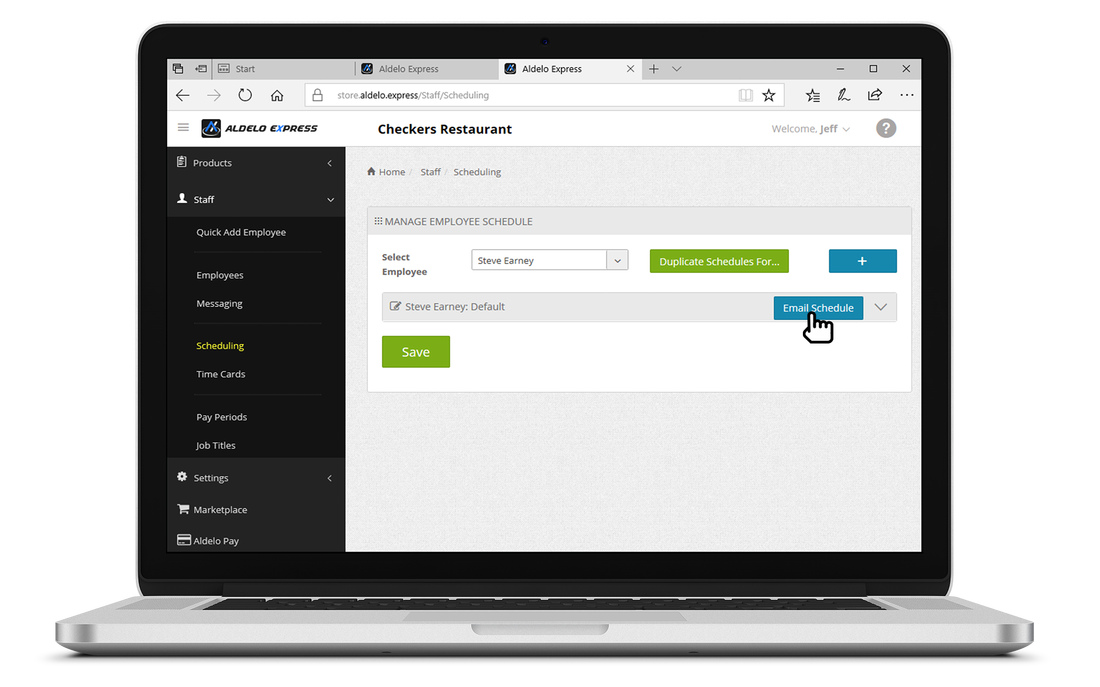
6. To email schedule to employee, click the Email Schedule option.
|
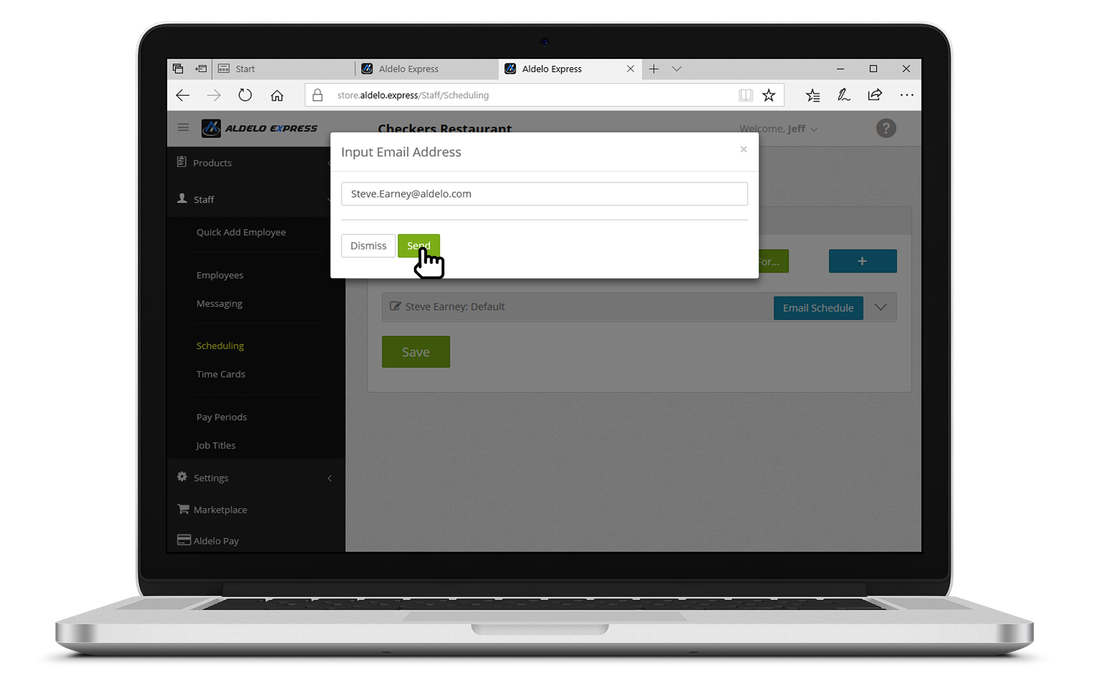
7. When emailing schedule, simply enter the employee email address if not already pre-loaded.
|
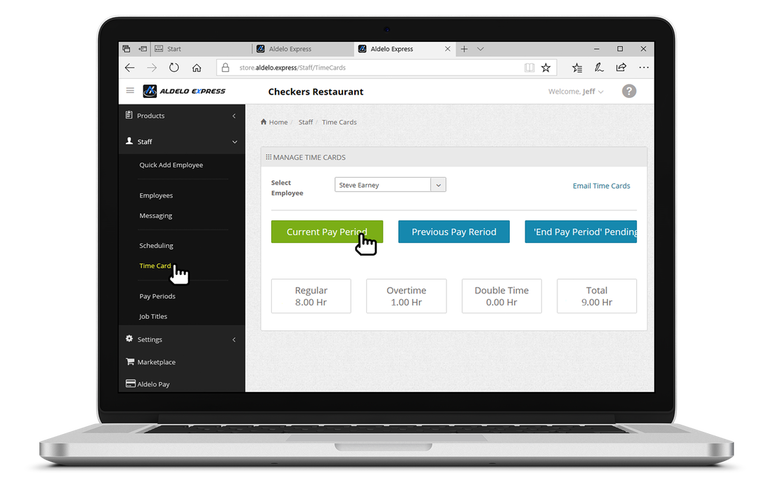
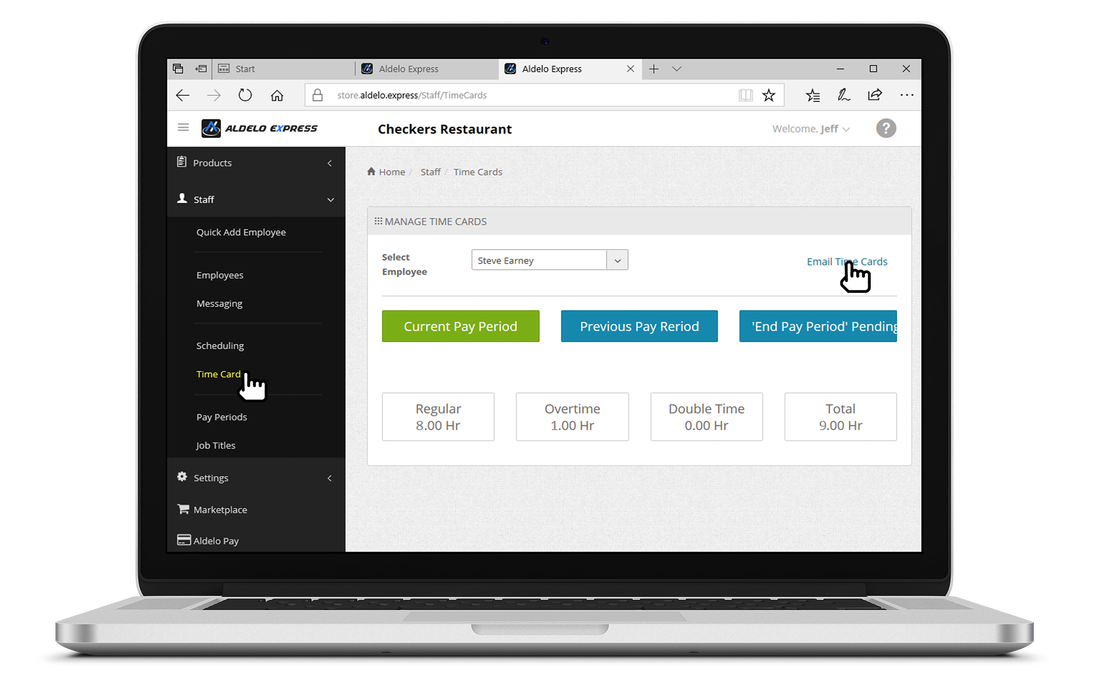
2. Click Email Time Cards to be able to email time cards to employee.
|
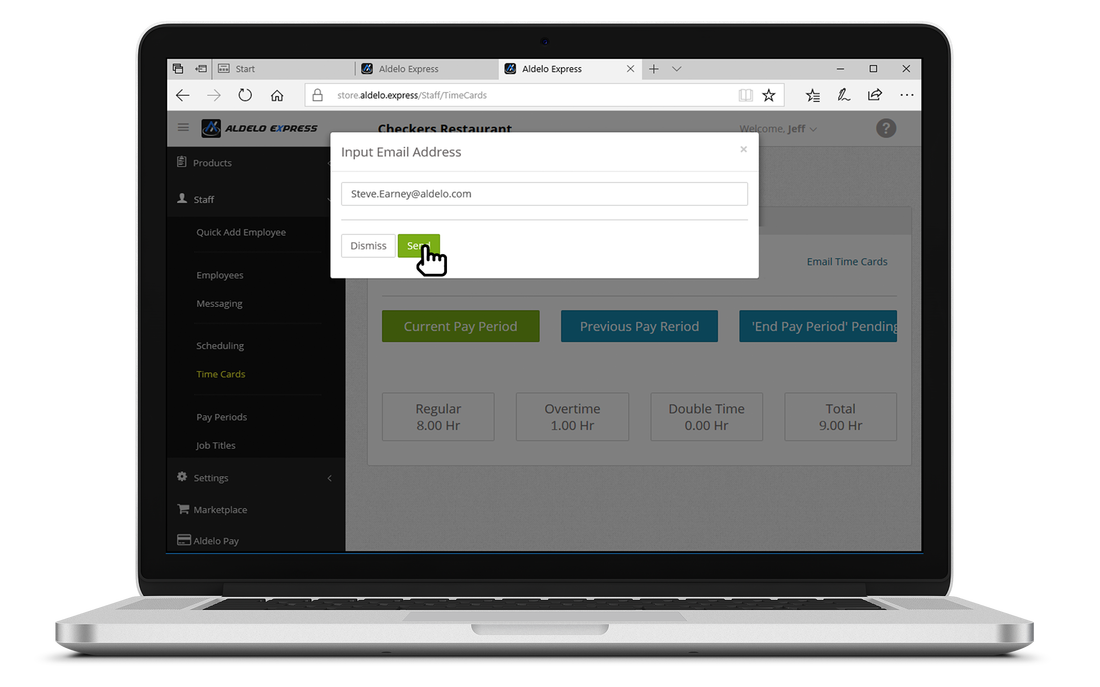
3. Enter the email address you wish to send the time cards to and click Send.
|
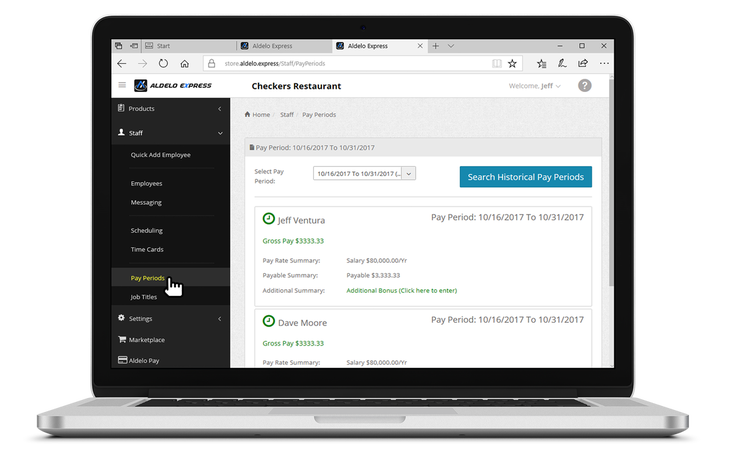
1. Select the pay period from the drop-down menu.
|
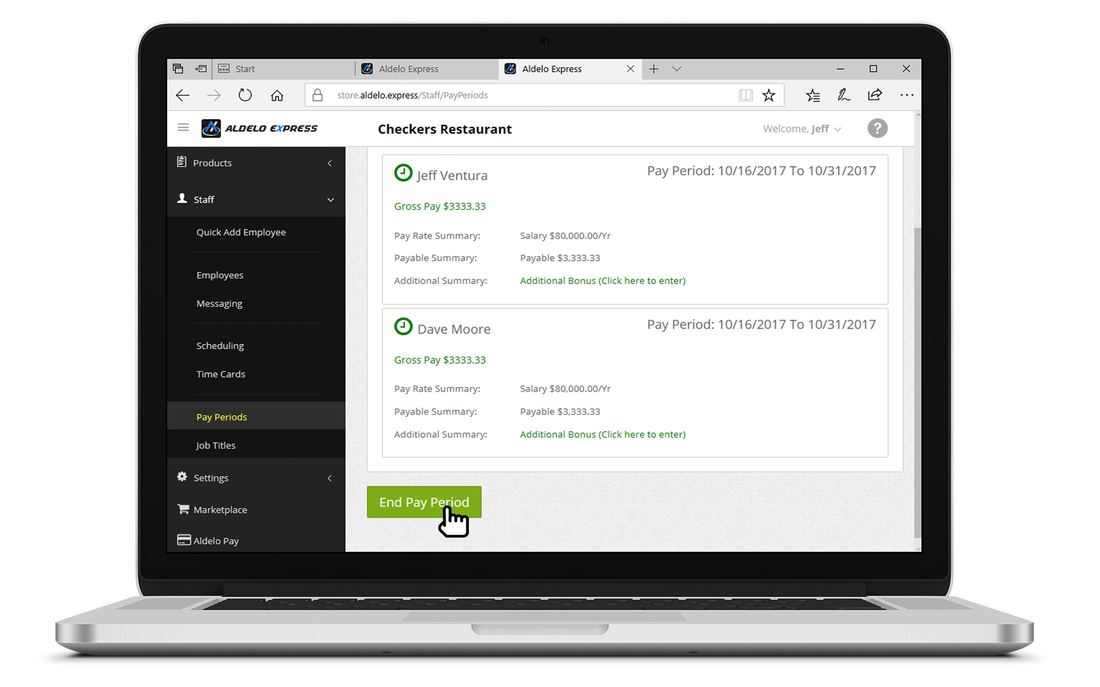
2. You are now able to view the current information for the selected pay period.
|
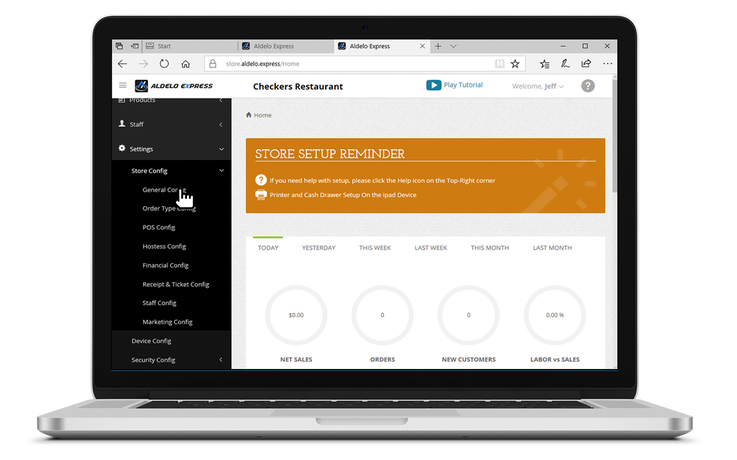
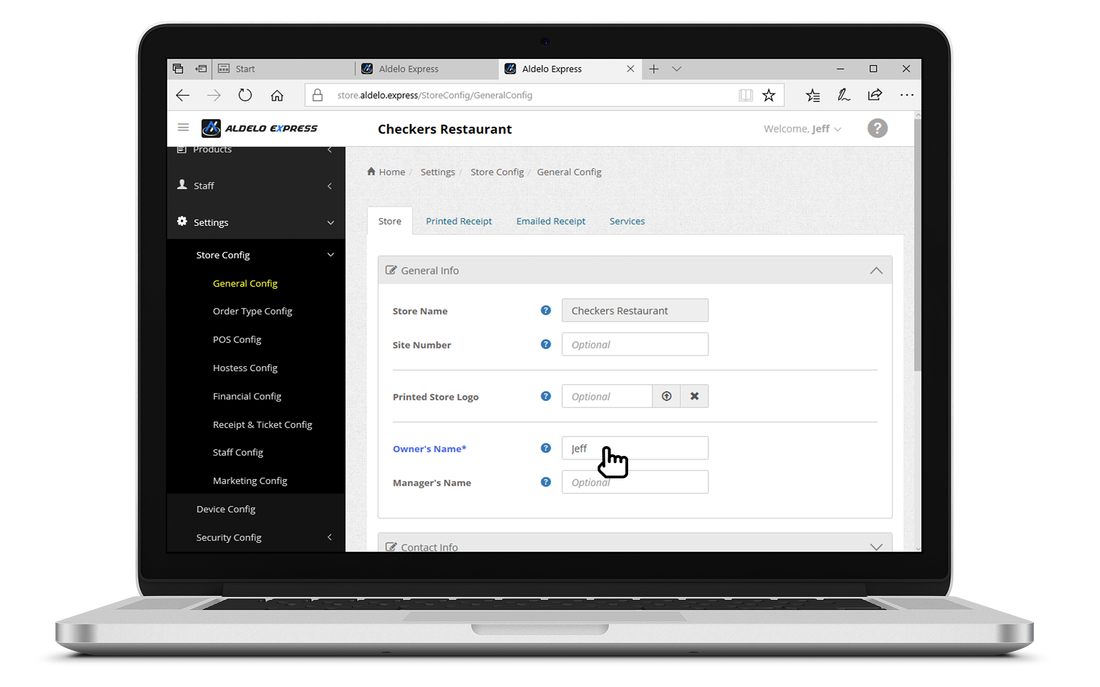
2. In this area you are able to change basic info such as the Owner's name and store logo.
|
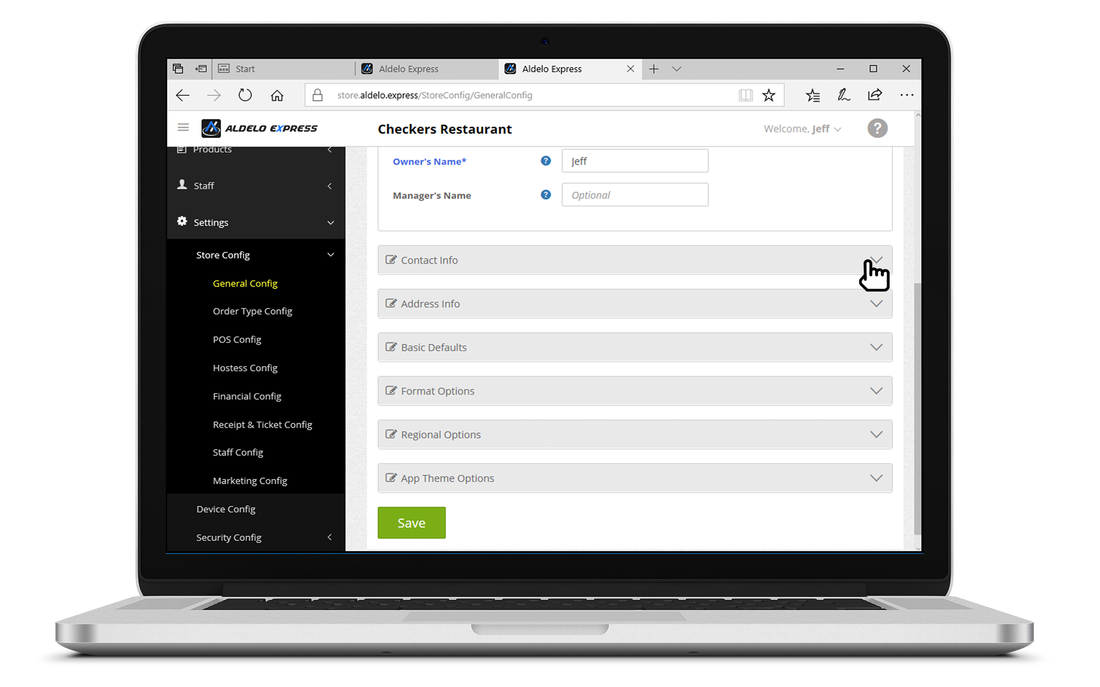
3. You are also able to change the contact and address info of the store.
|
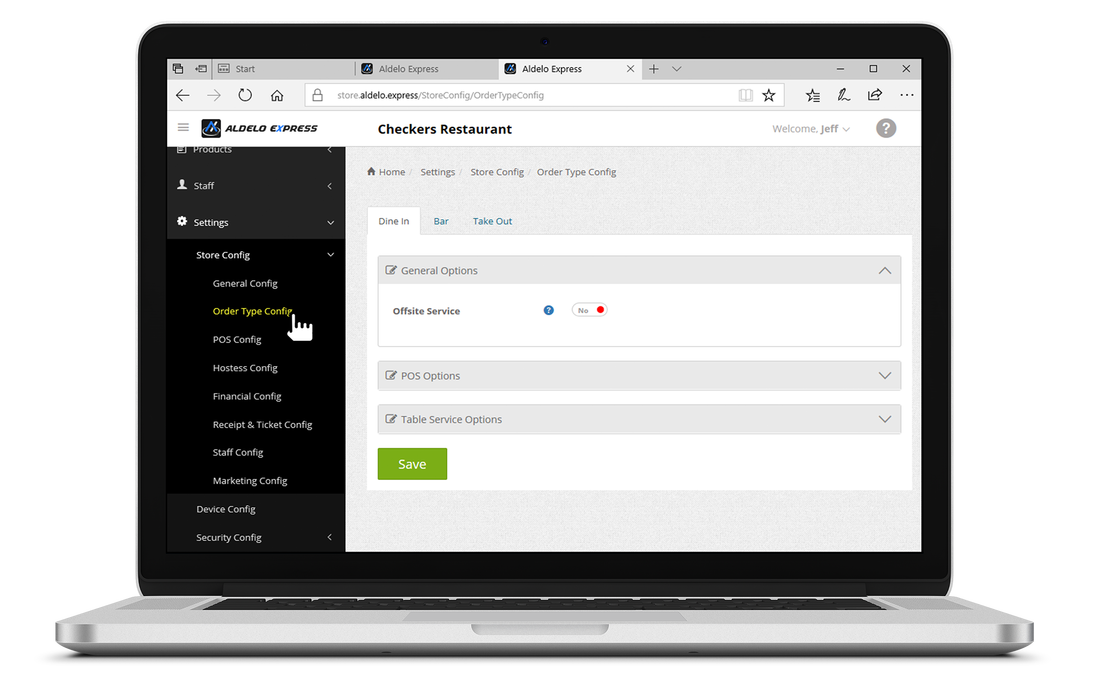
4. The Order Type Config tab allows you to change settings based on the Order Type (i.e.Requiring Customer Name or Prompting for Guest Count).
|

5. Once done click Save to finalize all the changes.
|
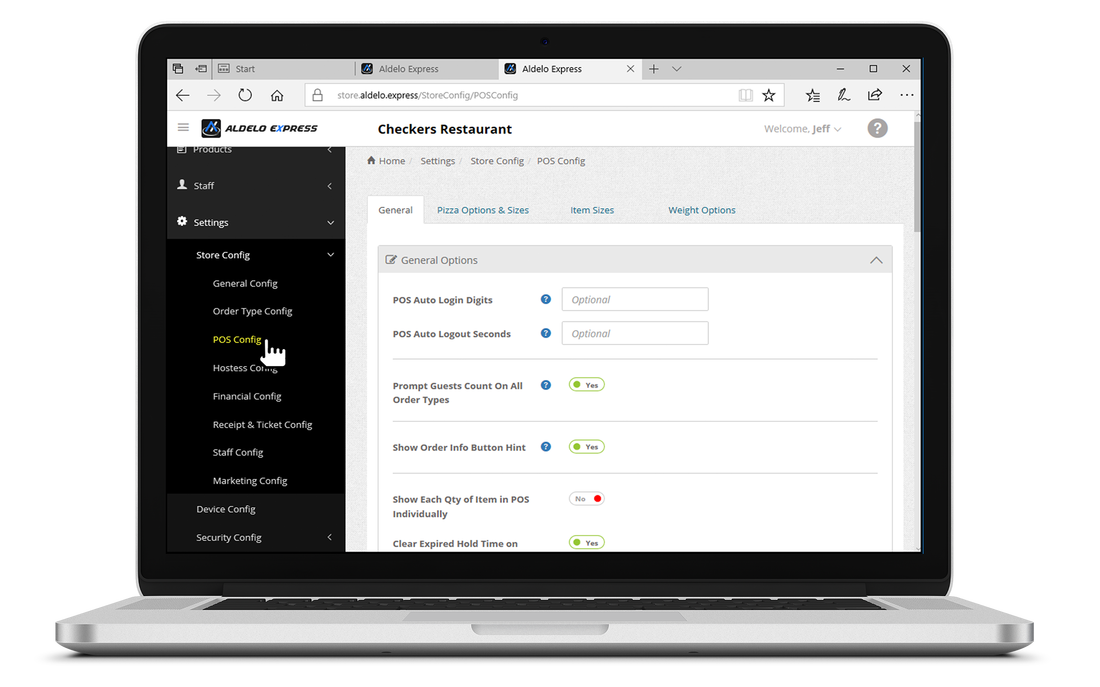
1. The POS Config tab allows you to modify different options for using the POS. (i.e. Showing Ticket Numbers, Auto Gratuity or Enabling Half Orders).
|
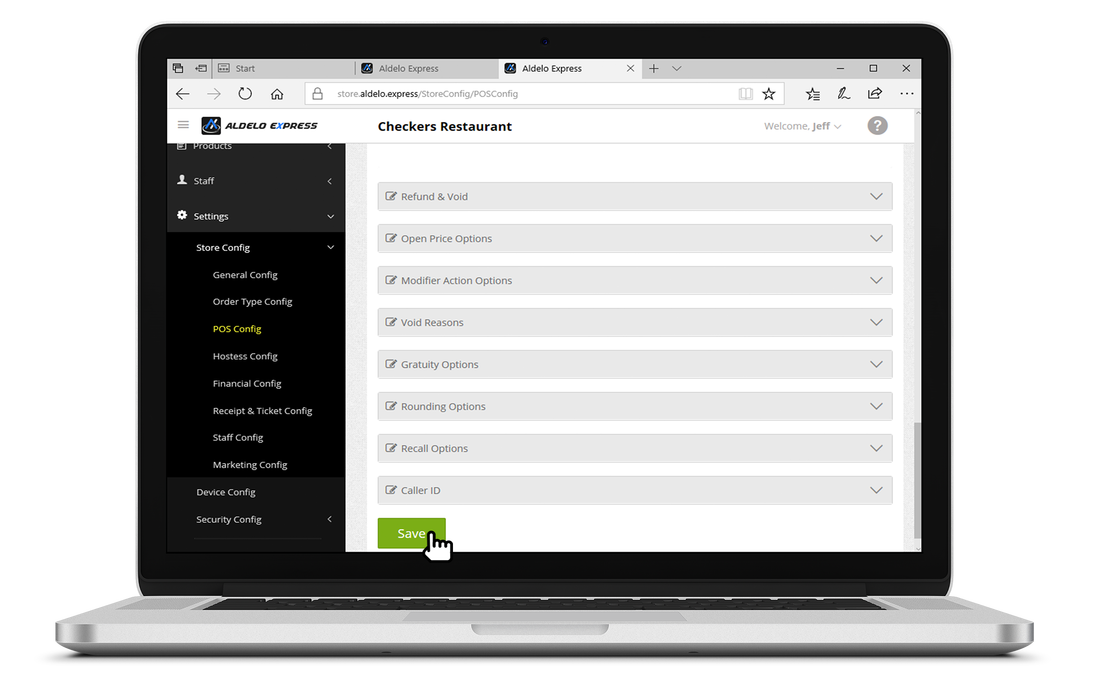
2. Once done click Save to finalize all the changes.
|
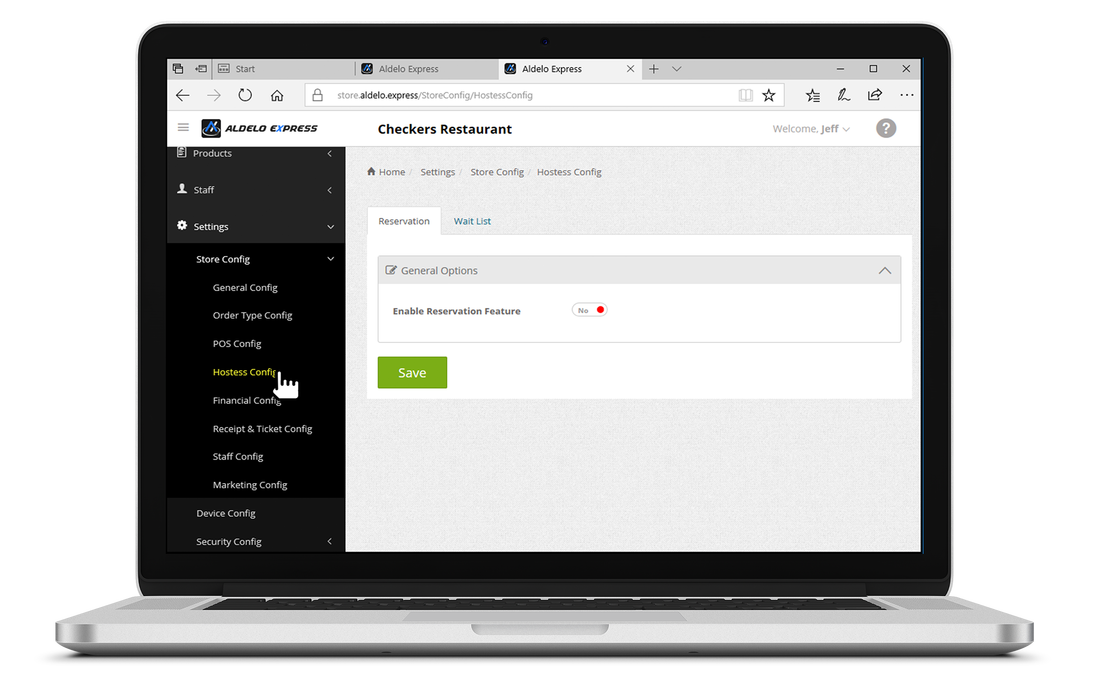
1. The Hostess Config tab allows you to set up the Reservation and Wait List features.
|
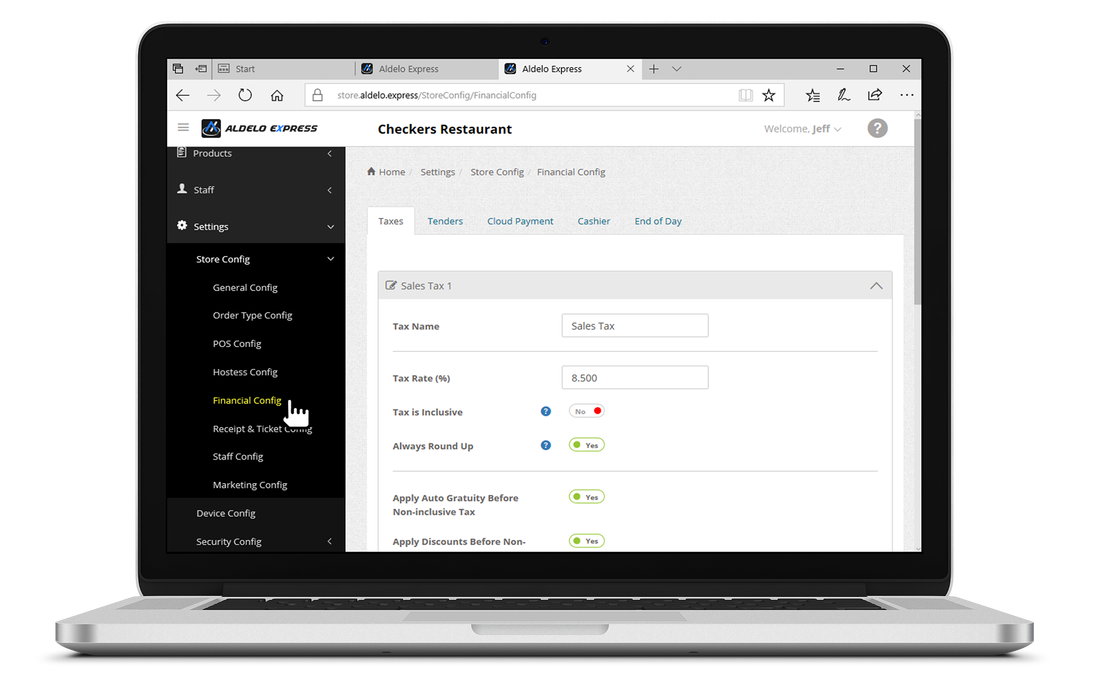
2. The Financial Config tab is where you will set up the Sales Tax and Aldelo Pay if applicable.
|

1. The Receipt & Ticket Config tab allows you to modify what is printed on both the Guest Check and Kitchen & Bar Tickets.
|
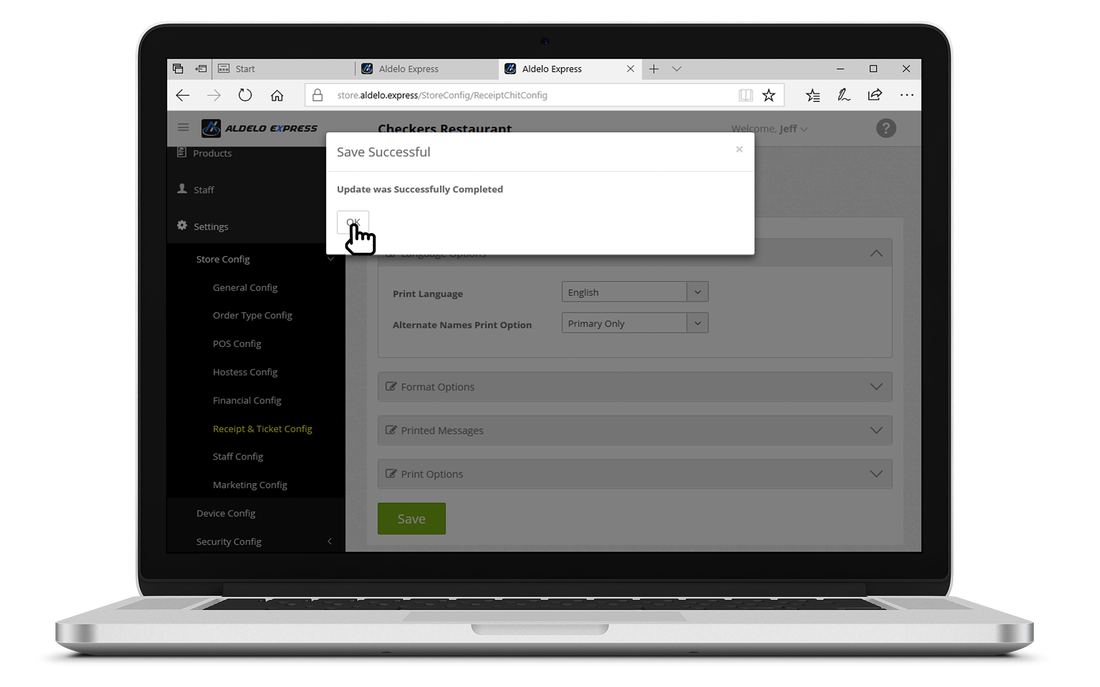
2. Once done click Save to finalize the changes.
|
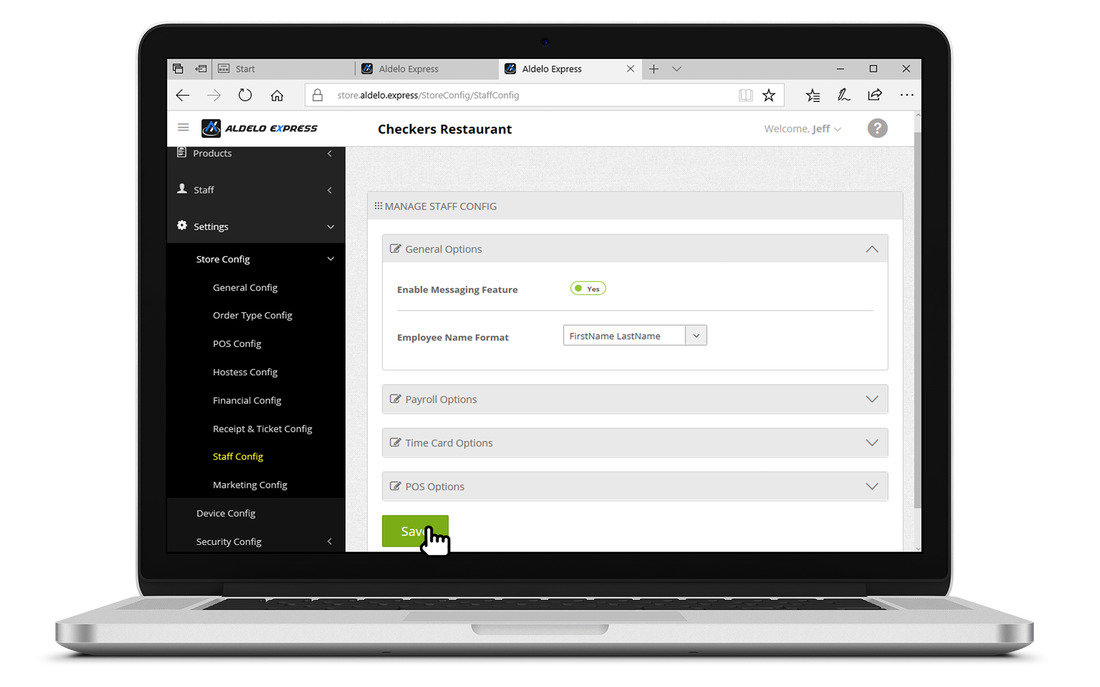
1. The staff Config tab allows you to modify your Pay Period along with other payroll options. It also affects the Time Card function on the POS.
|
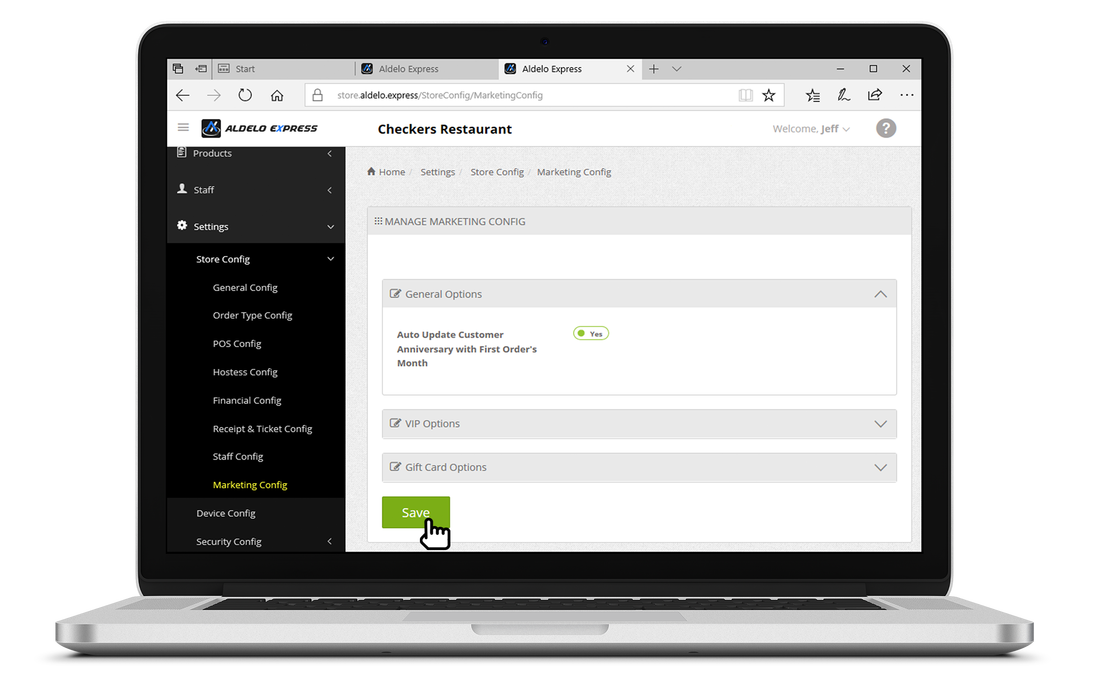
2. The Marketing Config tab allows you to modify the marketing options.
|
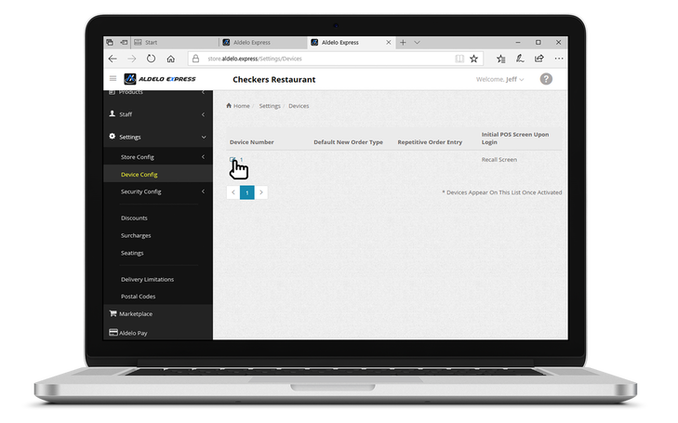
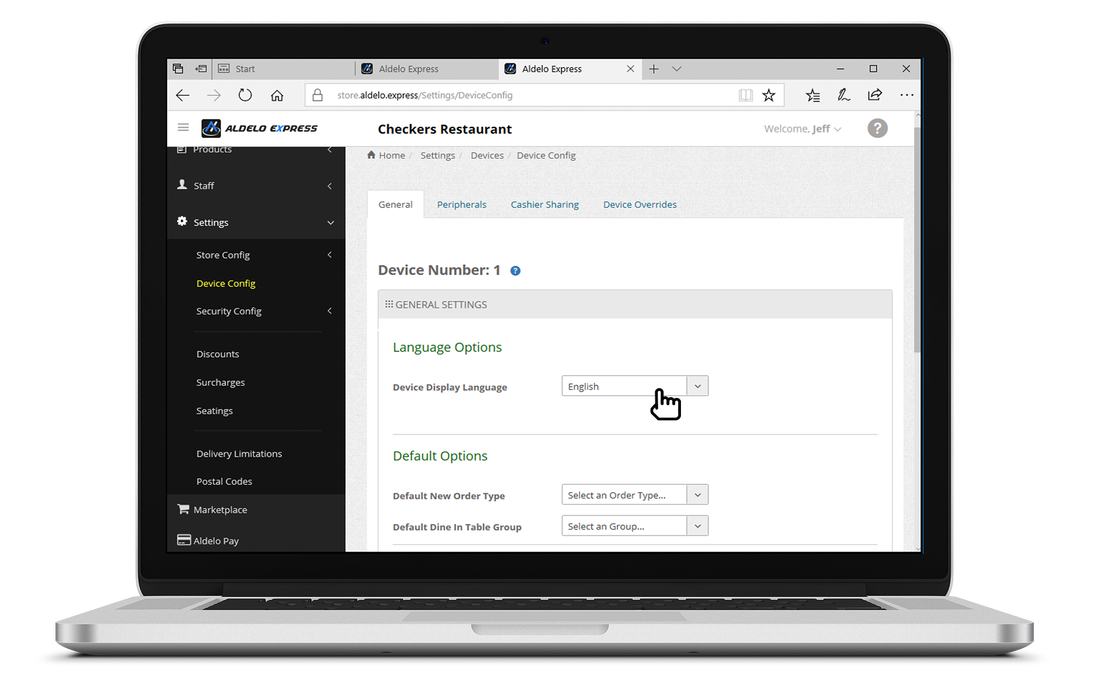
2. To modify a device click on the device number.
|
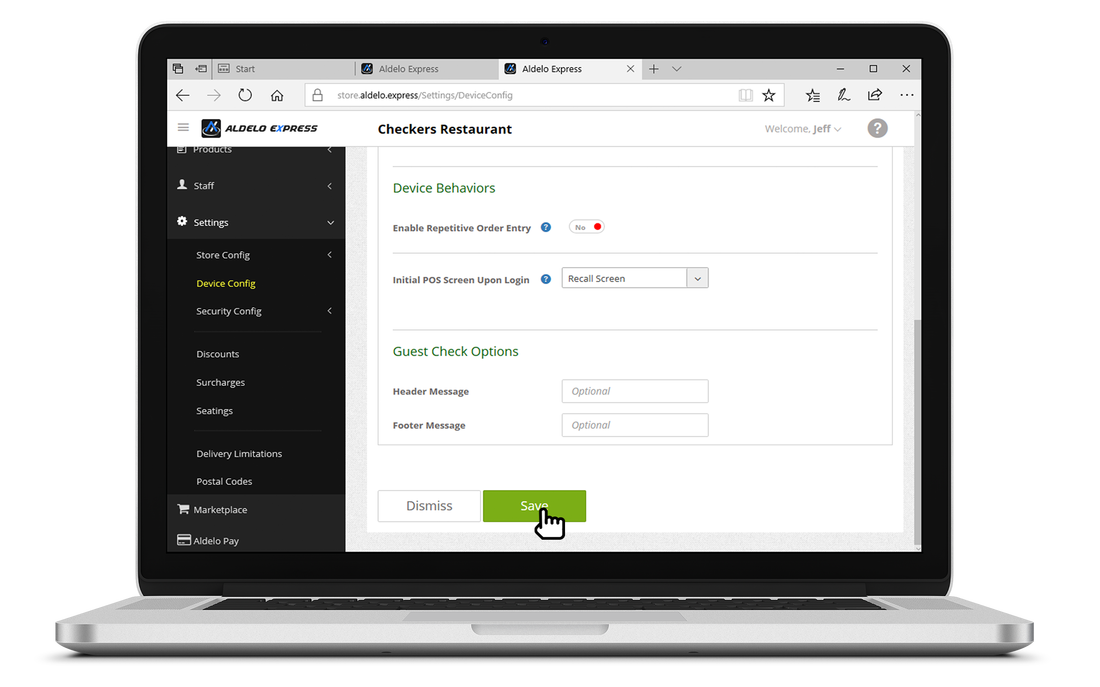
3. Once done click Save to finalize all the changes.
|
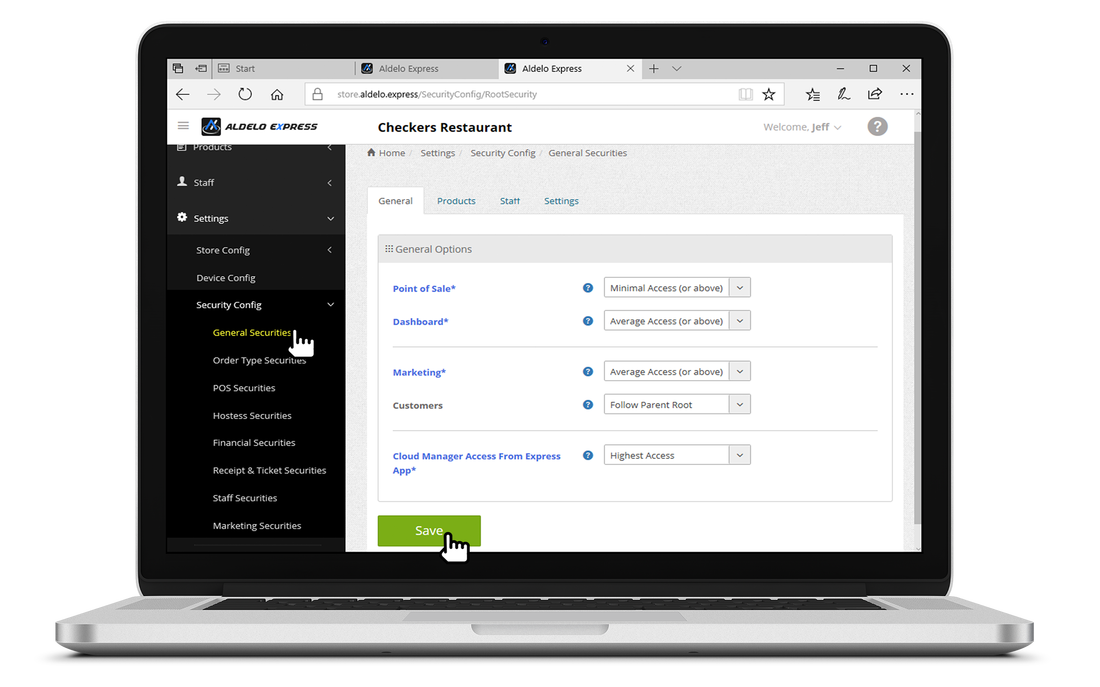
1. The General Securities tab allows you to set the level require for access to certain options.

3. The POS Securities tab allows you to set the level for basic POS options.
|
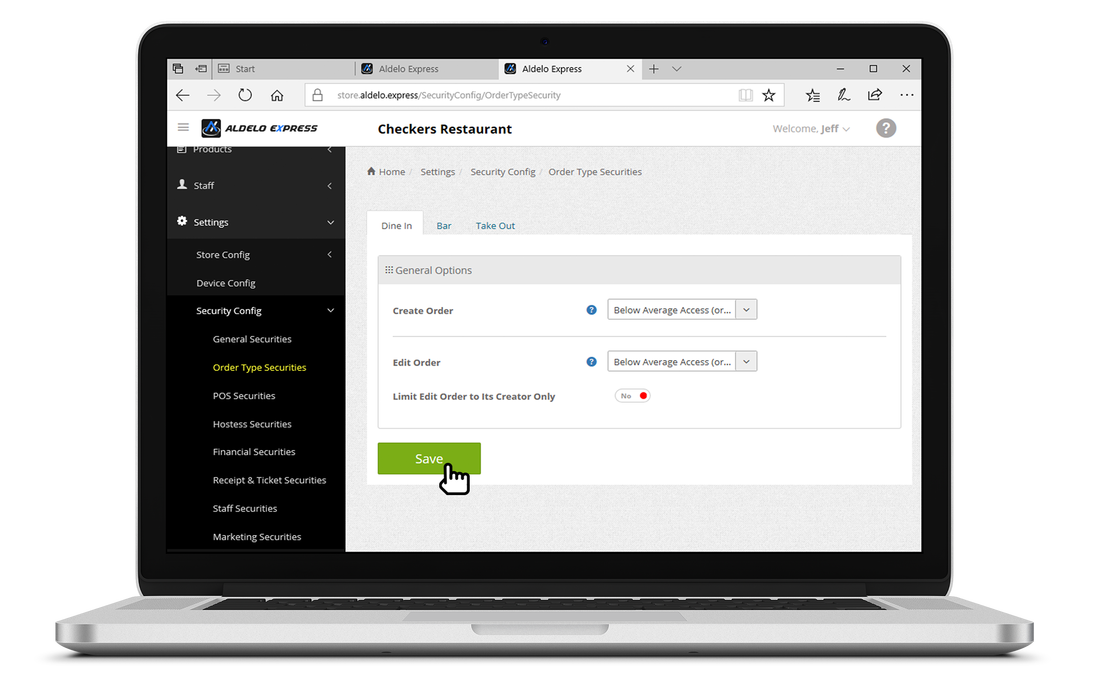
2. The Order Type Securities tab allows you to set the level required for certain options relating to Order Types.
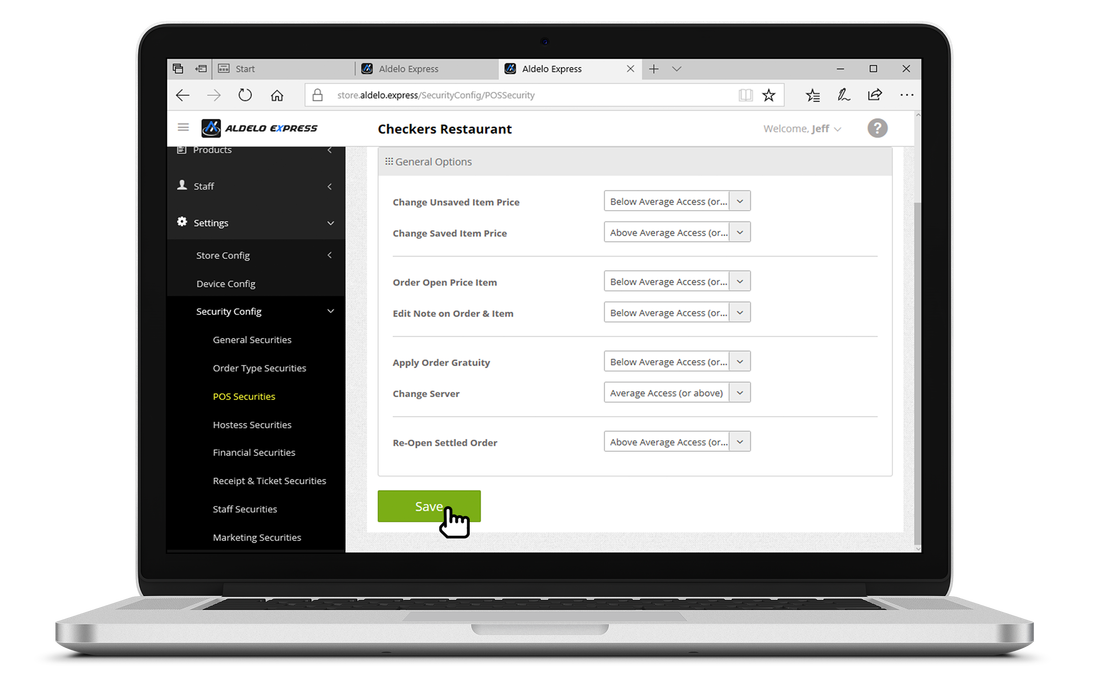
4. POS Securities tab includes common options such as changing item prices, adding discounts and voiding items and orders.
|
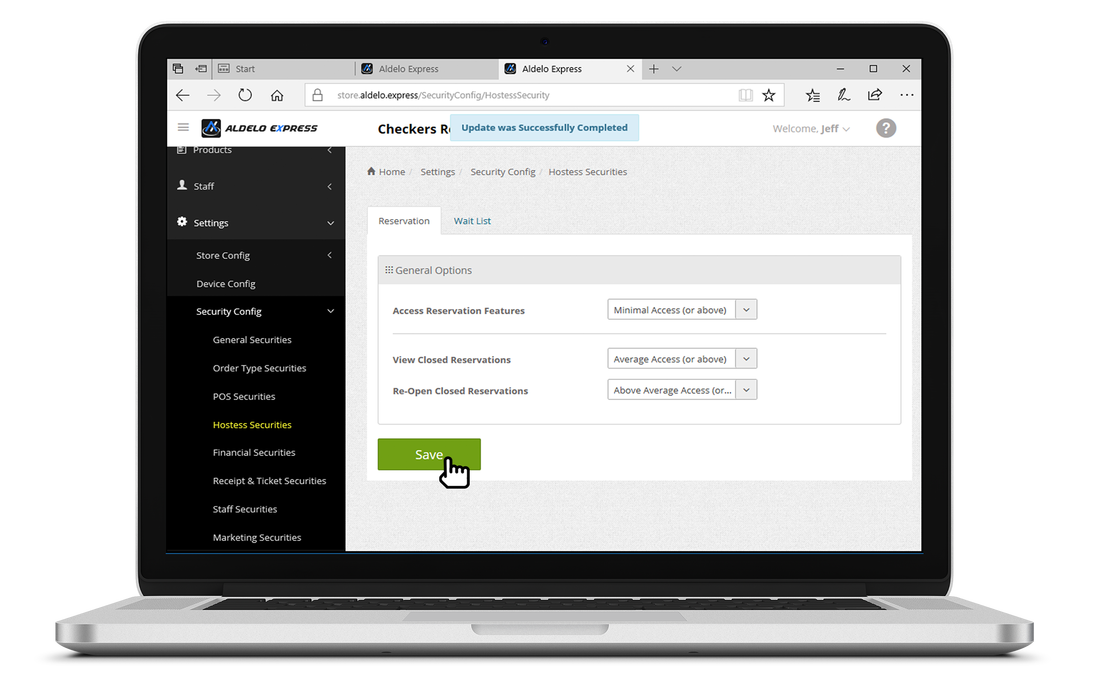
5. The Hostess Securities tab allows you to change the level require to access the hostess options.
|
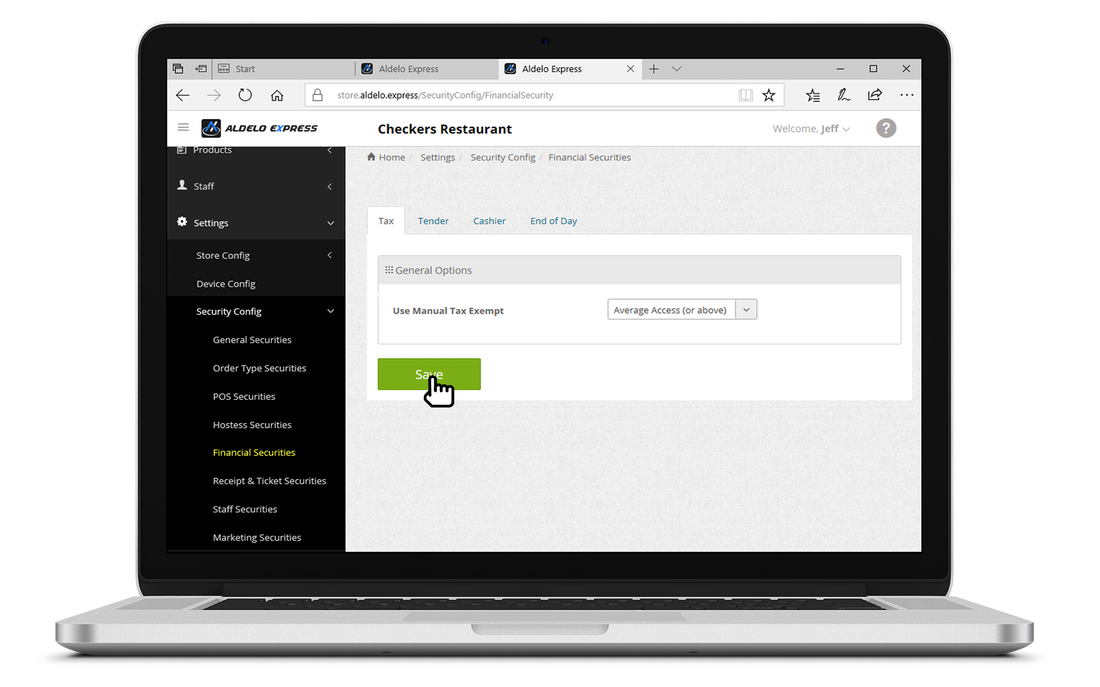
6. The Financial Securities tab allows you to set the level of common options such as allowing tax exempt and viewing the end of day.
|
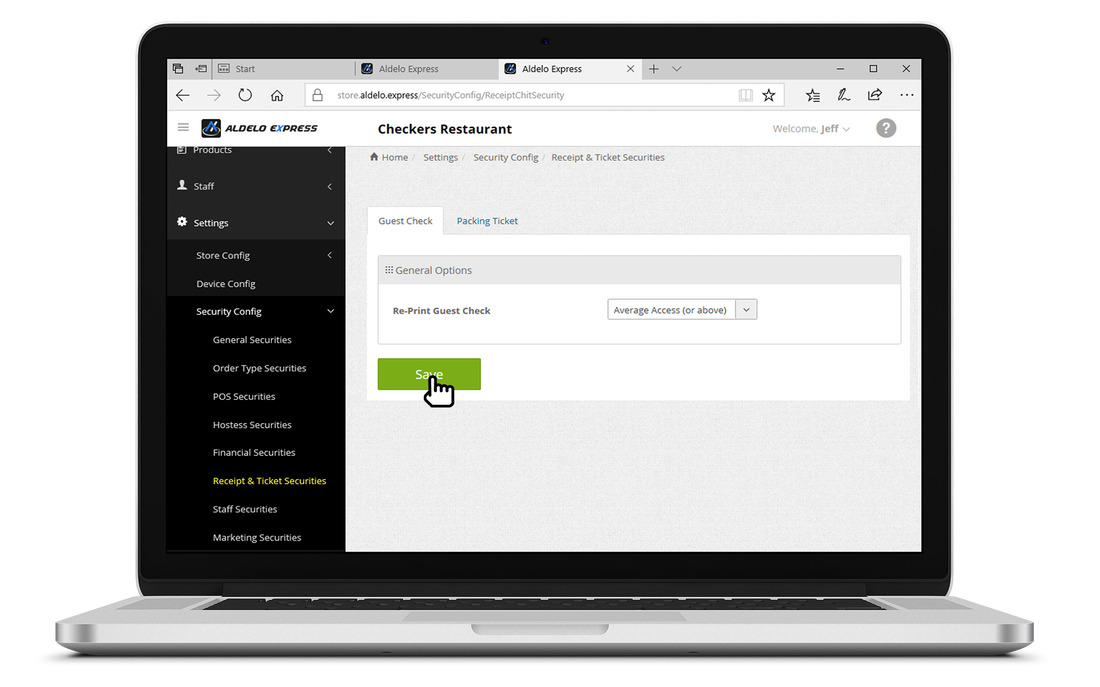
7. Receipt & Ticket Securities tab allows you to set the level for reprinting the guest check and reprinting the packing ticket.
|
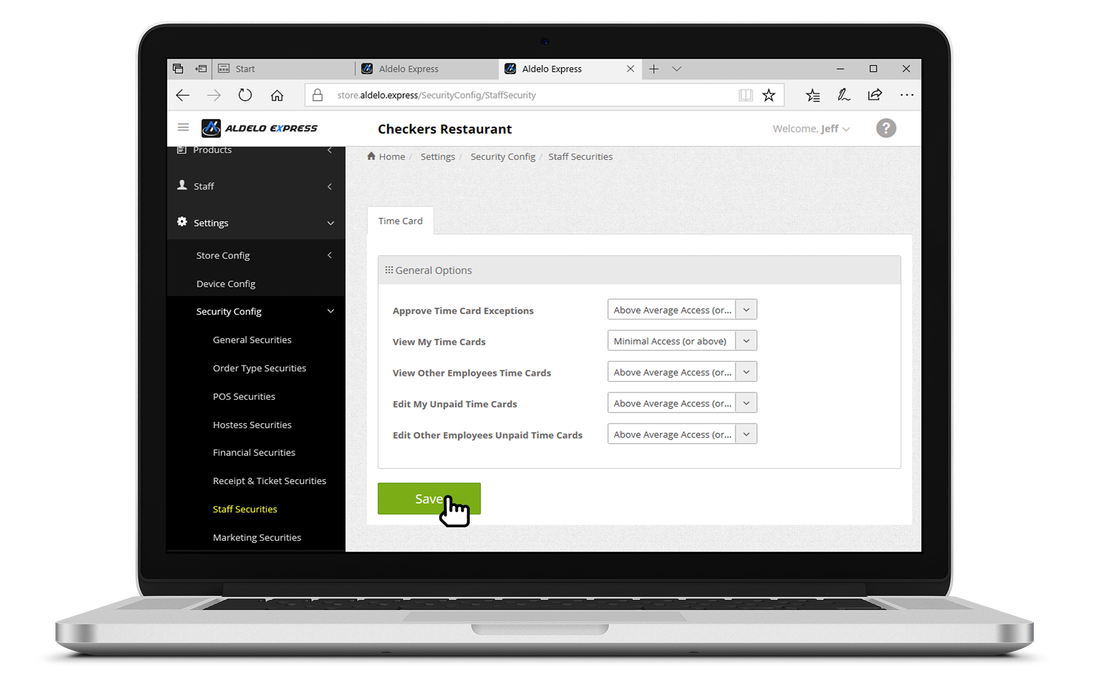
8. The Staff Securities tab allows you set the level for different time card options.
|

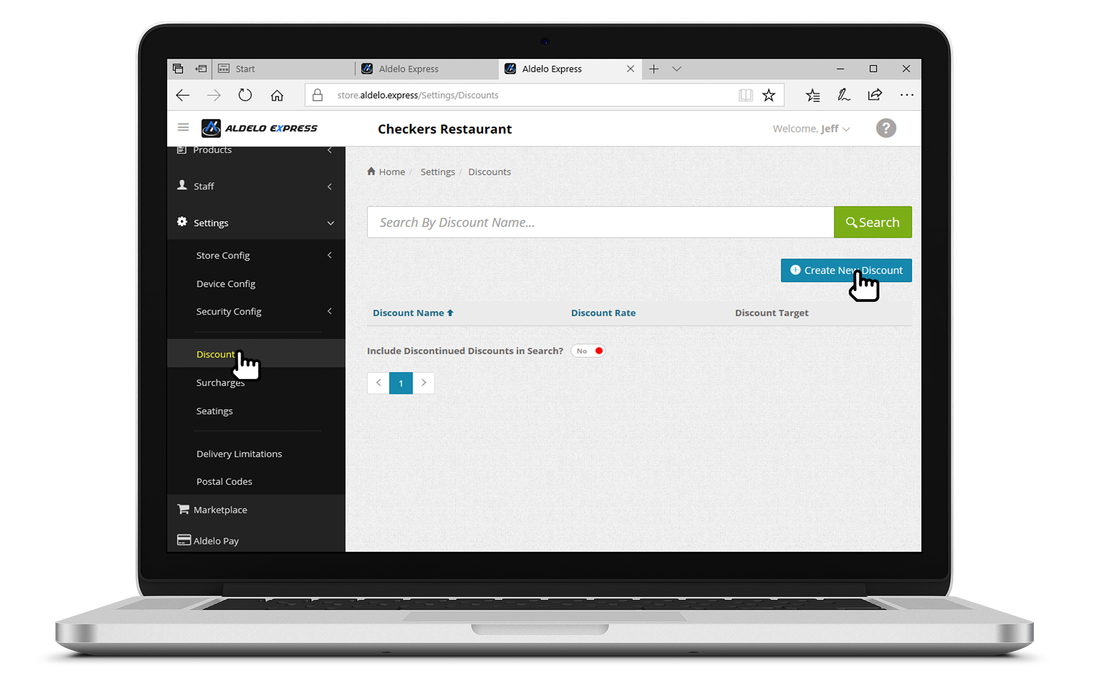
1. Click on Create New Discount.
|
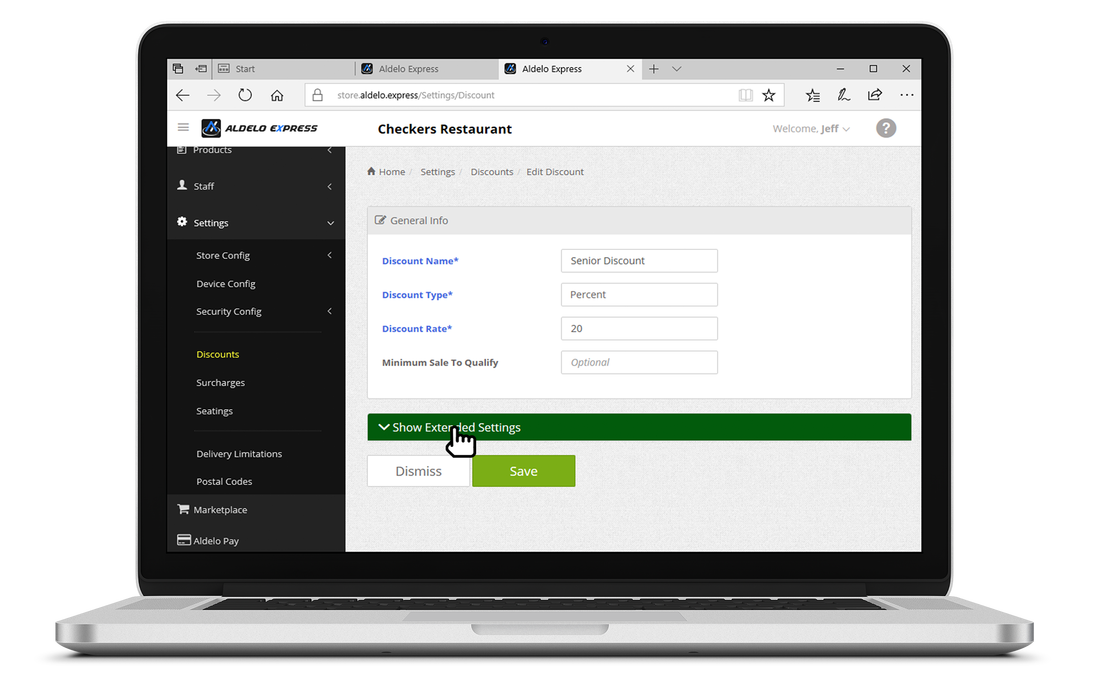
2. Enter the Discount Name, Discount Type and Discount Rate.
|
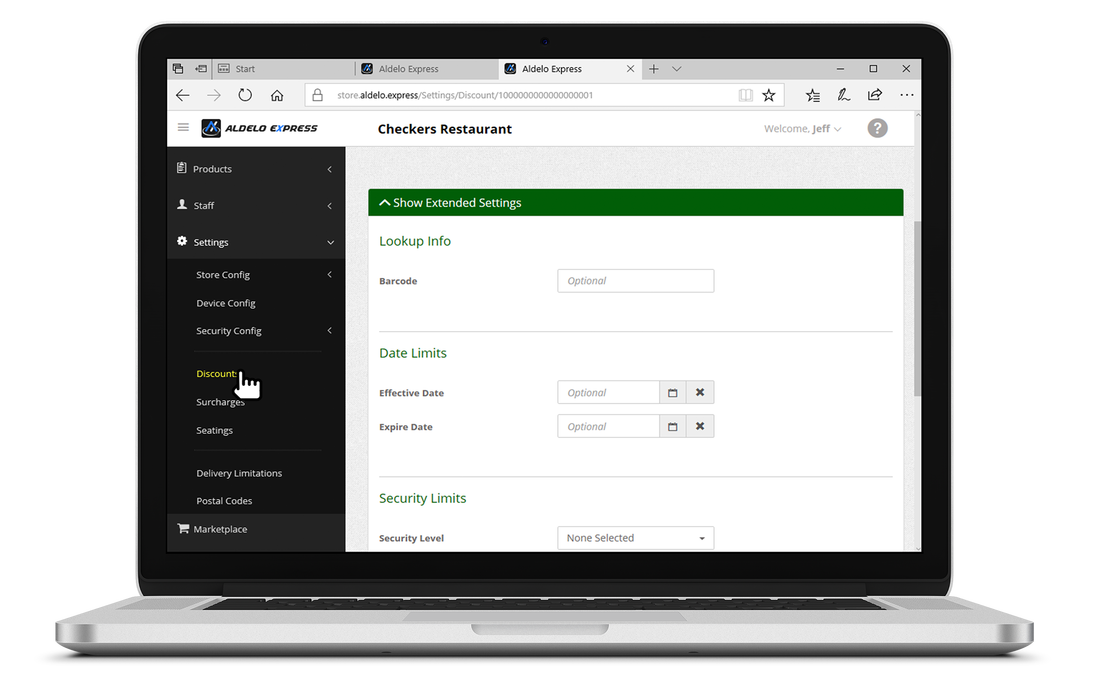
3. The extended settings allow you to set effective dates, security levels and restrict how the discount can be used.
|
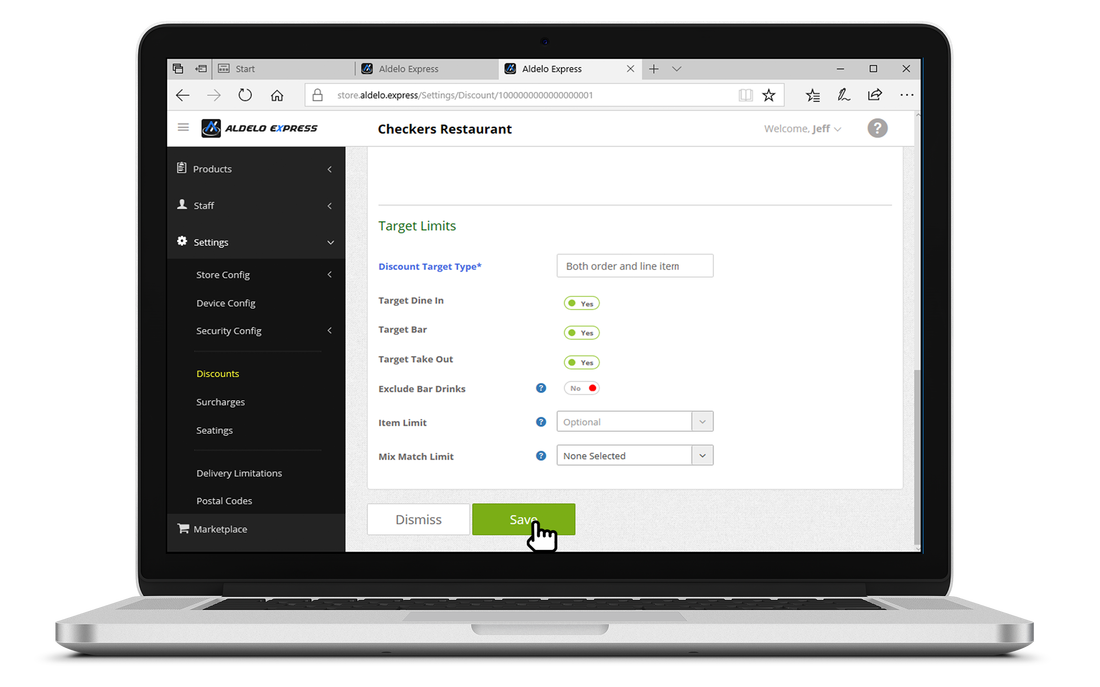
4. Once done with the settings, click Save to finish creating the discount.
|
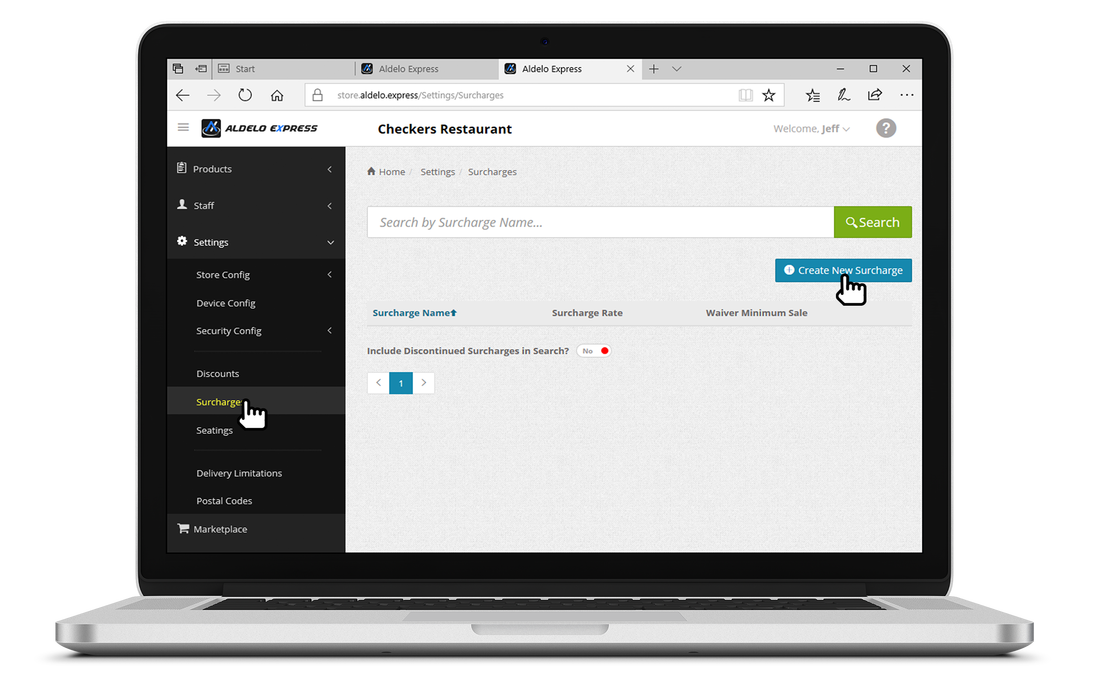
1. Click on Create New Surcharge.
|
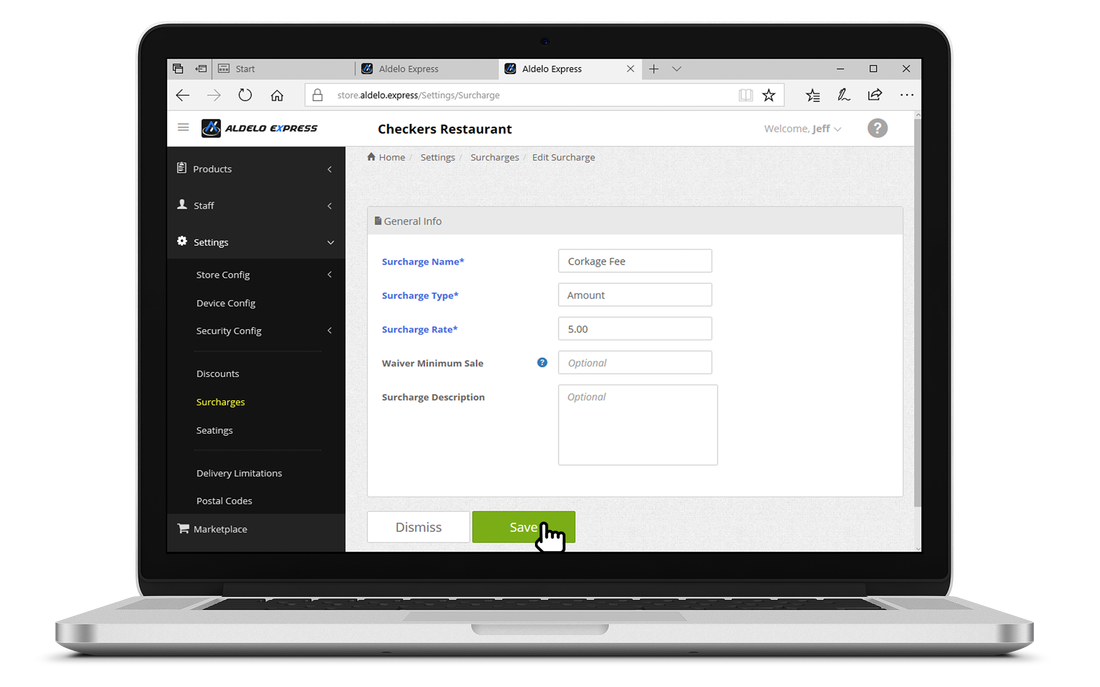
2. Enter the Surcharge Name, Type and Rate and click Save once finished entering in the information.
|
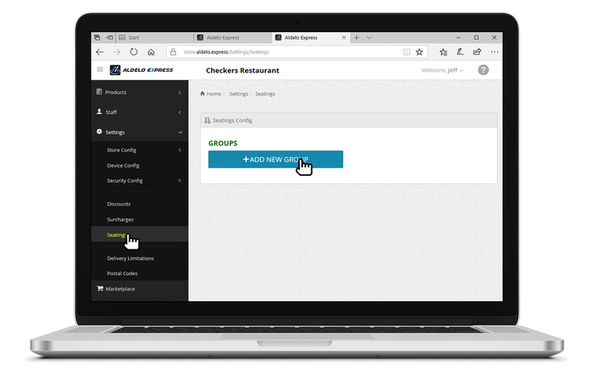
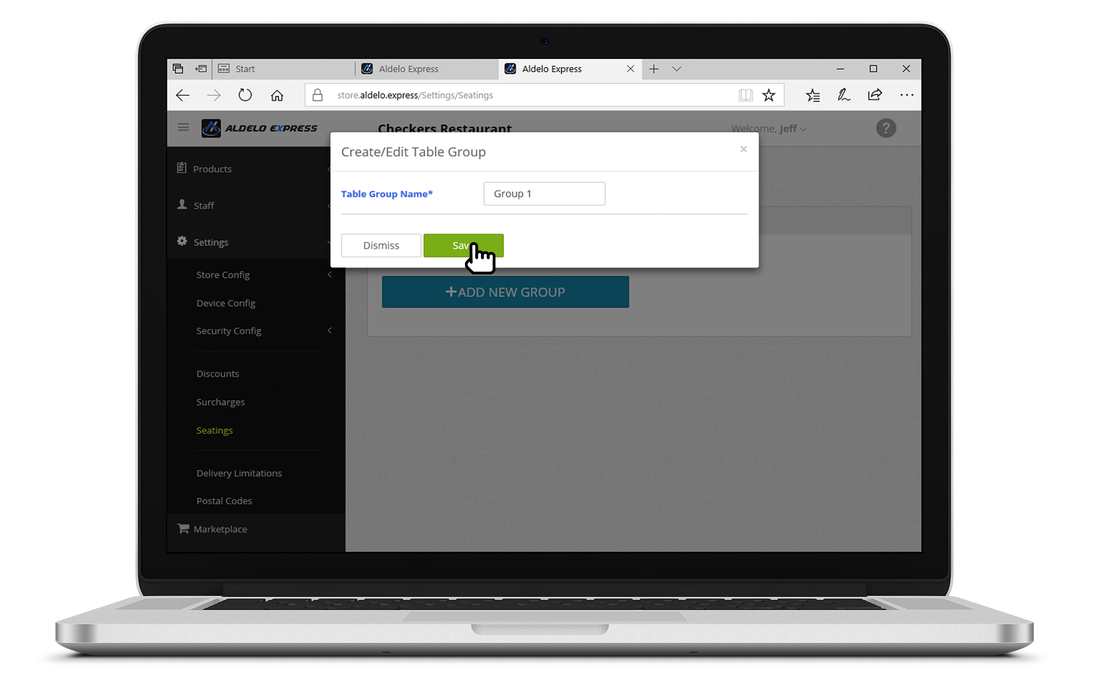
2. Click Save to create the new seating group.
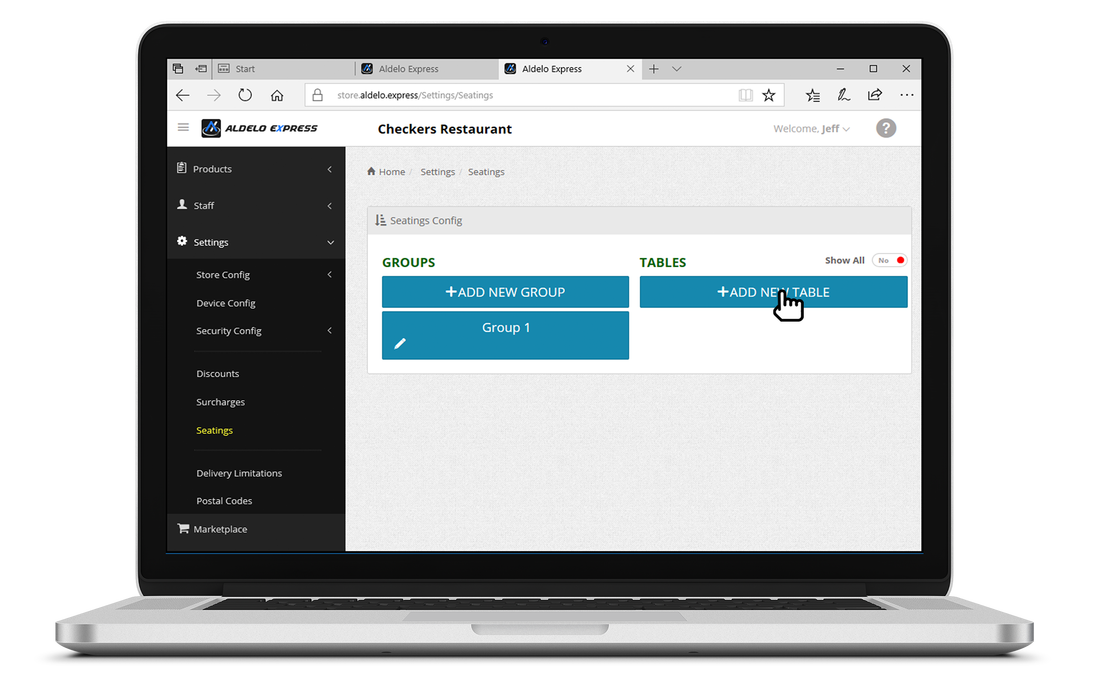
4. Select the seating group you would like to add tables to and click Add New Table.
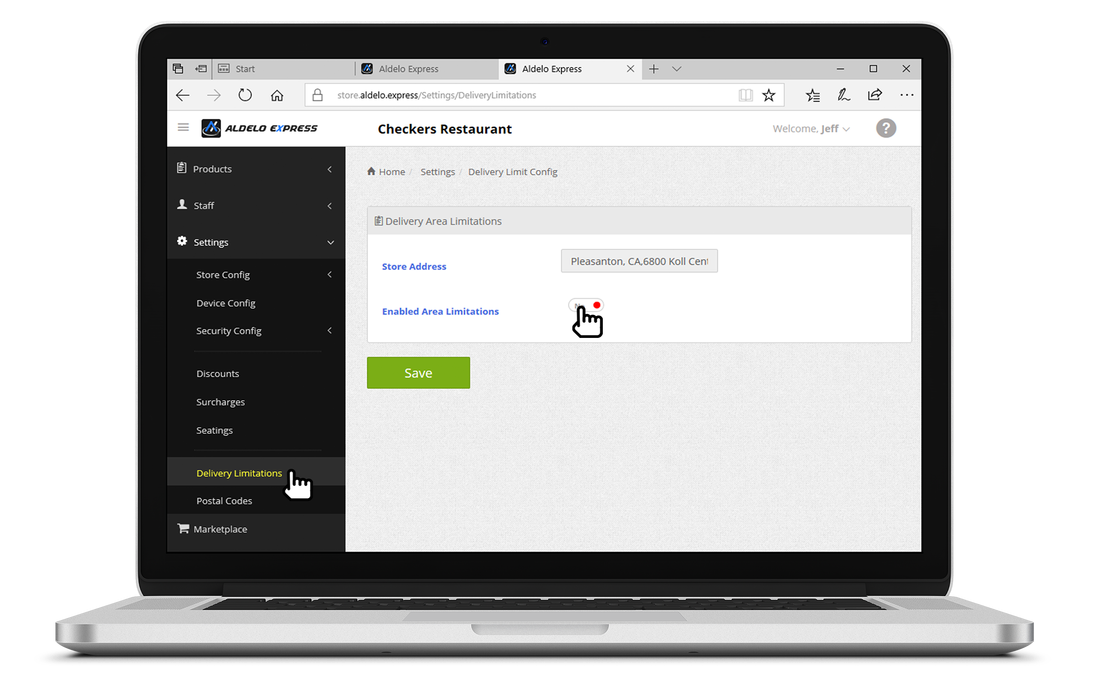
6. You can enable the area for delivery by toggle on the Enabled Area Limitations.
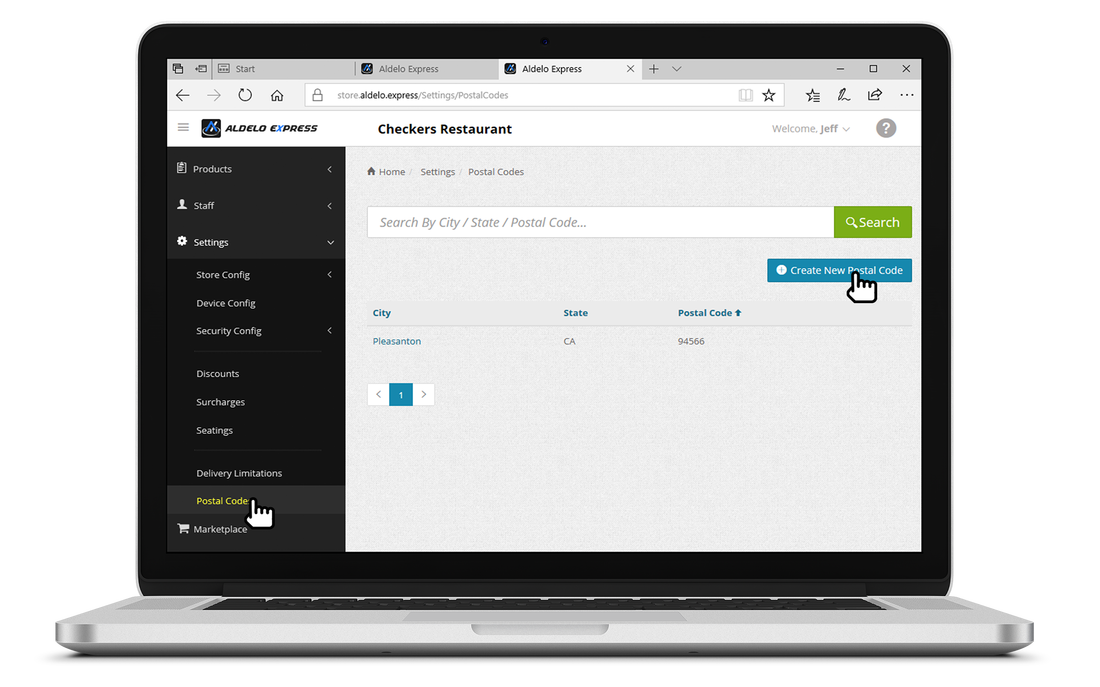
8. The postal codes are used to associate with customers, employees, and more.
|
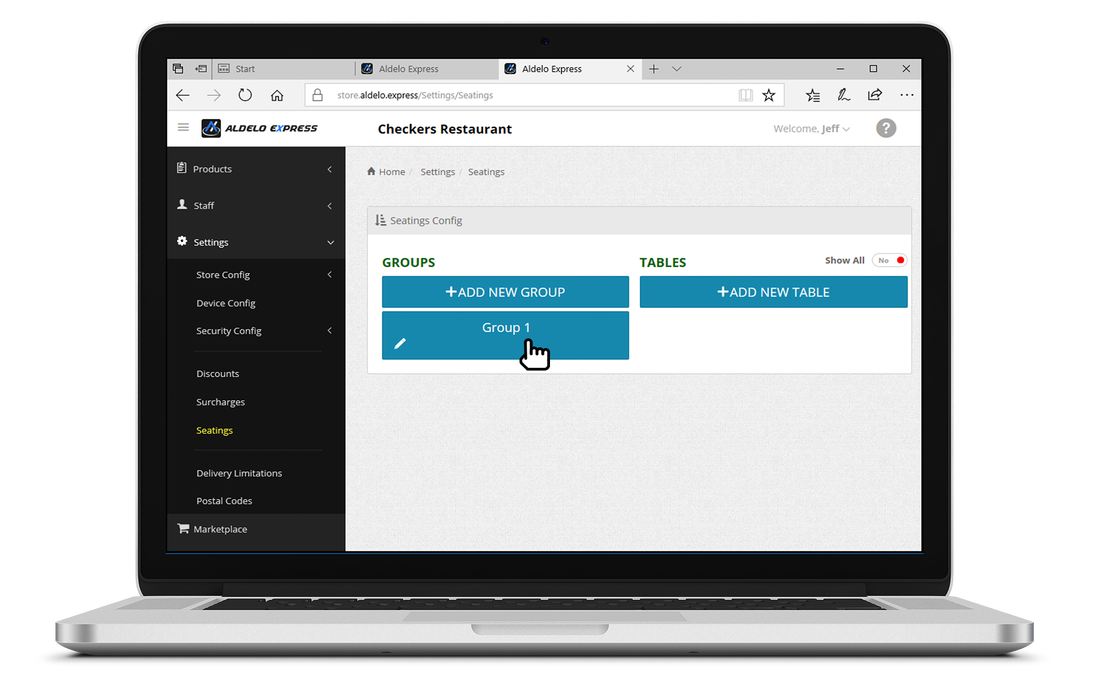
3. The new seating group will show up on the left hand column.
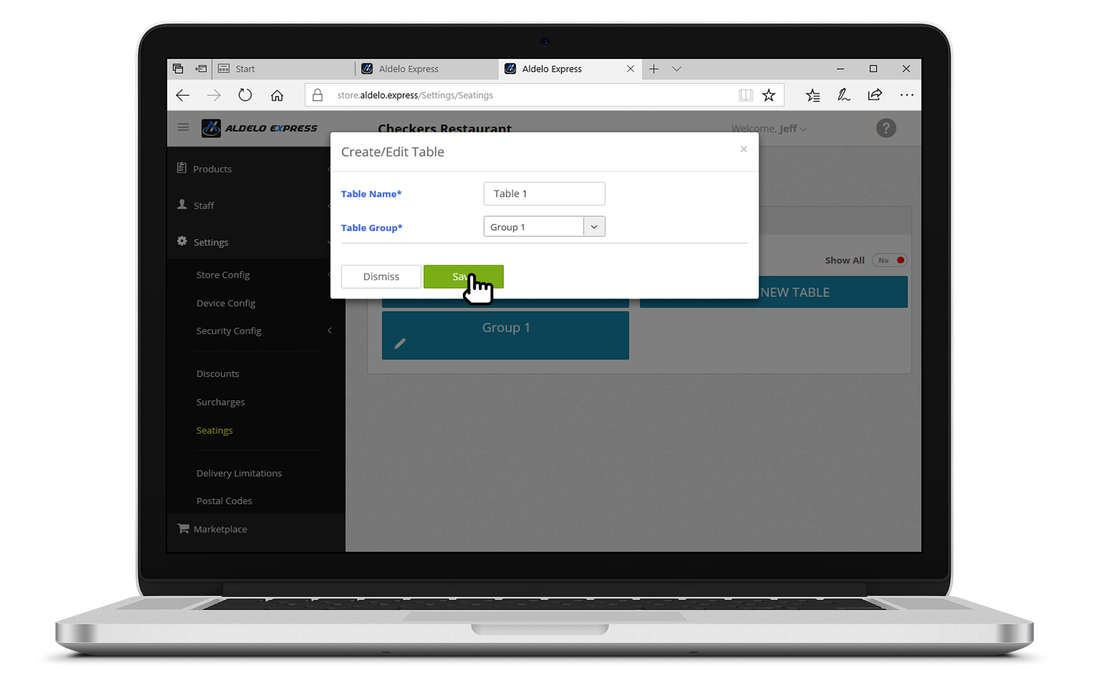
5. Enter in the table information and click Save once finished.
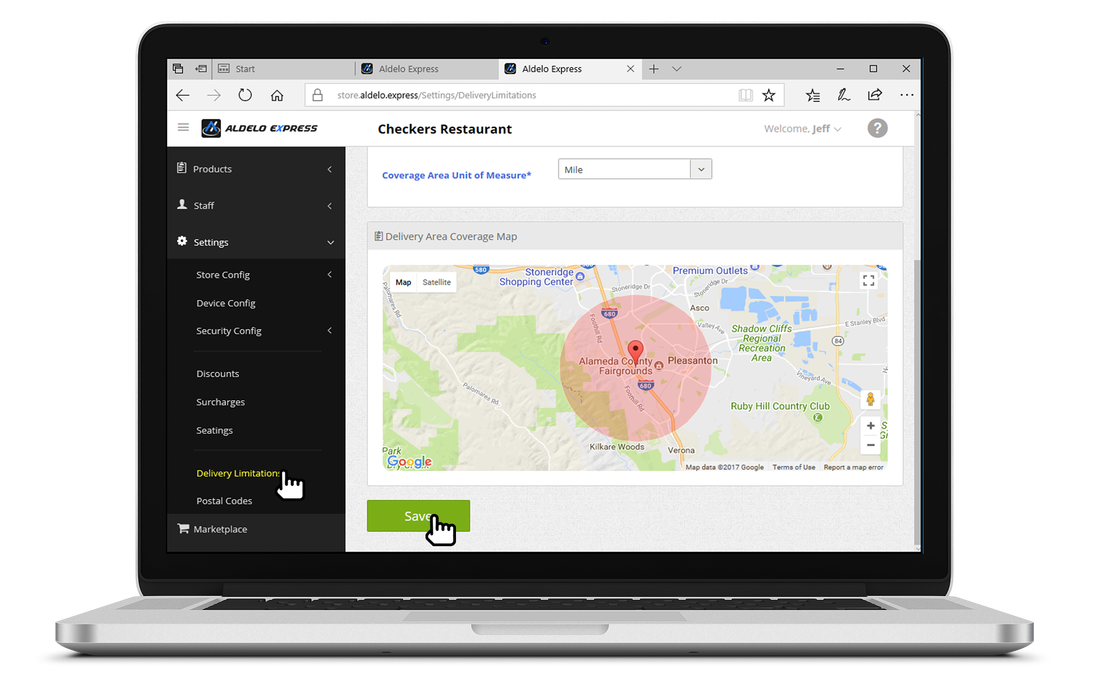
7. Once enabled you are able to set the miles you are willing to deliver to. The allowed area will be highlighted in red.

9. Simply enter the postal code and related info as presented by on the screen.
|

1. Click the Marketplace to visit Aldelo's Marketplace online store.
|
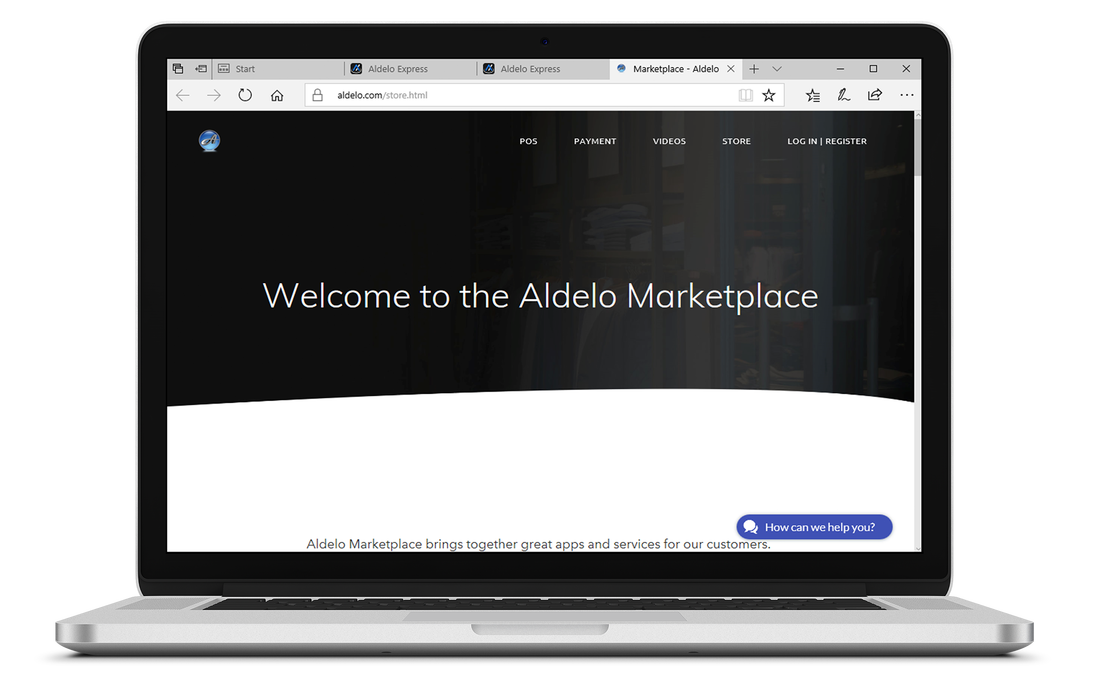
2. Aldelo's Marketplace provides products and services that further enhances your store operations.
|